Elevators
I’ve been delinquent in my blogging. Work got in the way of keeping up with the YouTube and blog posts but I did get work done on the plane. Lets catch you up.

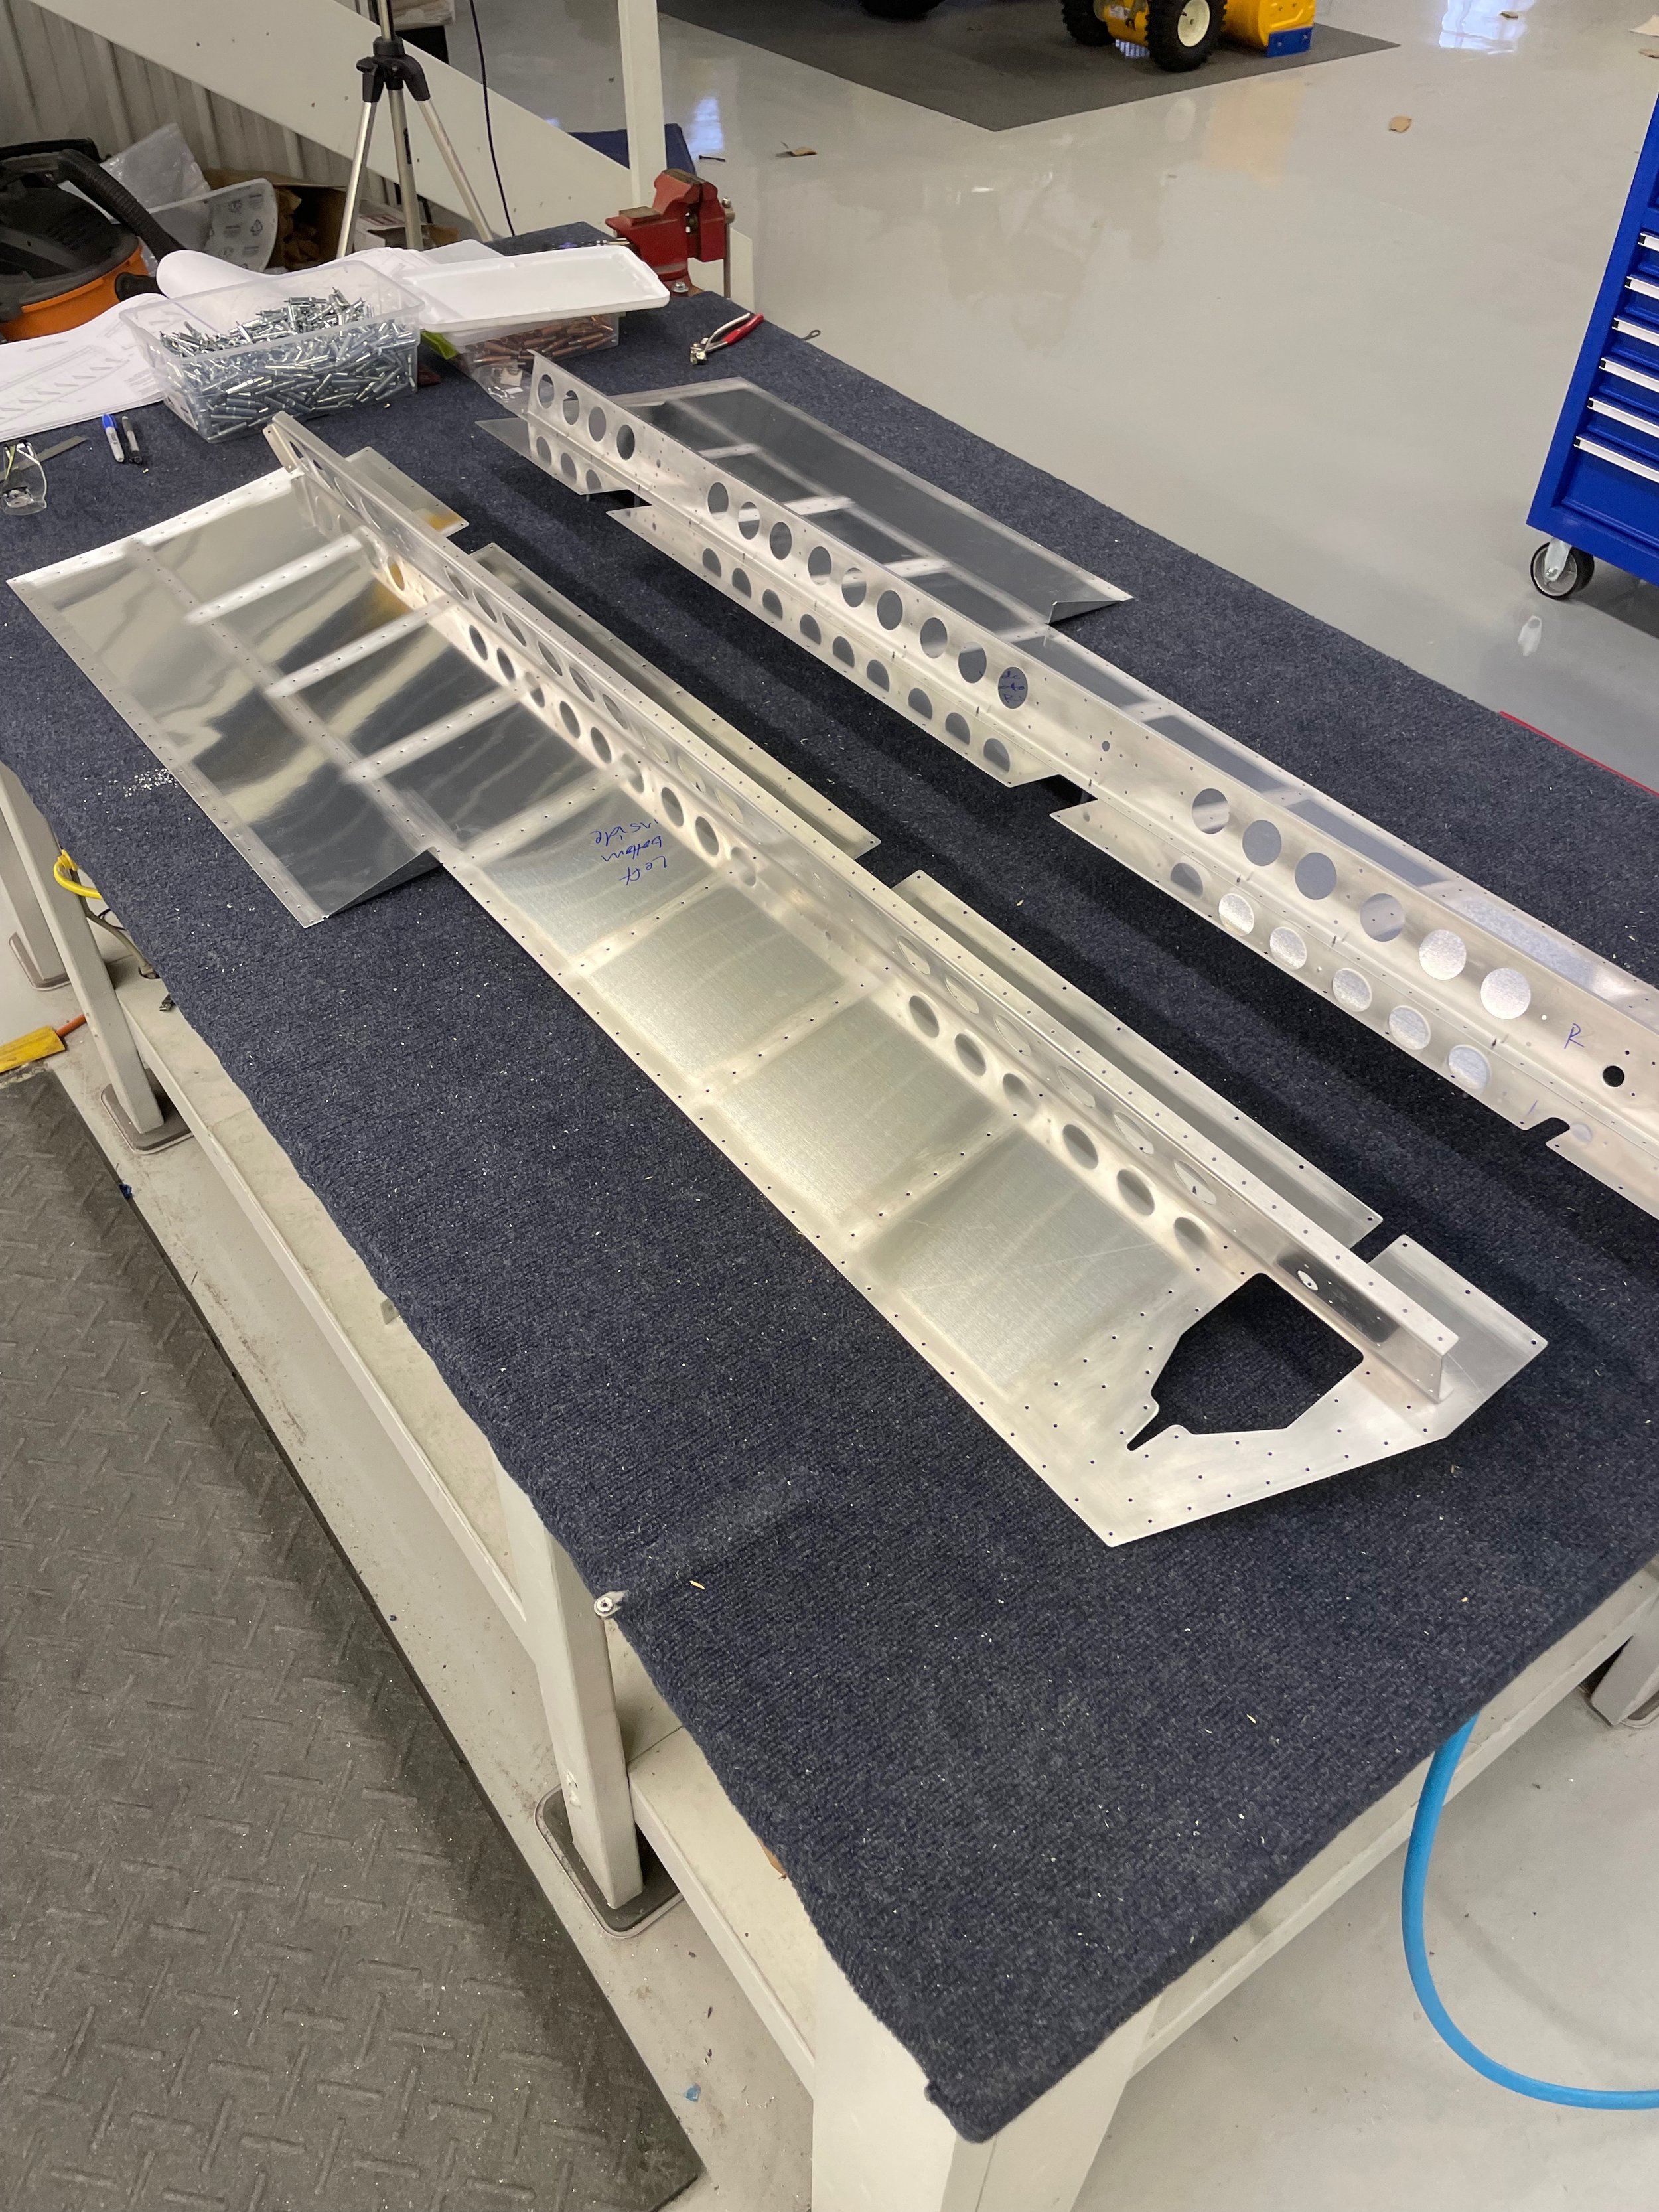
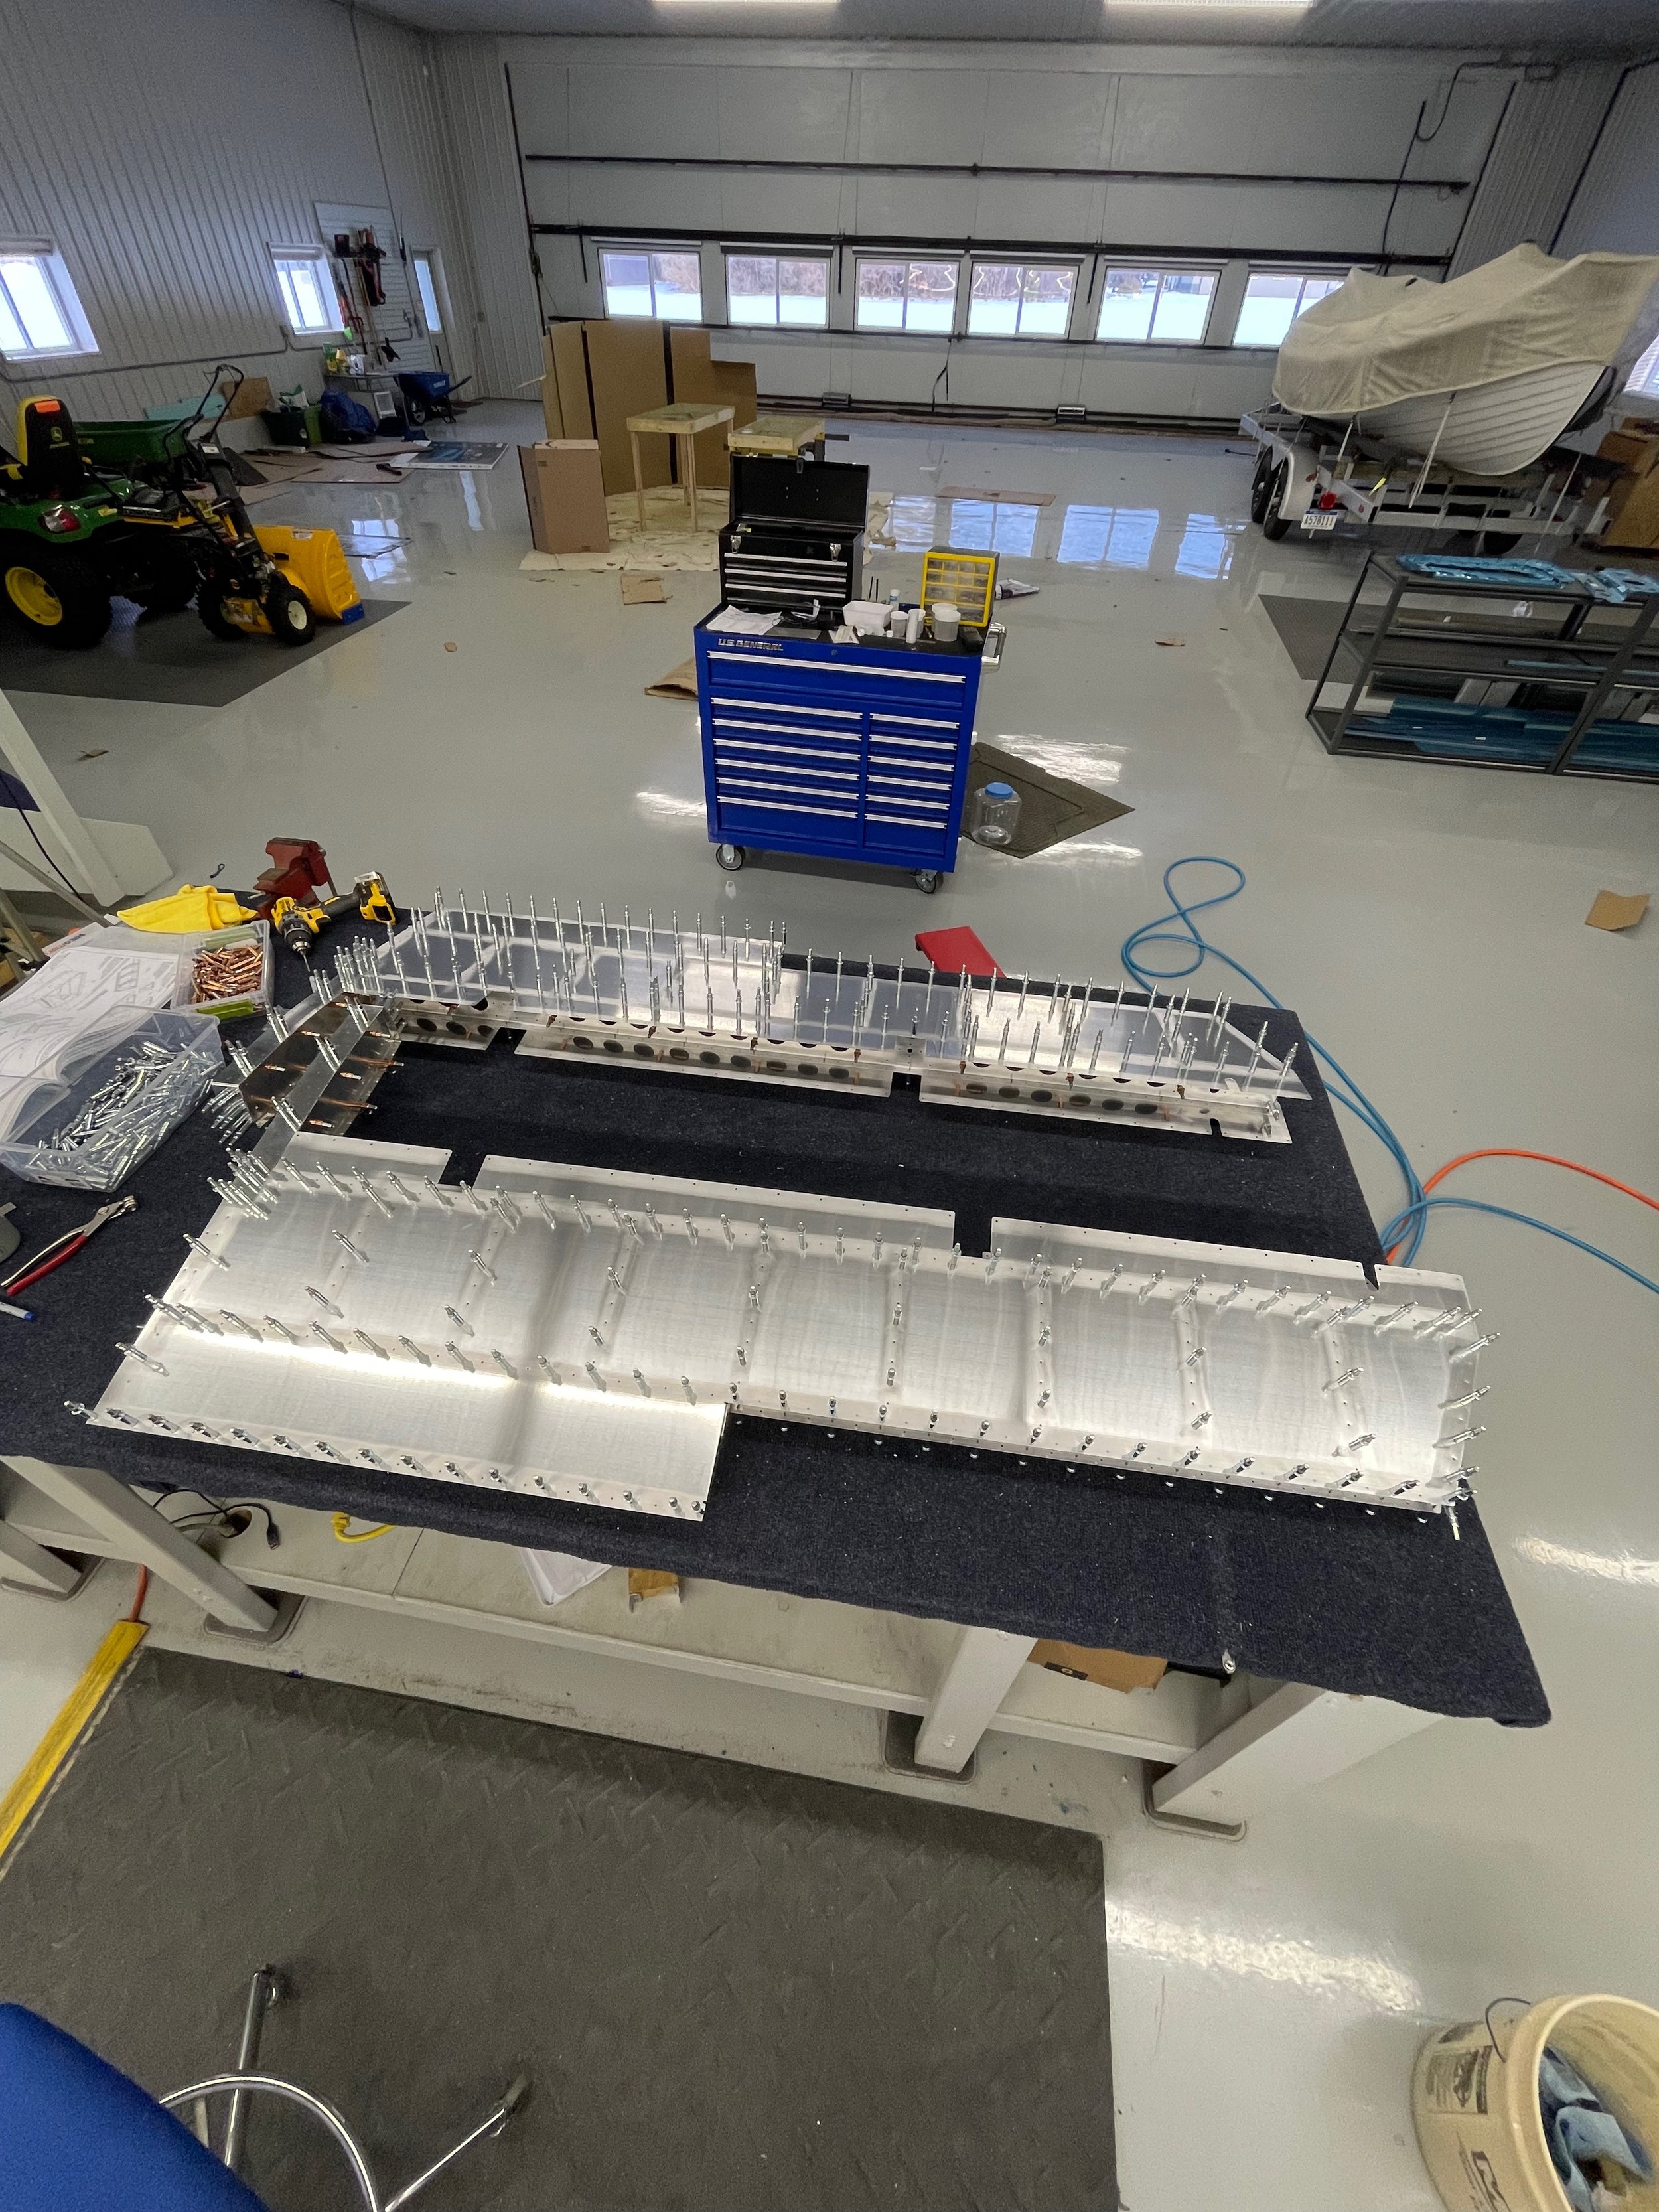
Elevators with trim tabs… that don’t bind… are all done
As you can see above, the elevators are done. Well almost done in that picture. the hinge pins have been trimmed, bent and safety wired and the counterbalance weights have been bolted at the ends. For some reason I don’t have pictures of all that.
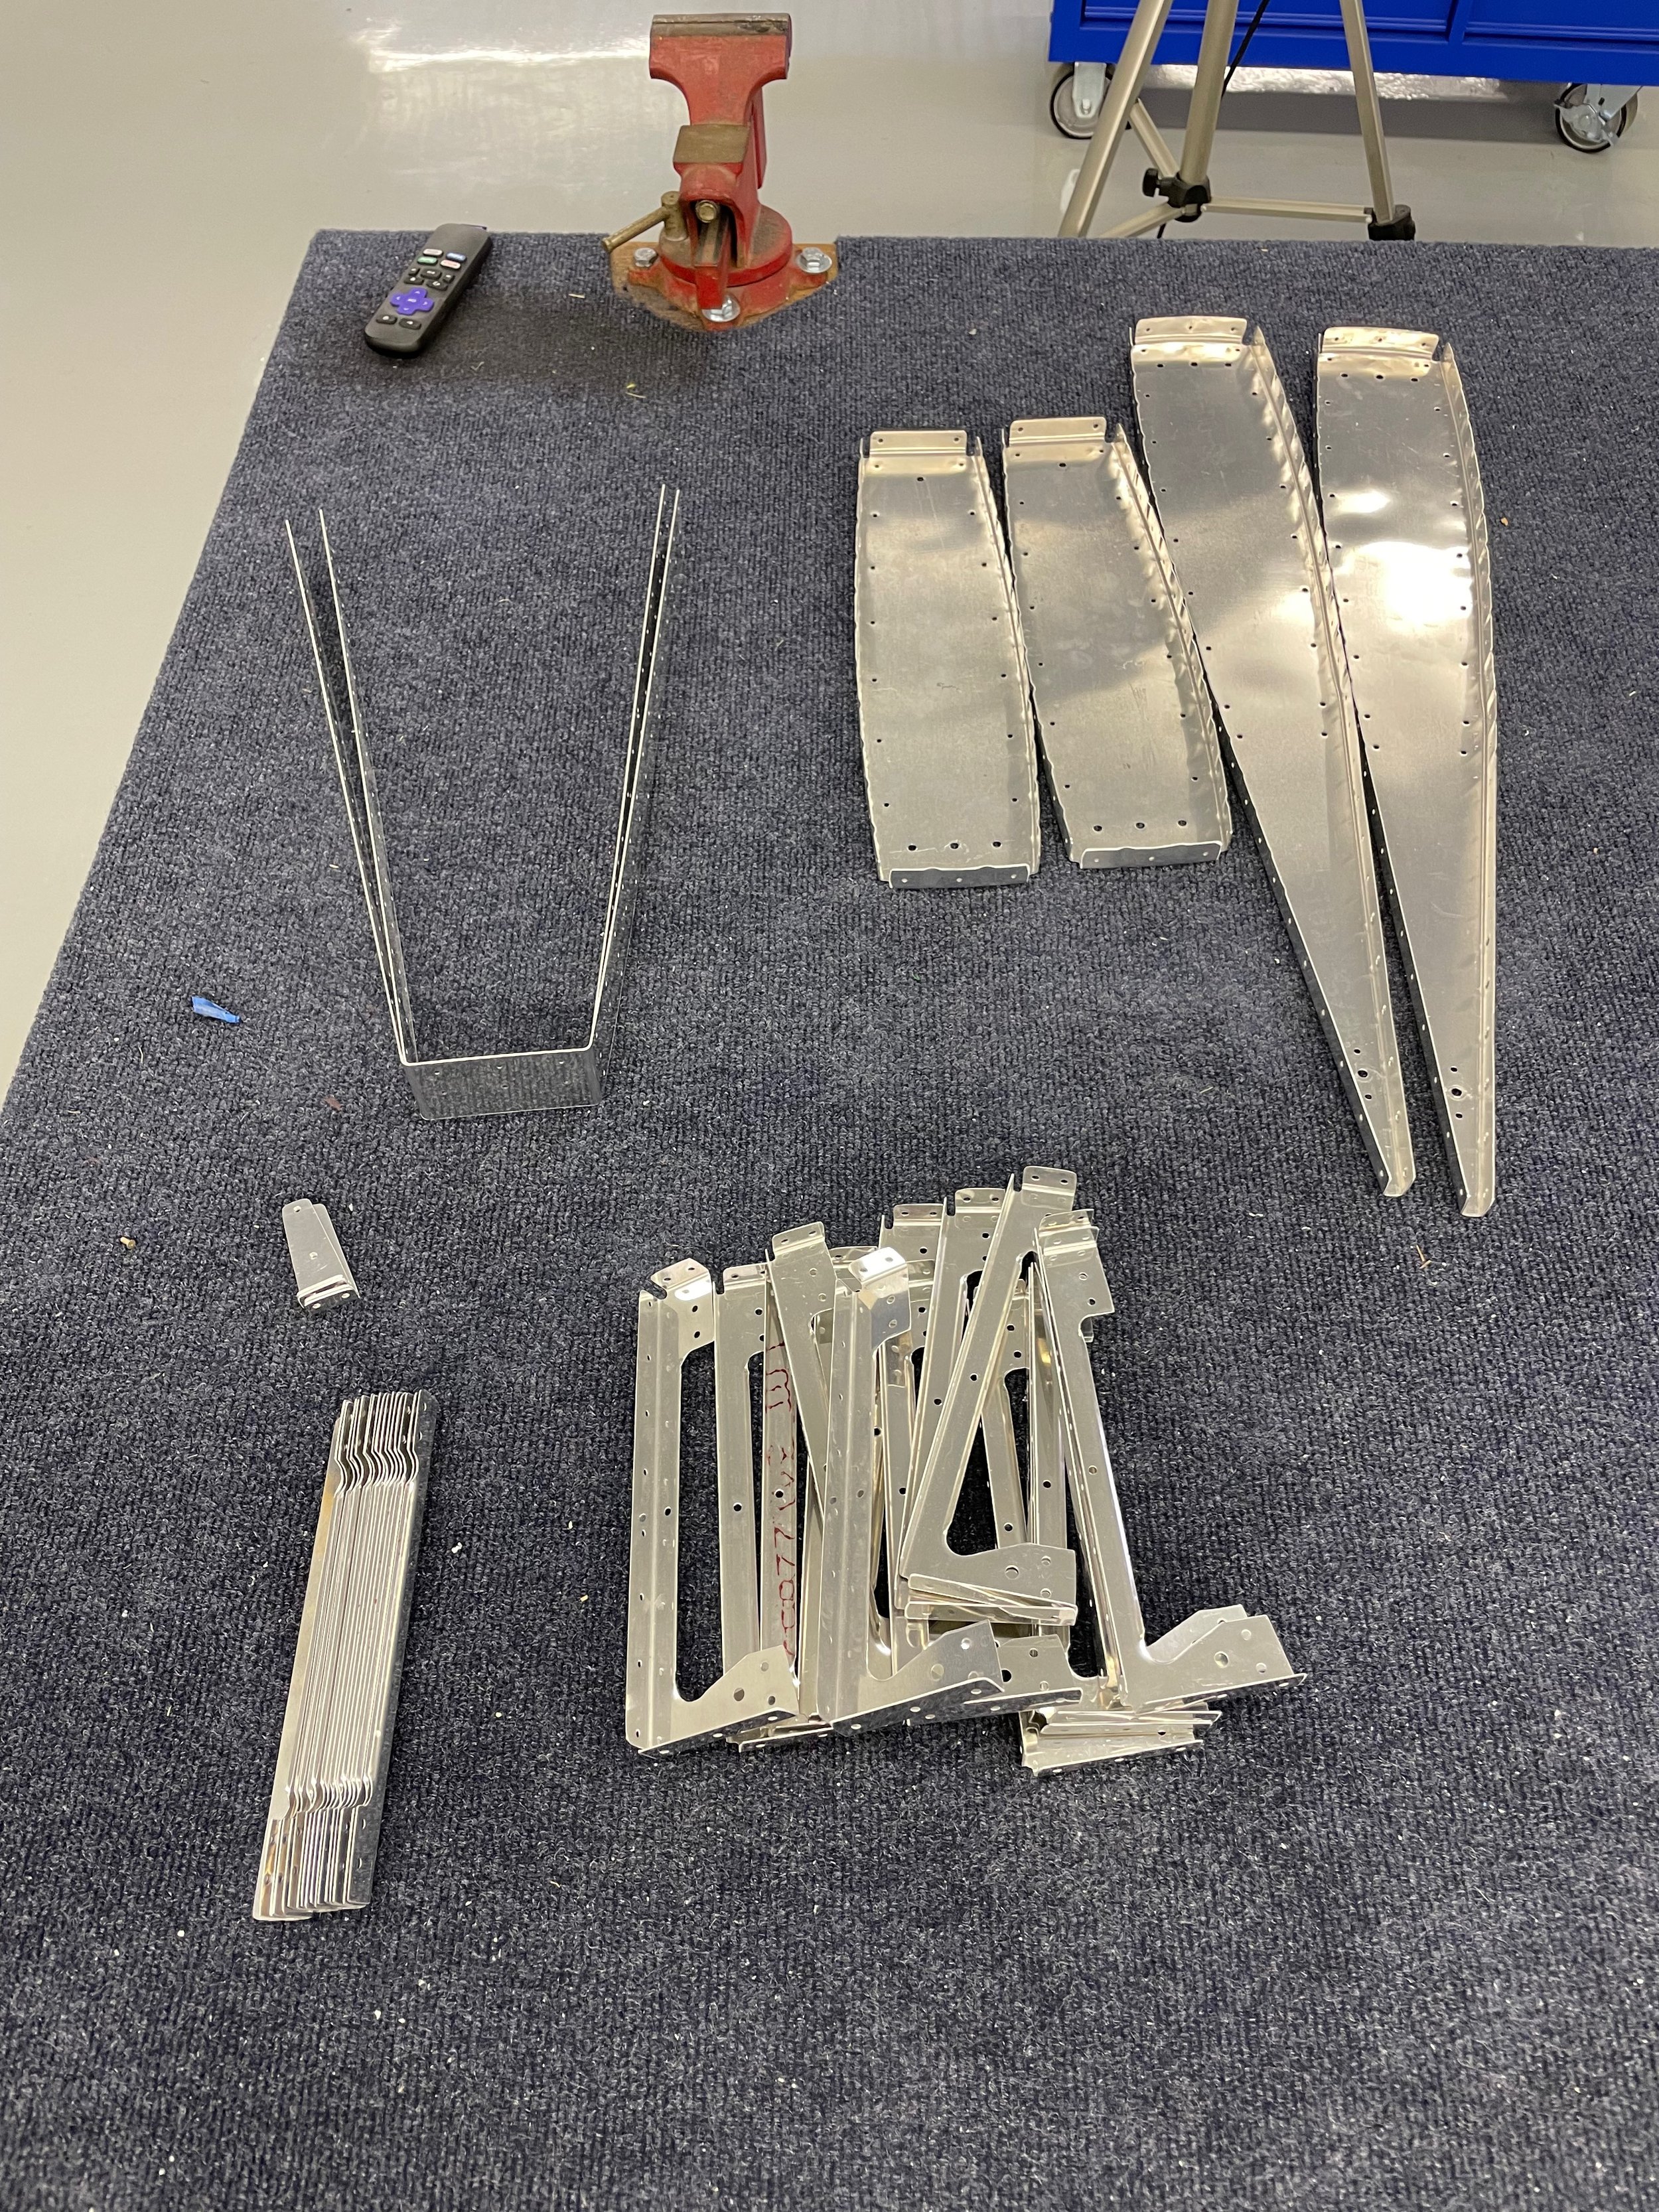
But how did we get there. It starts the same as everything, pull blue vinyl off parts, deburr the edges, scuff, match drill anything that needs it, dimple and prime.

Interesting with the elevators, the tip ribs come pre-fluted. Though they’re still not straight and require more work to get the holes to line up anyway.
The biggest pain with the elevators was the tip ribs and tip skin. It’s a sub-assembly that comes pre-fluted from Van’s but it still doesn’t line up and takes quite a bit of extra work to get everything happy.
One thing I changed with my process for the elevators is not match drilling holes that are already final sized. Van’s is producing the RV-10 with final sized holes now. The plans are unchanged and say to cleco things into place and match drill up to #40. But in reality, most of the holes are #40 already and running a reamer through them is only going to enlarge them unnecessarily. So now, I only match drill when the holes are still undersized or when an underlying part isn’t drilled at all and it truly needs to be match drilled. I started this with the elevators and it didn’t cause any problems.

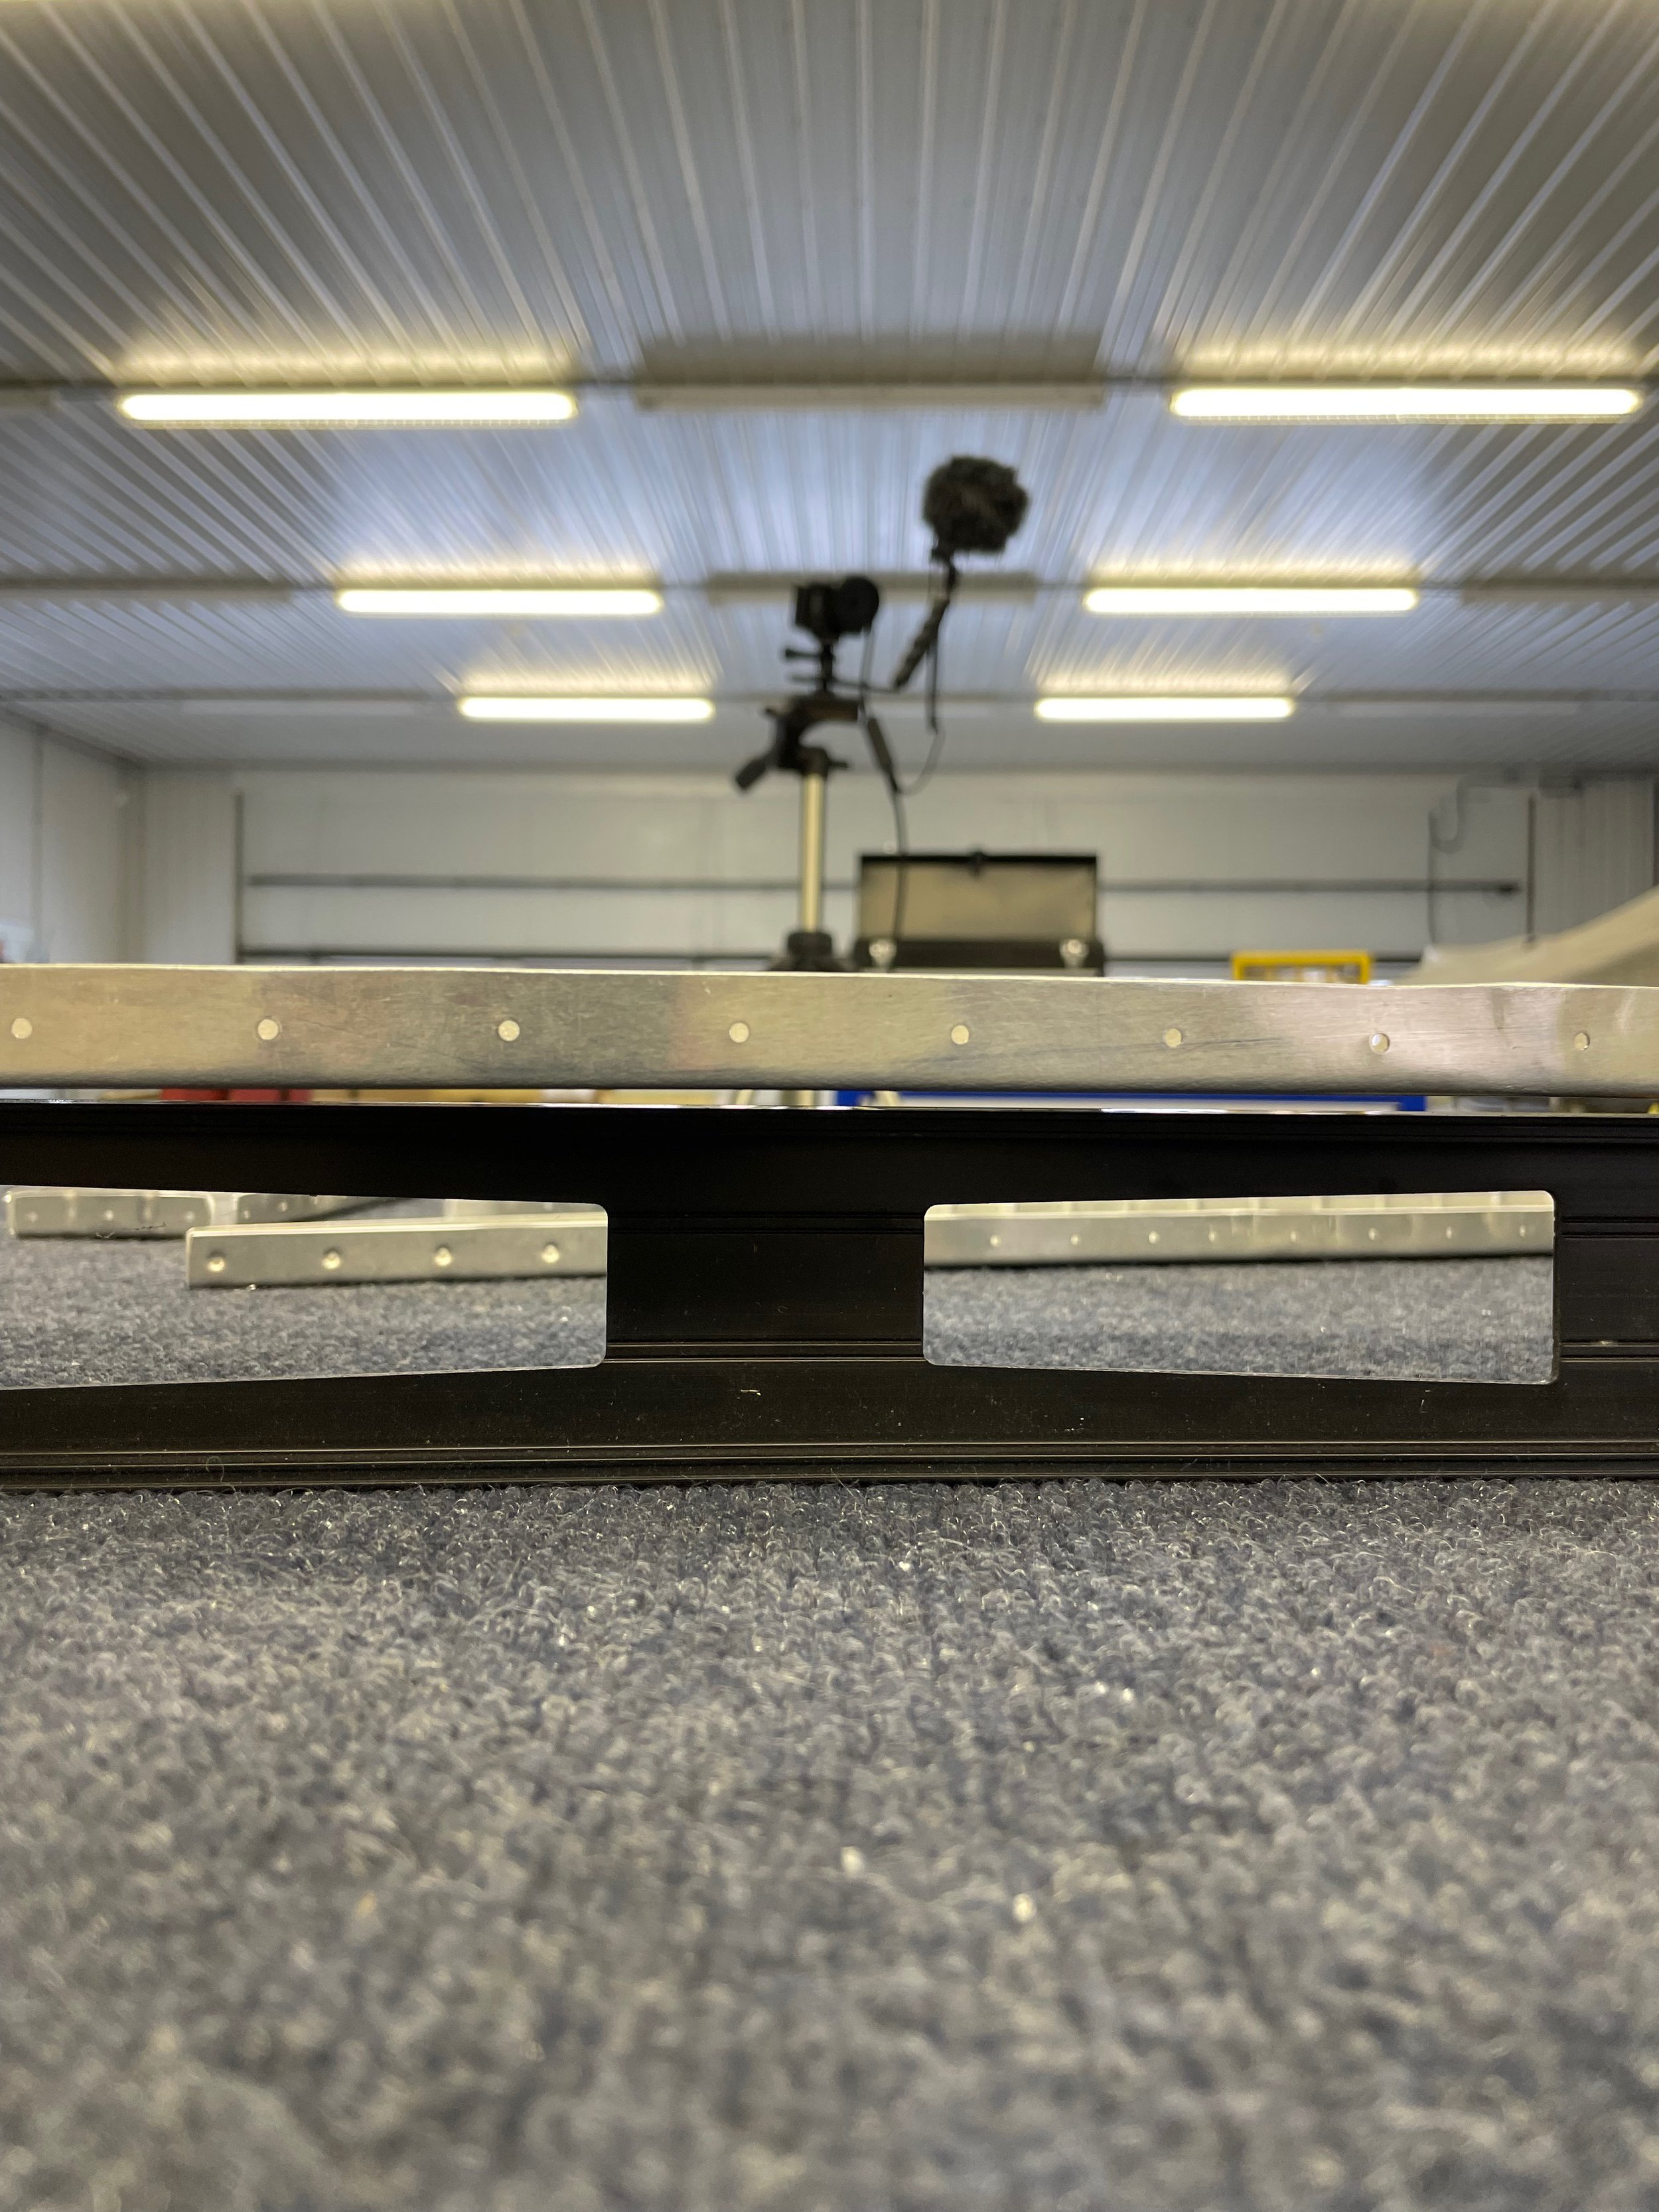
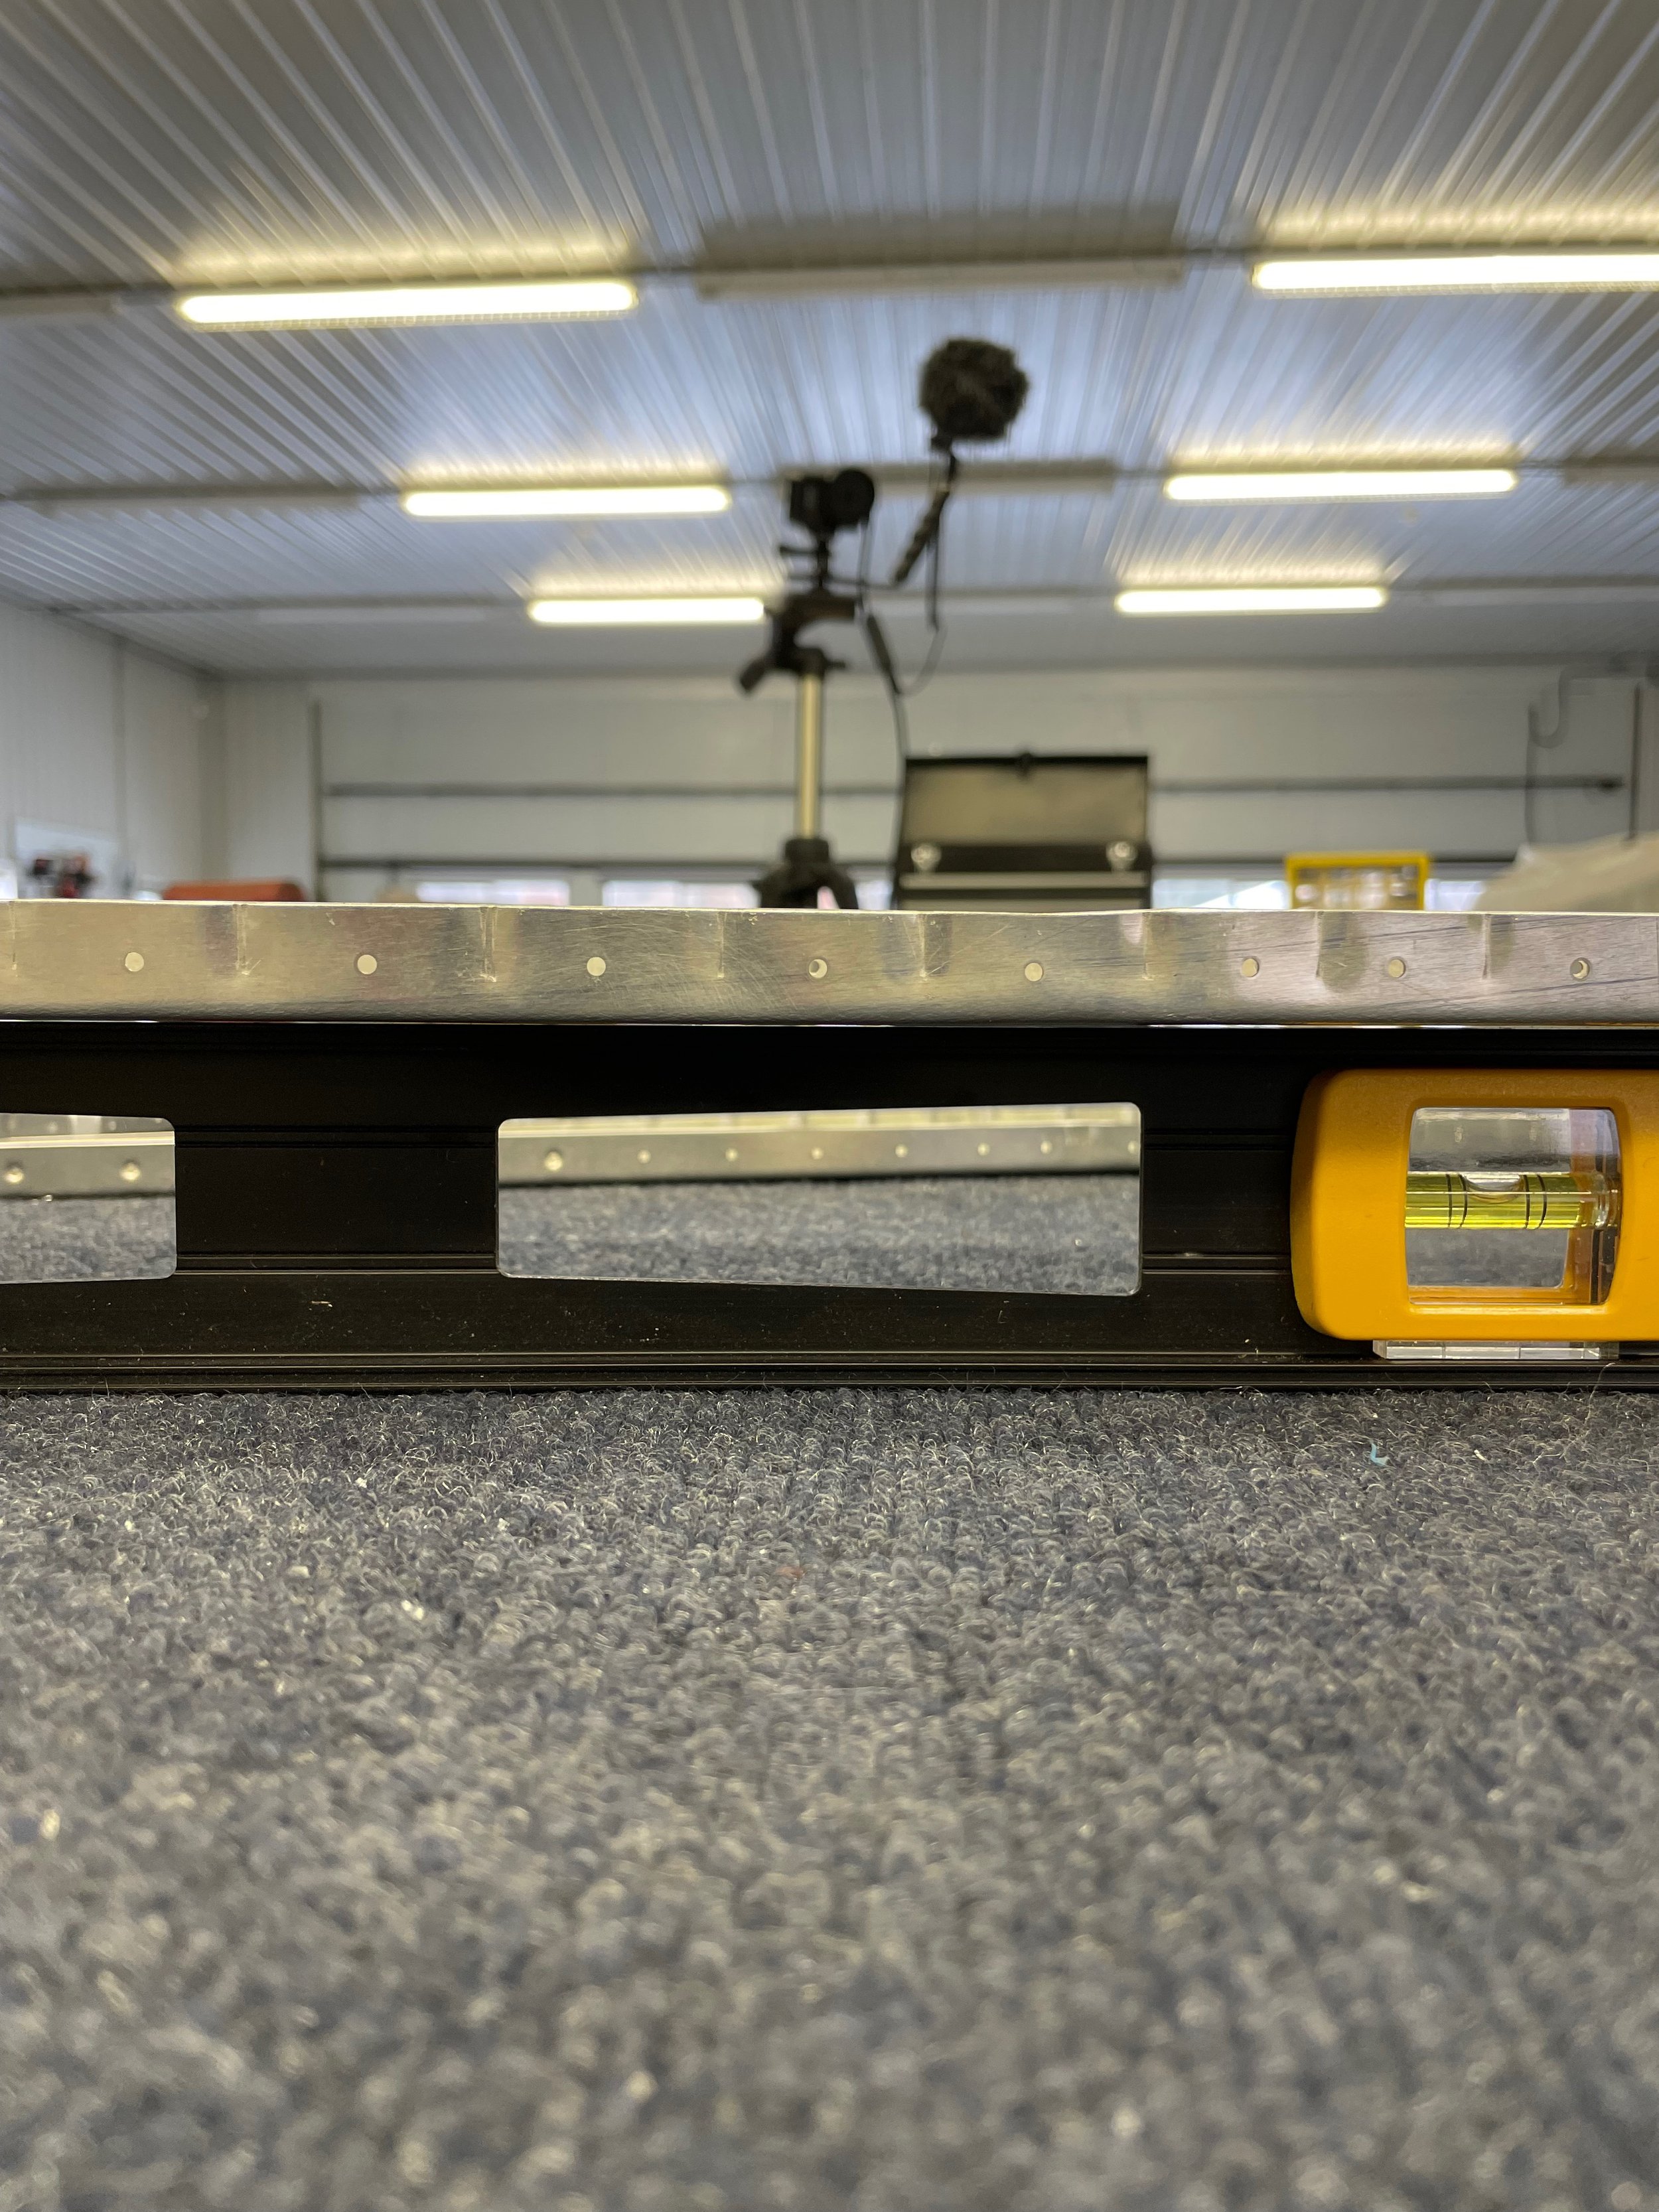
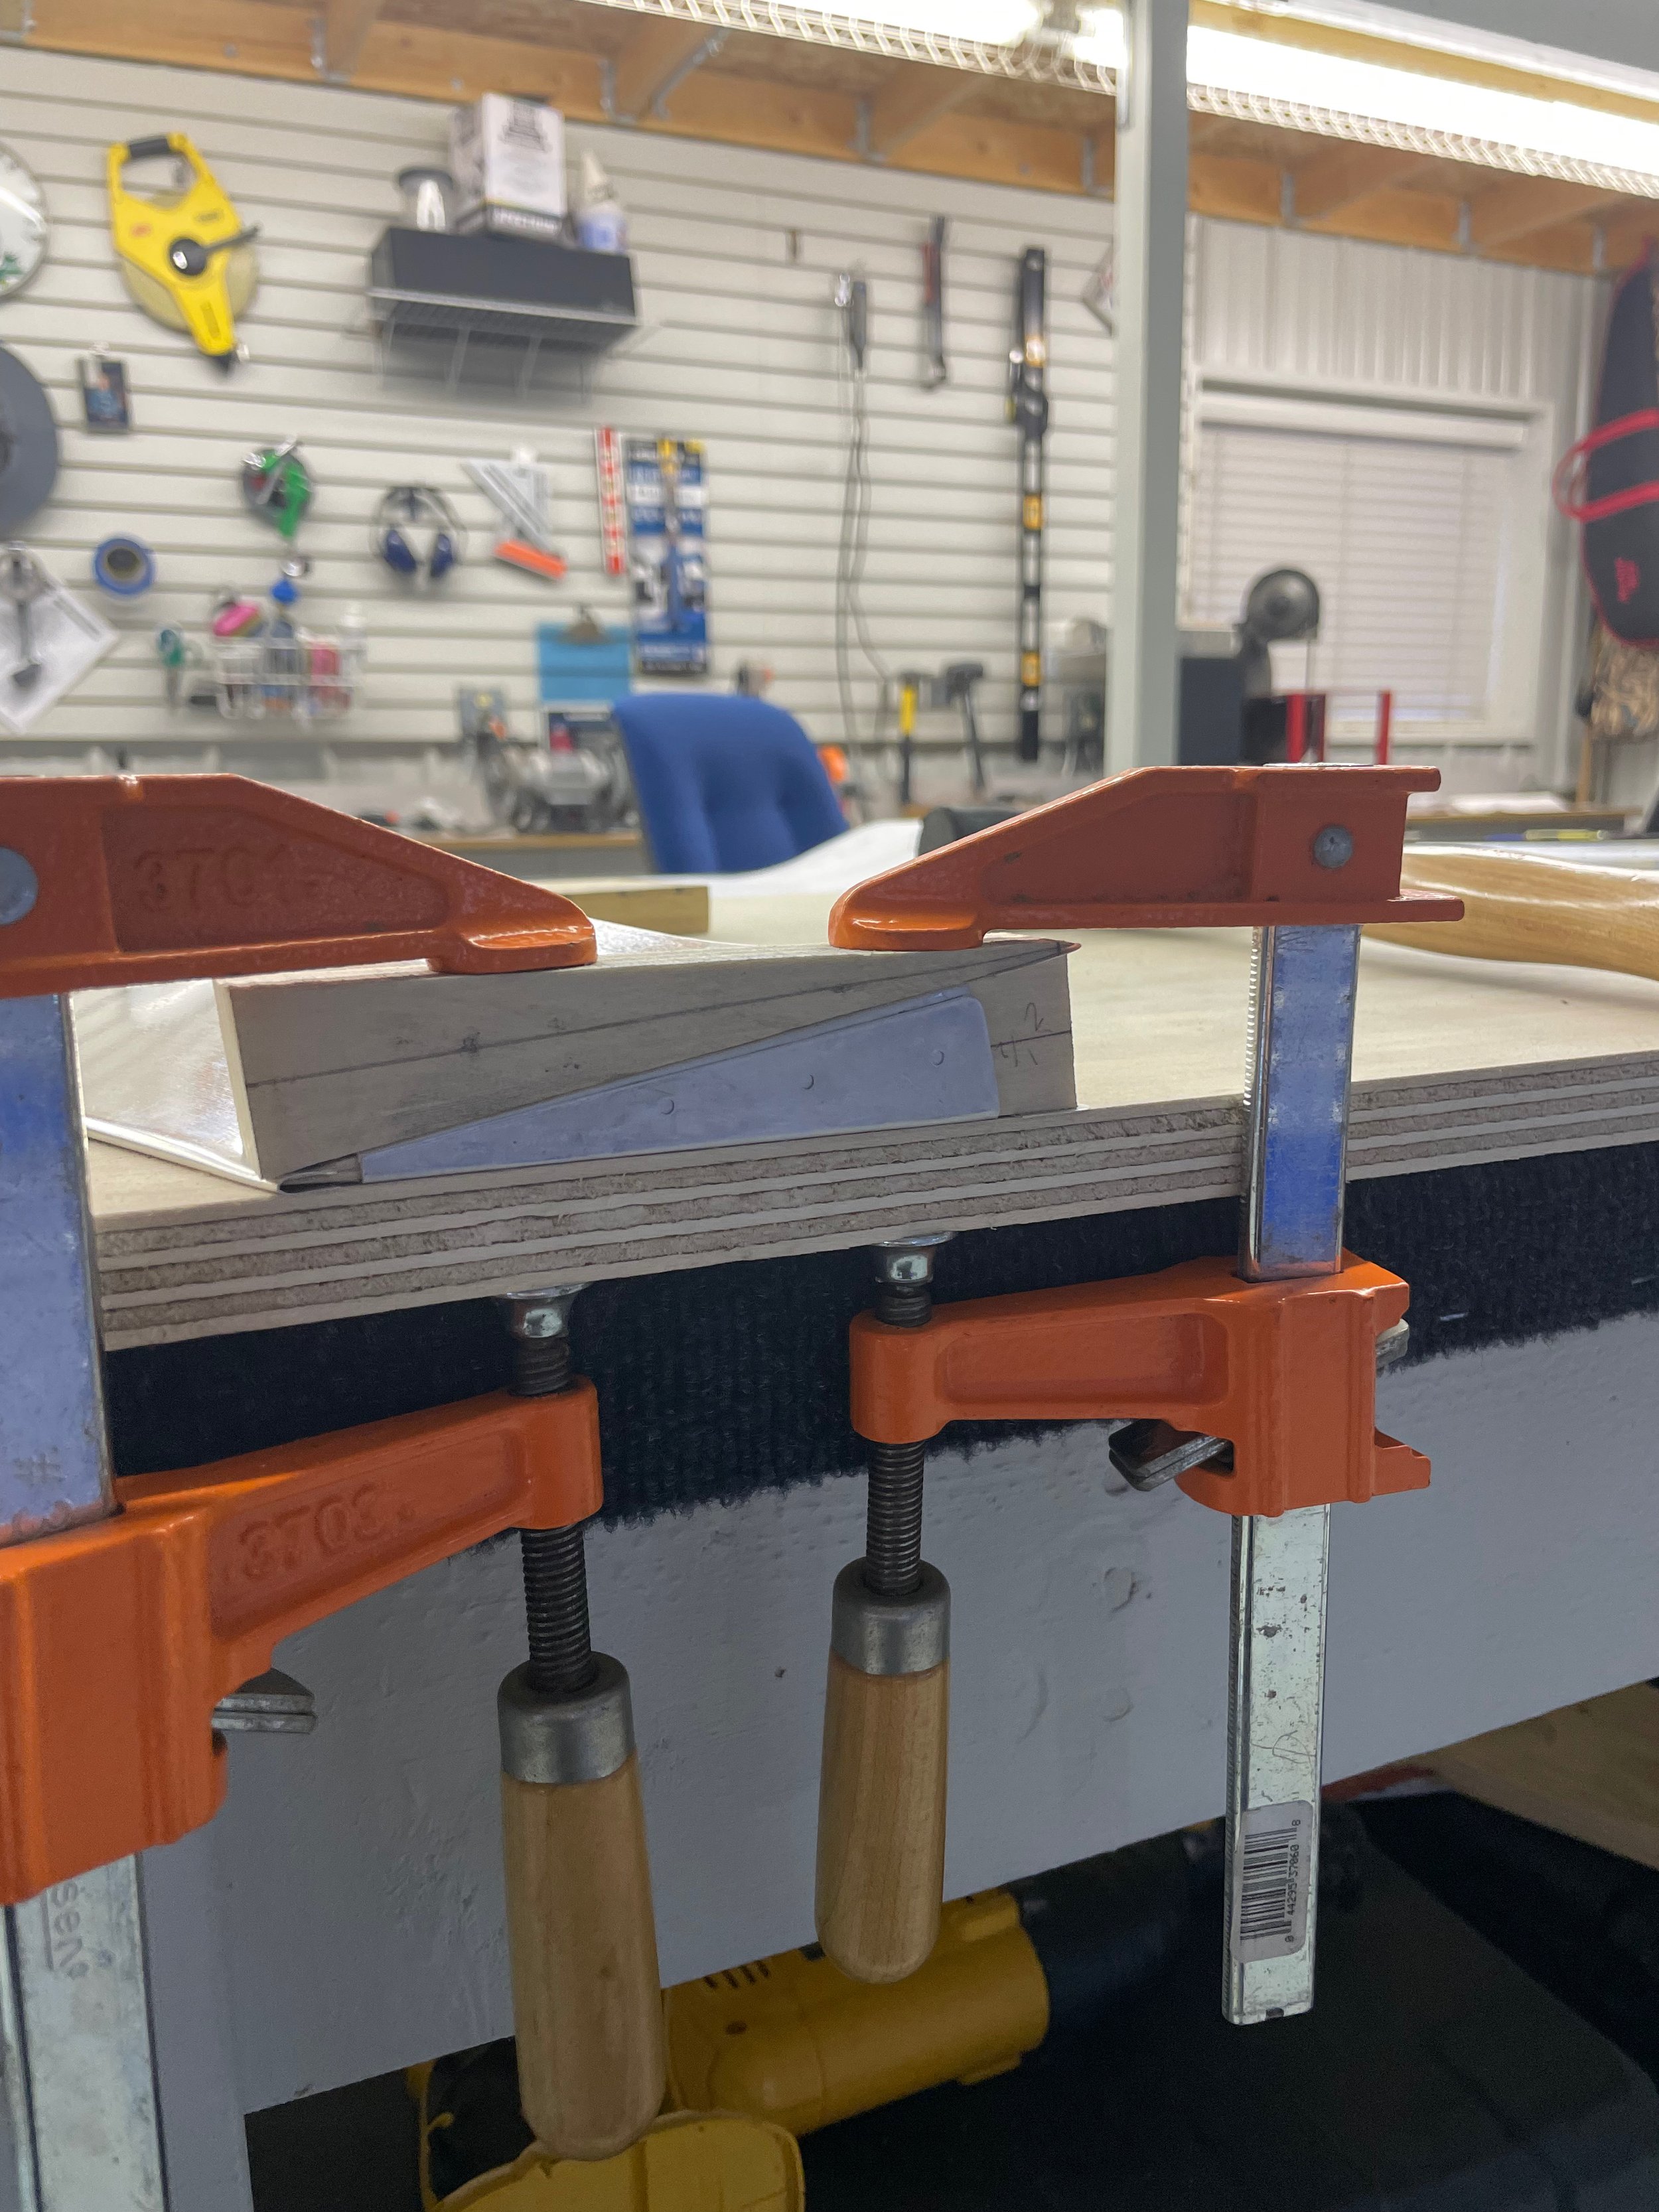
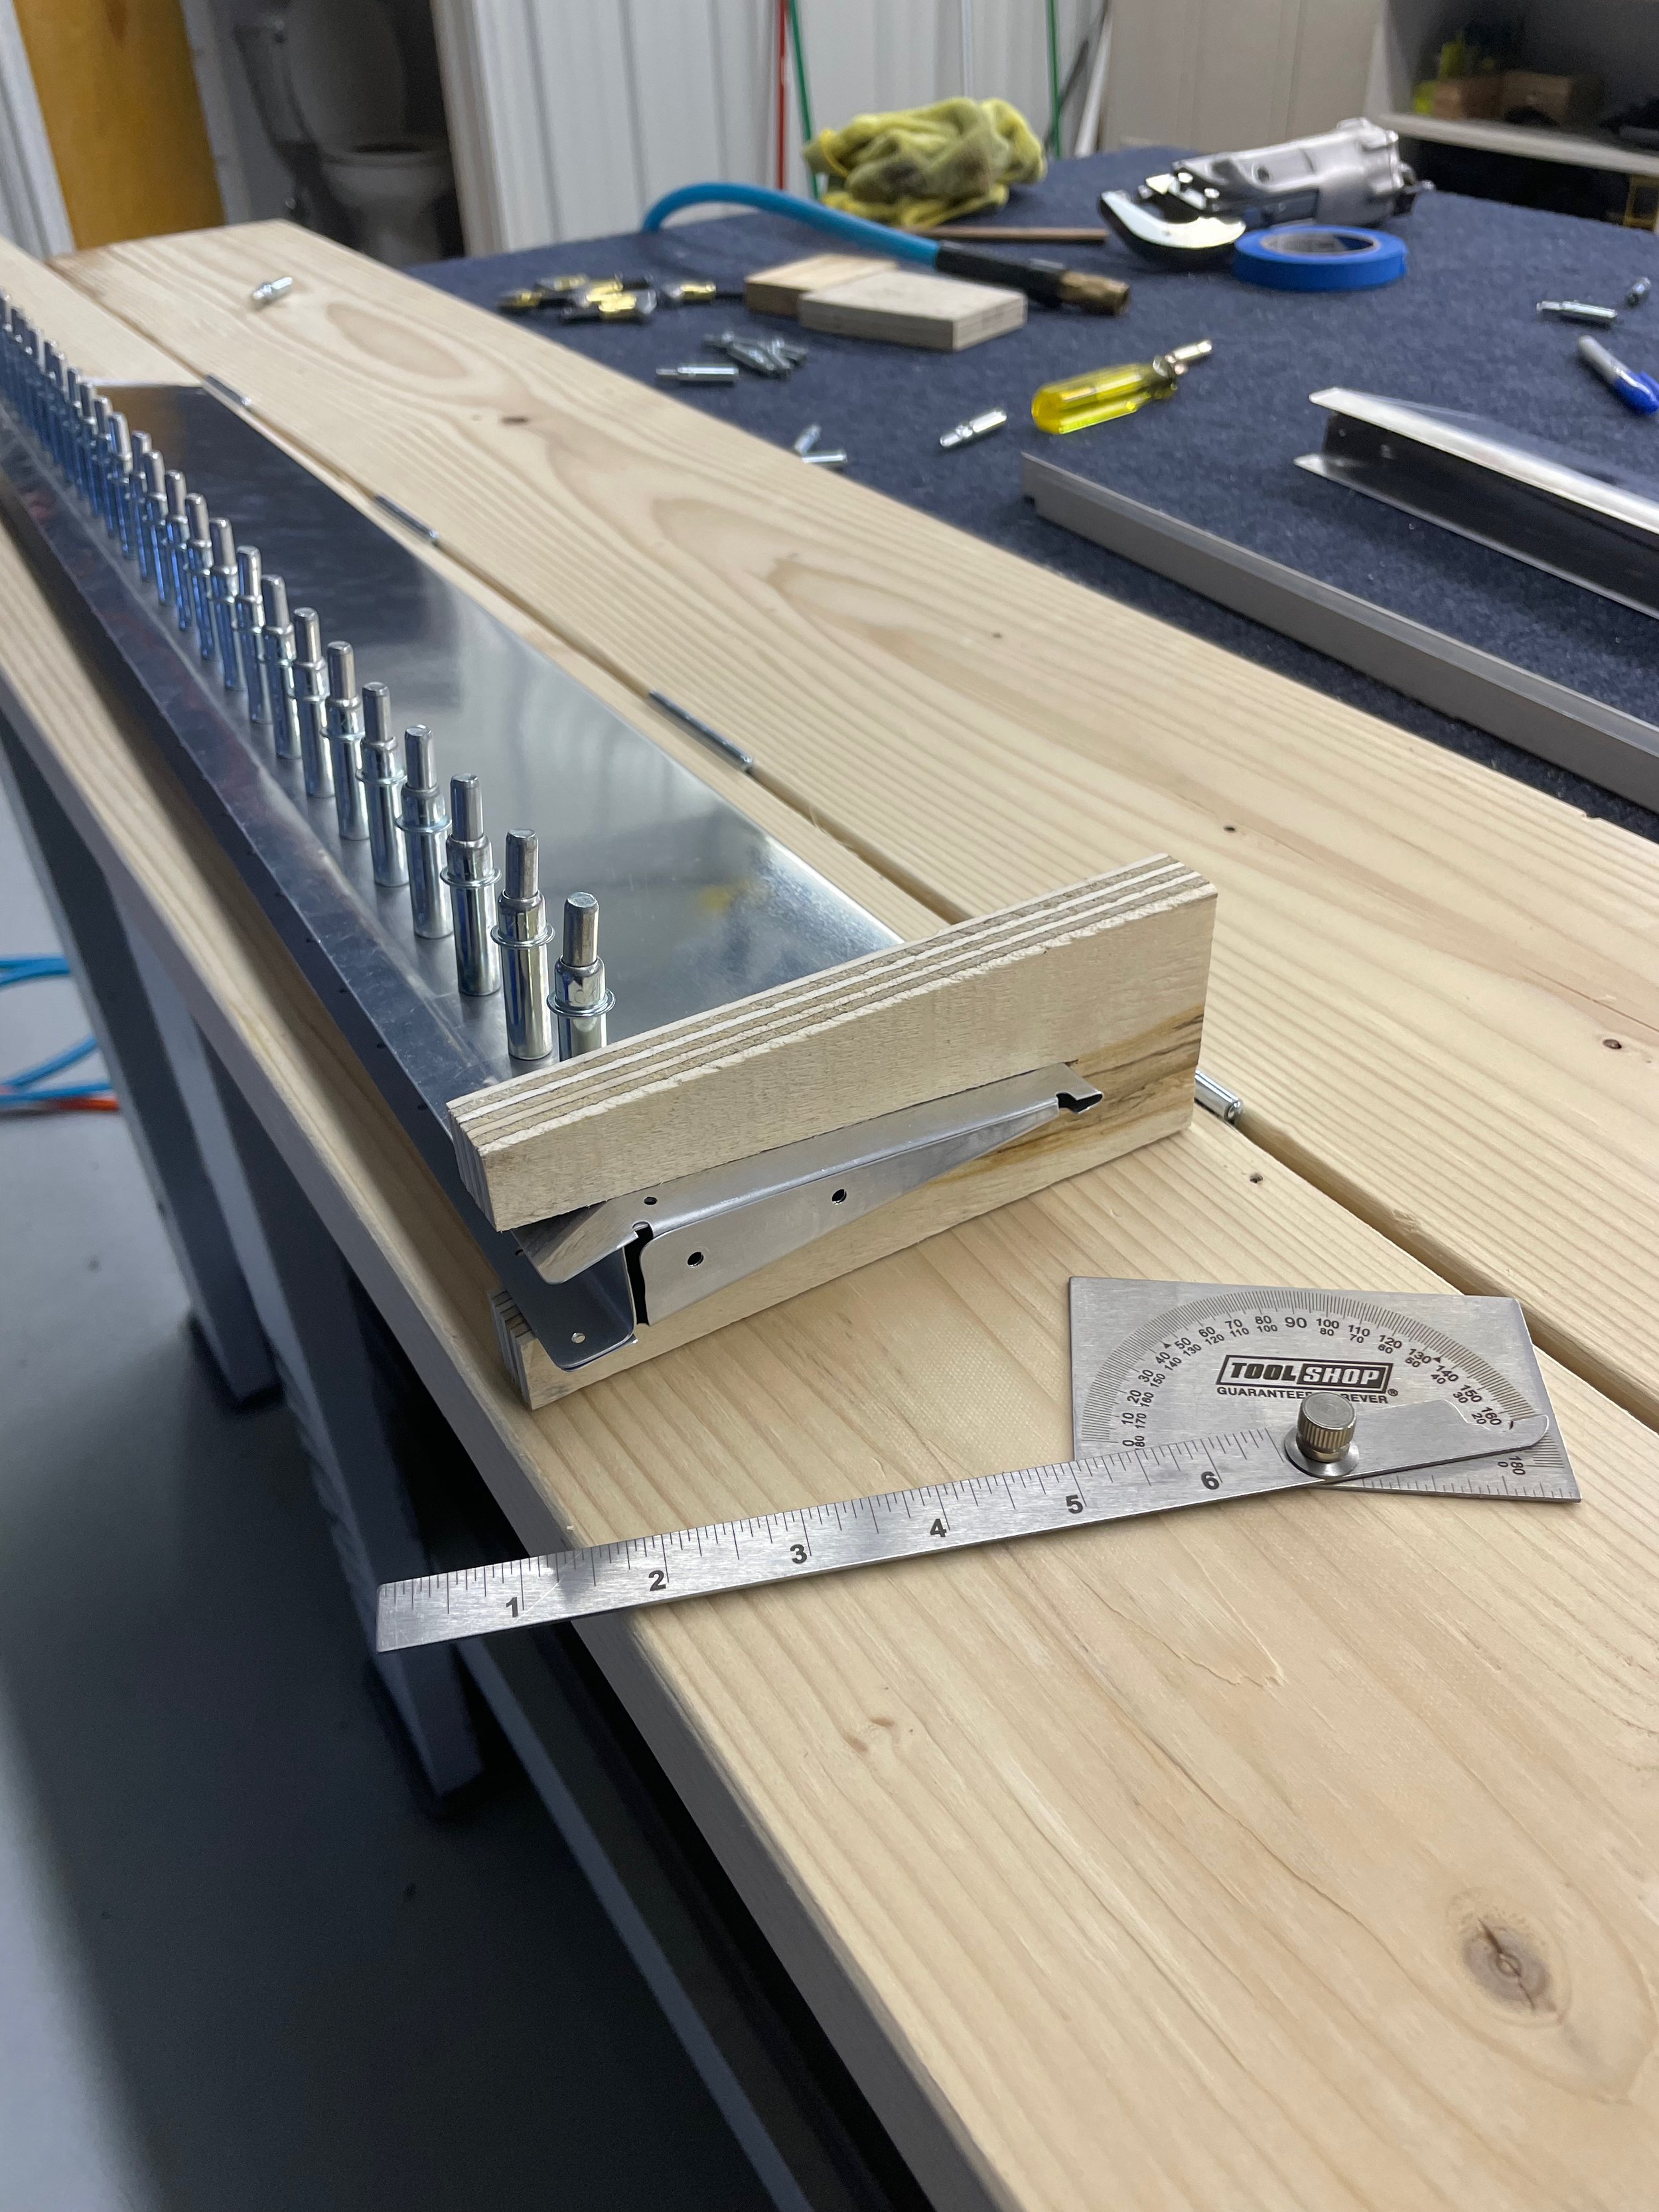
Nothing super exciting or “gotcha” moments prepping parts. There are lots of rib/stiffener assemblies to keep track of. There’s another set of trailing edge wedges to countersink. I used a couple pieces of aluminum bar that comes with the kit and the other wedge to make my own jig and knocked out the countersinking in no time.
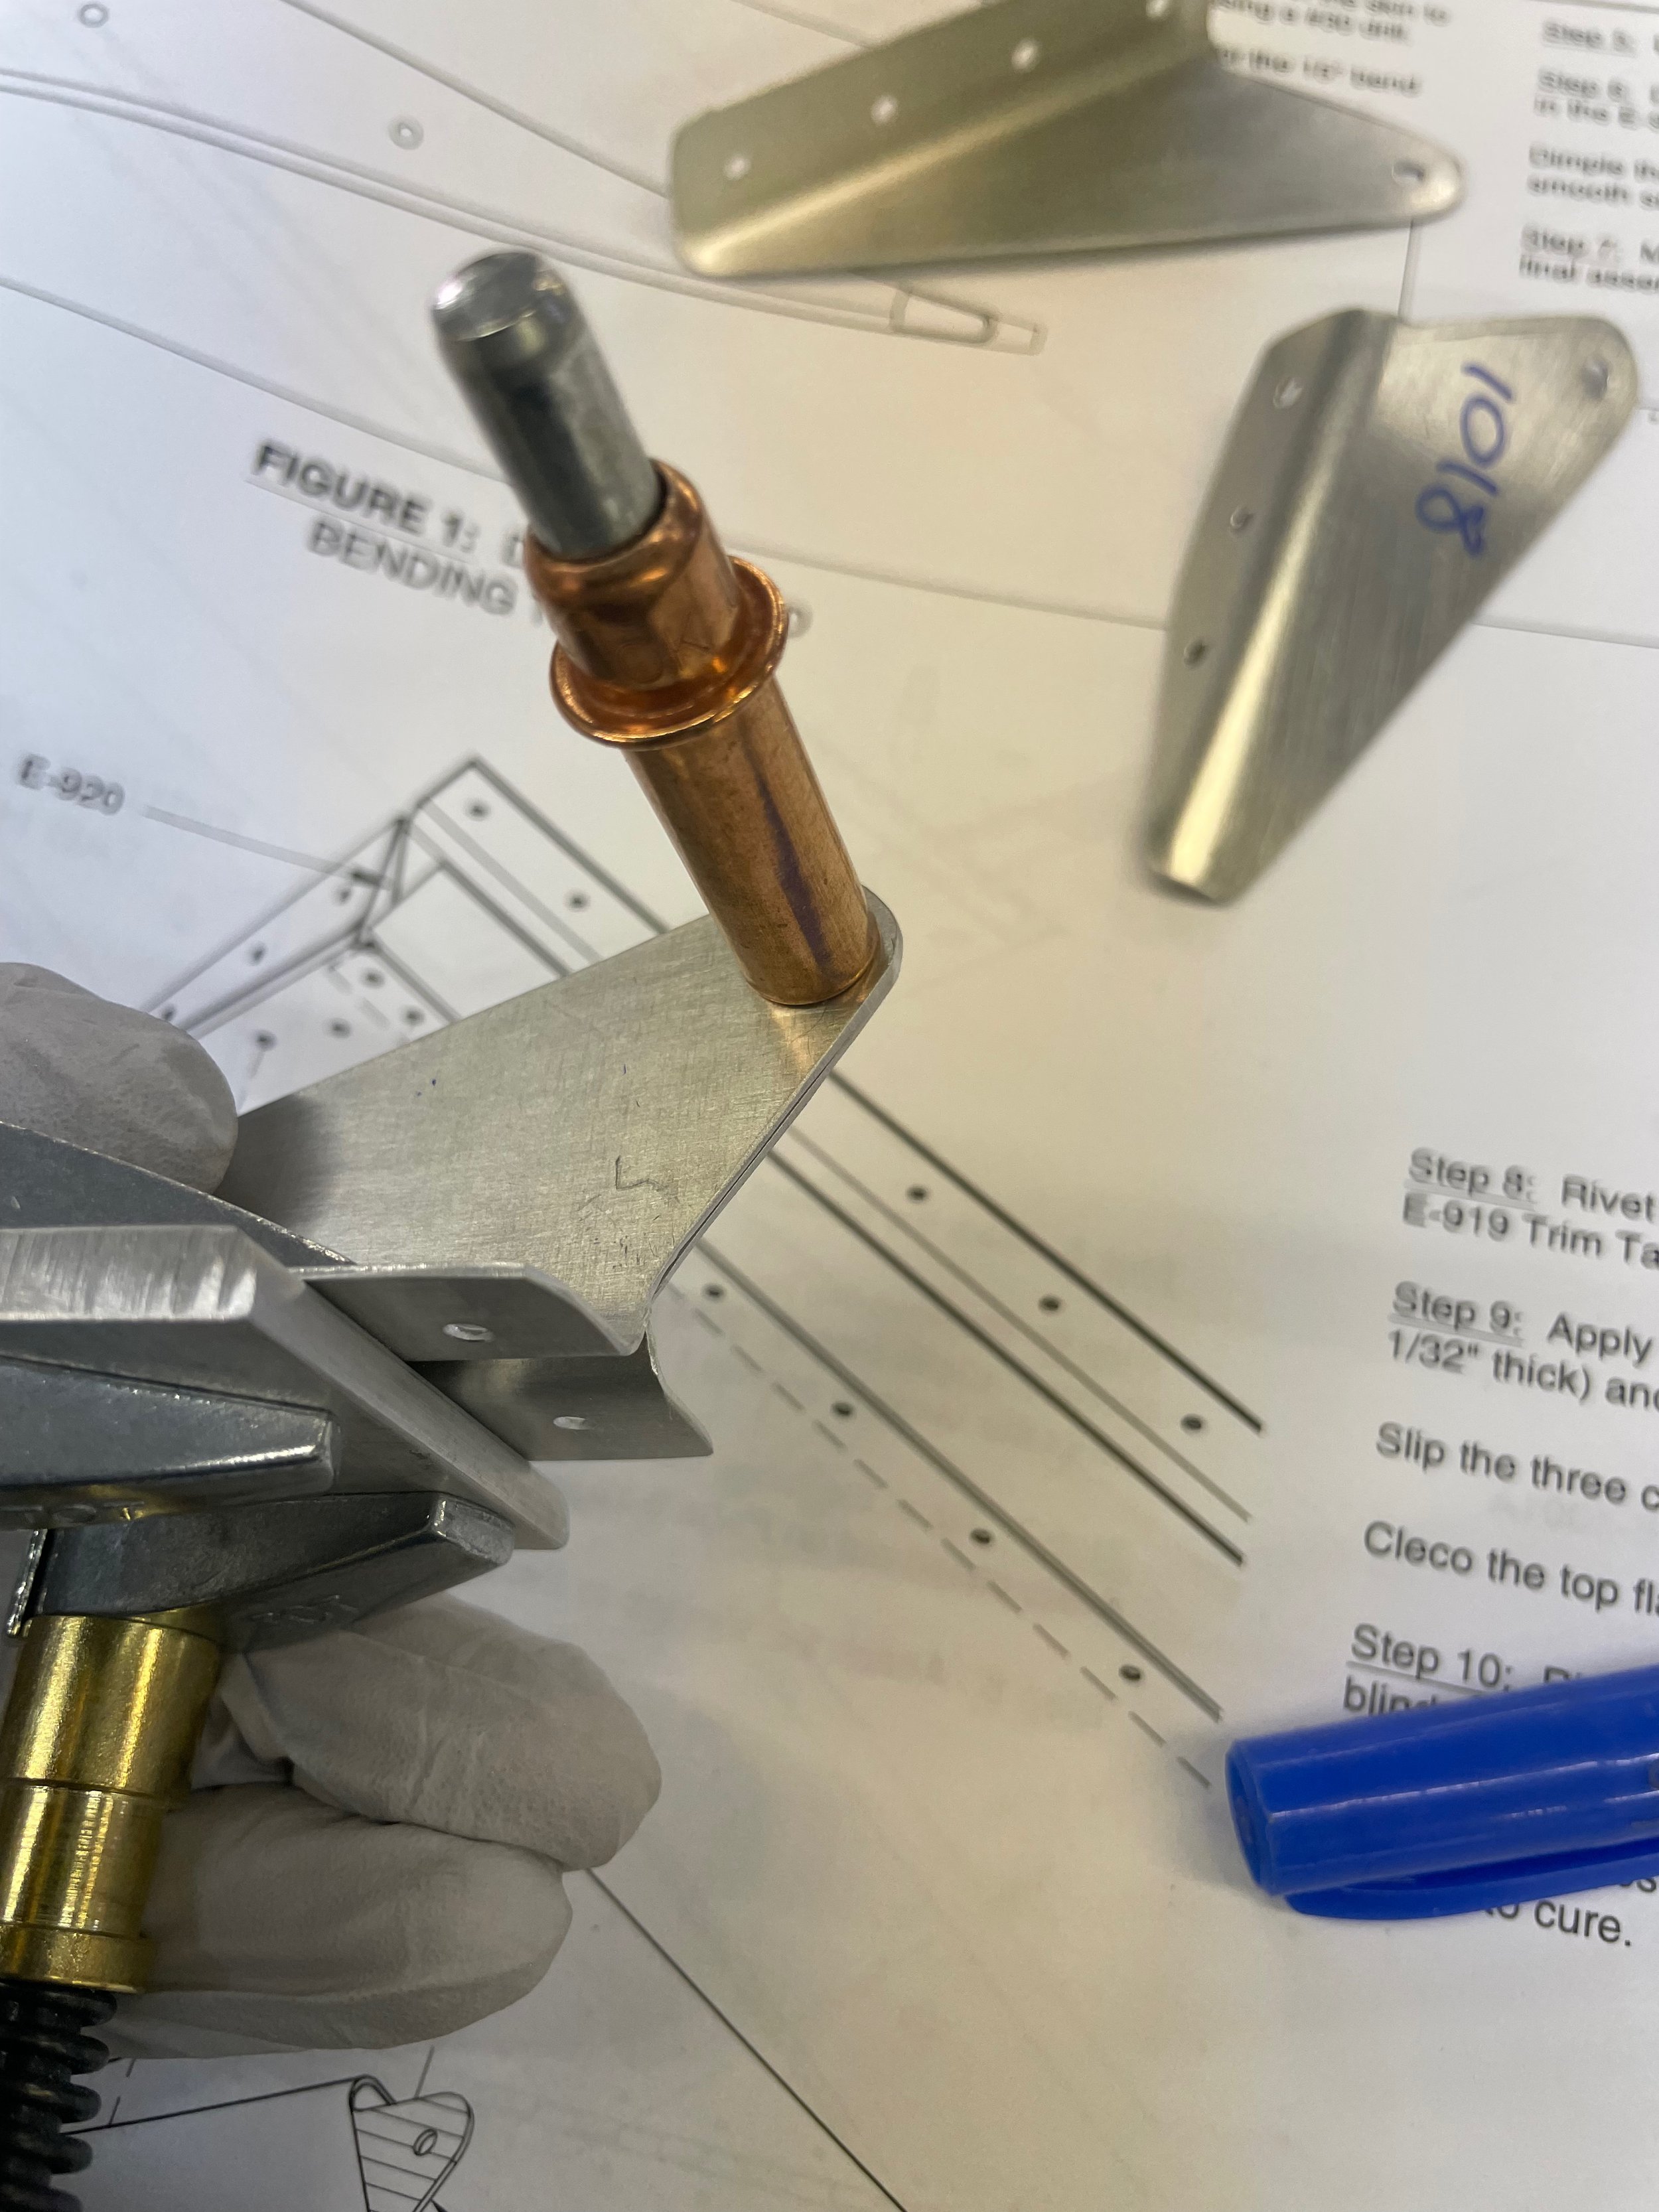
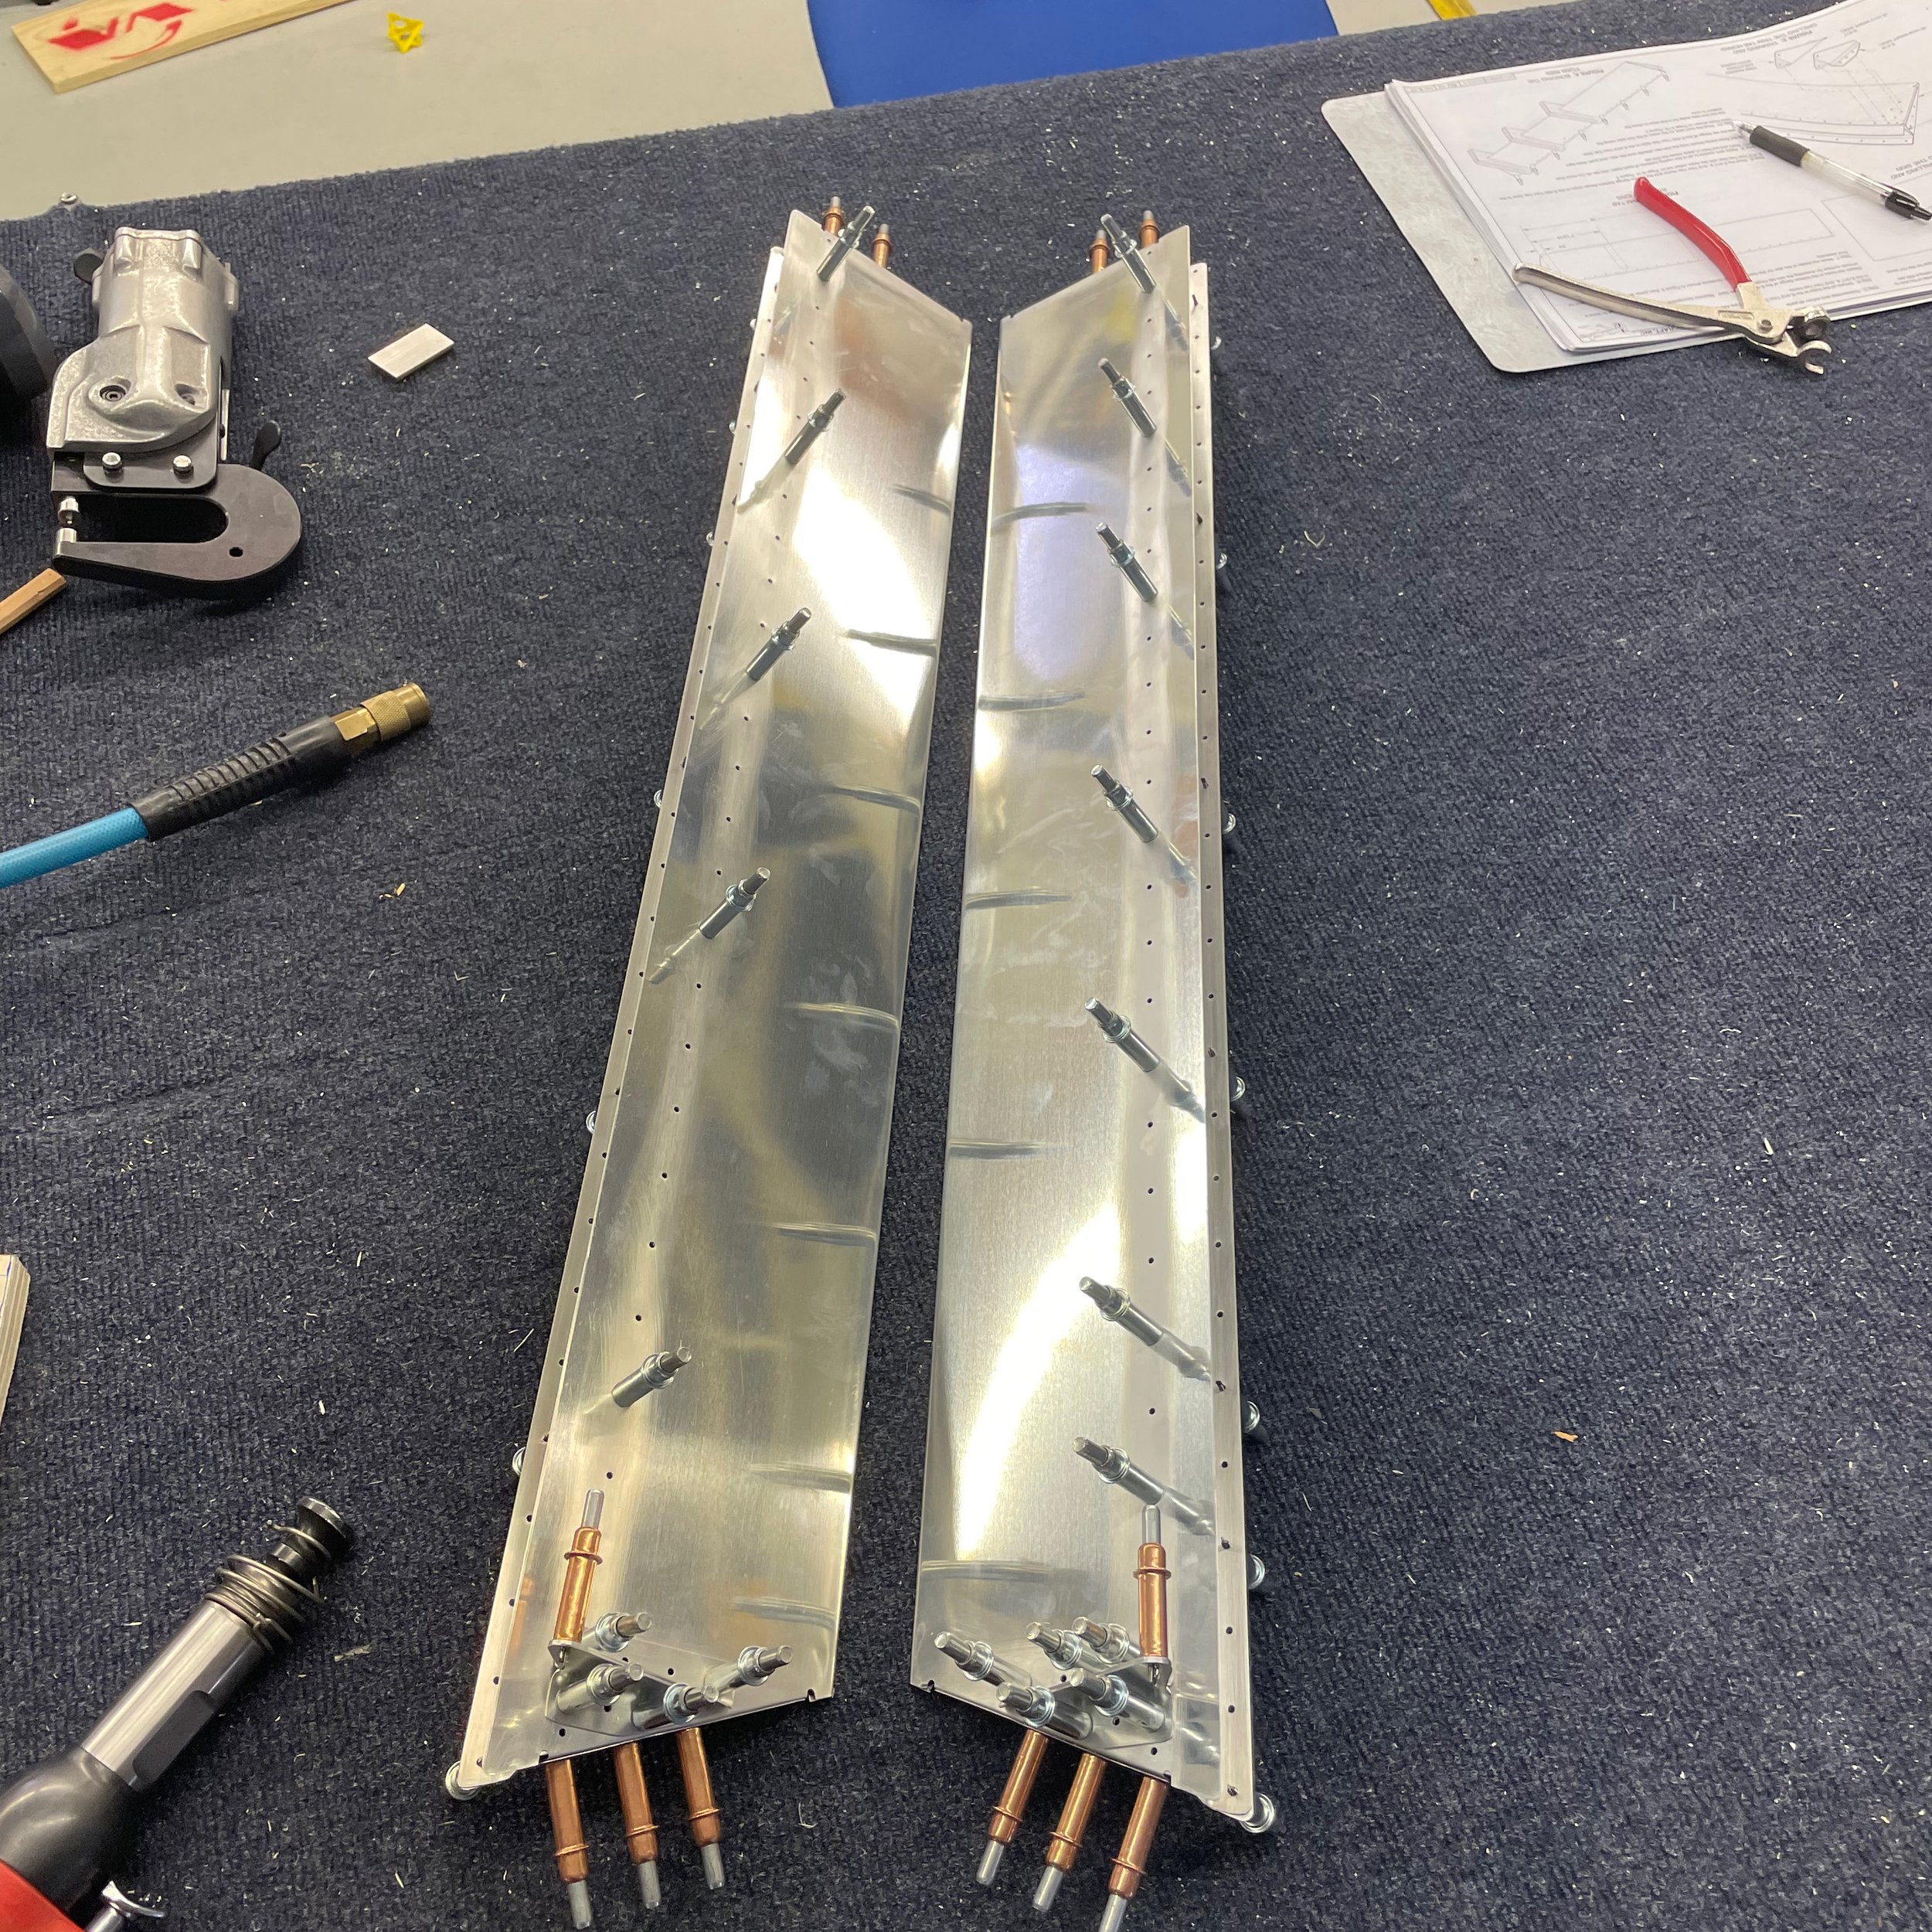
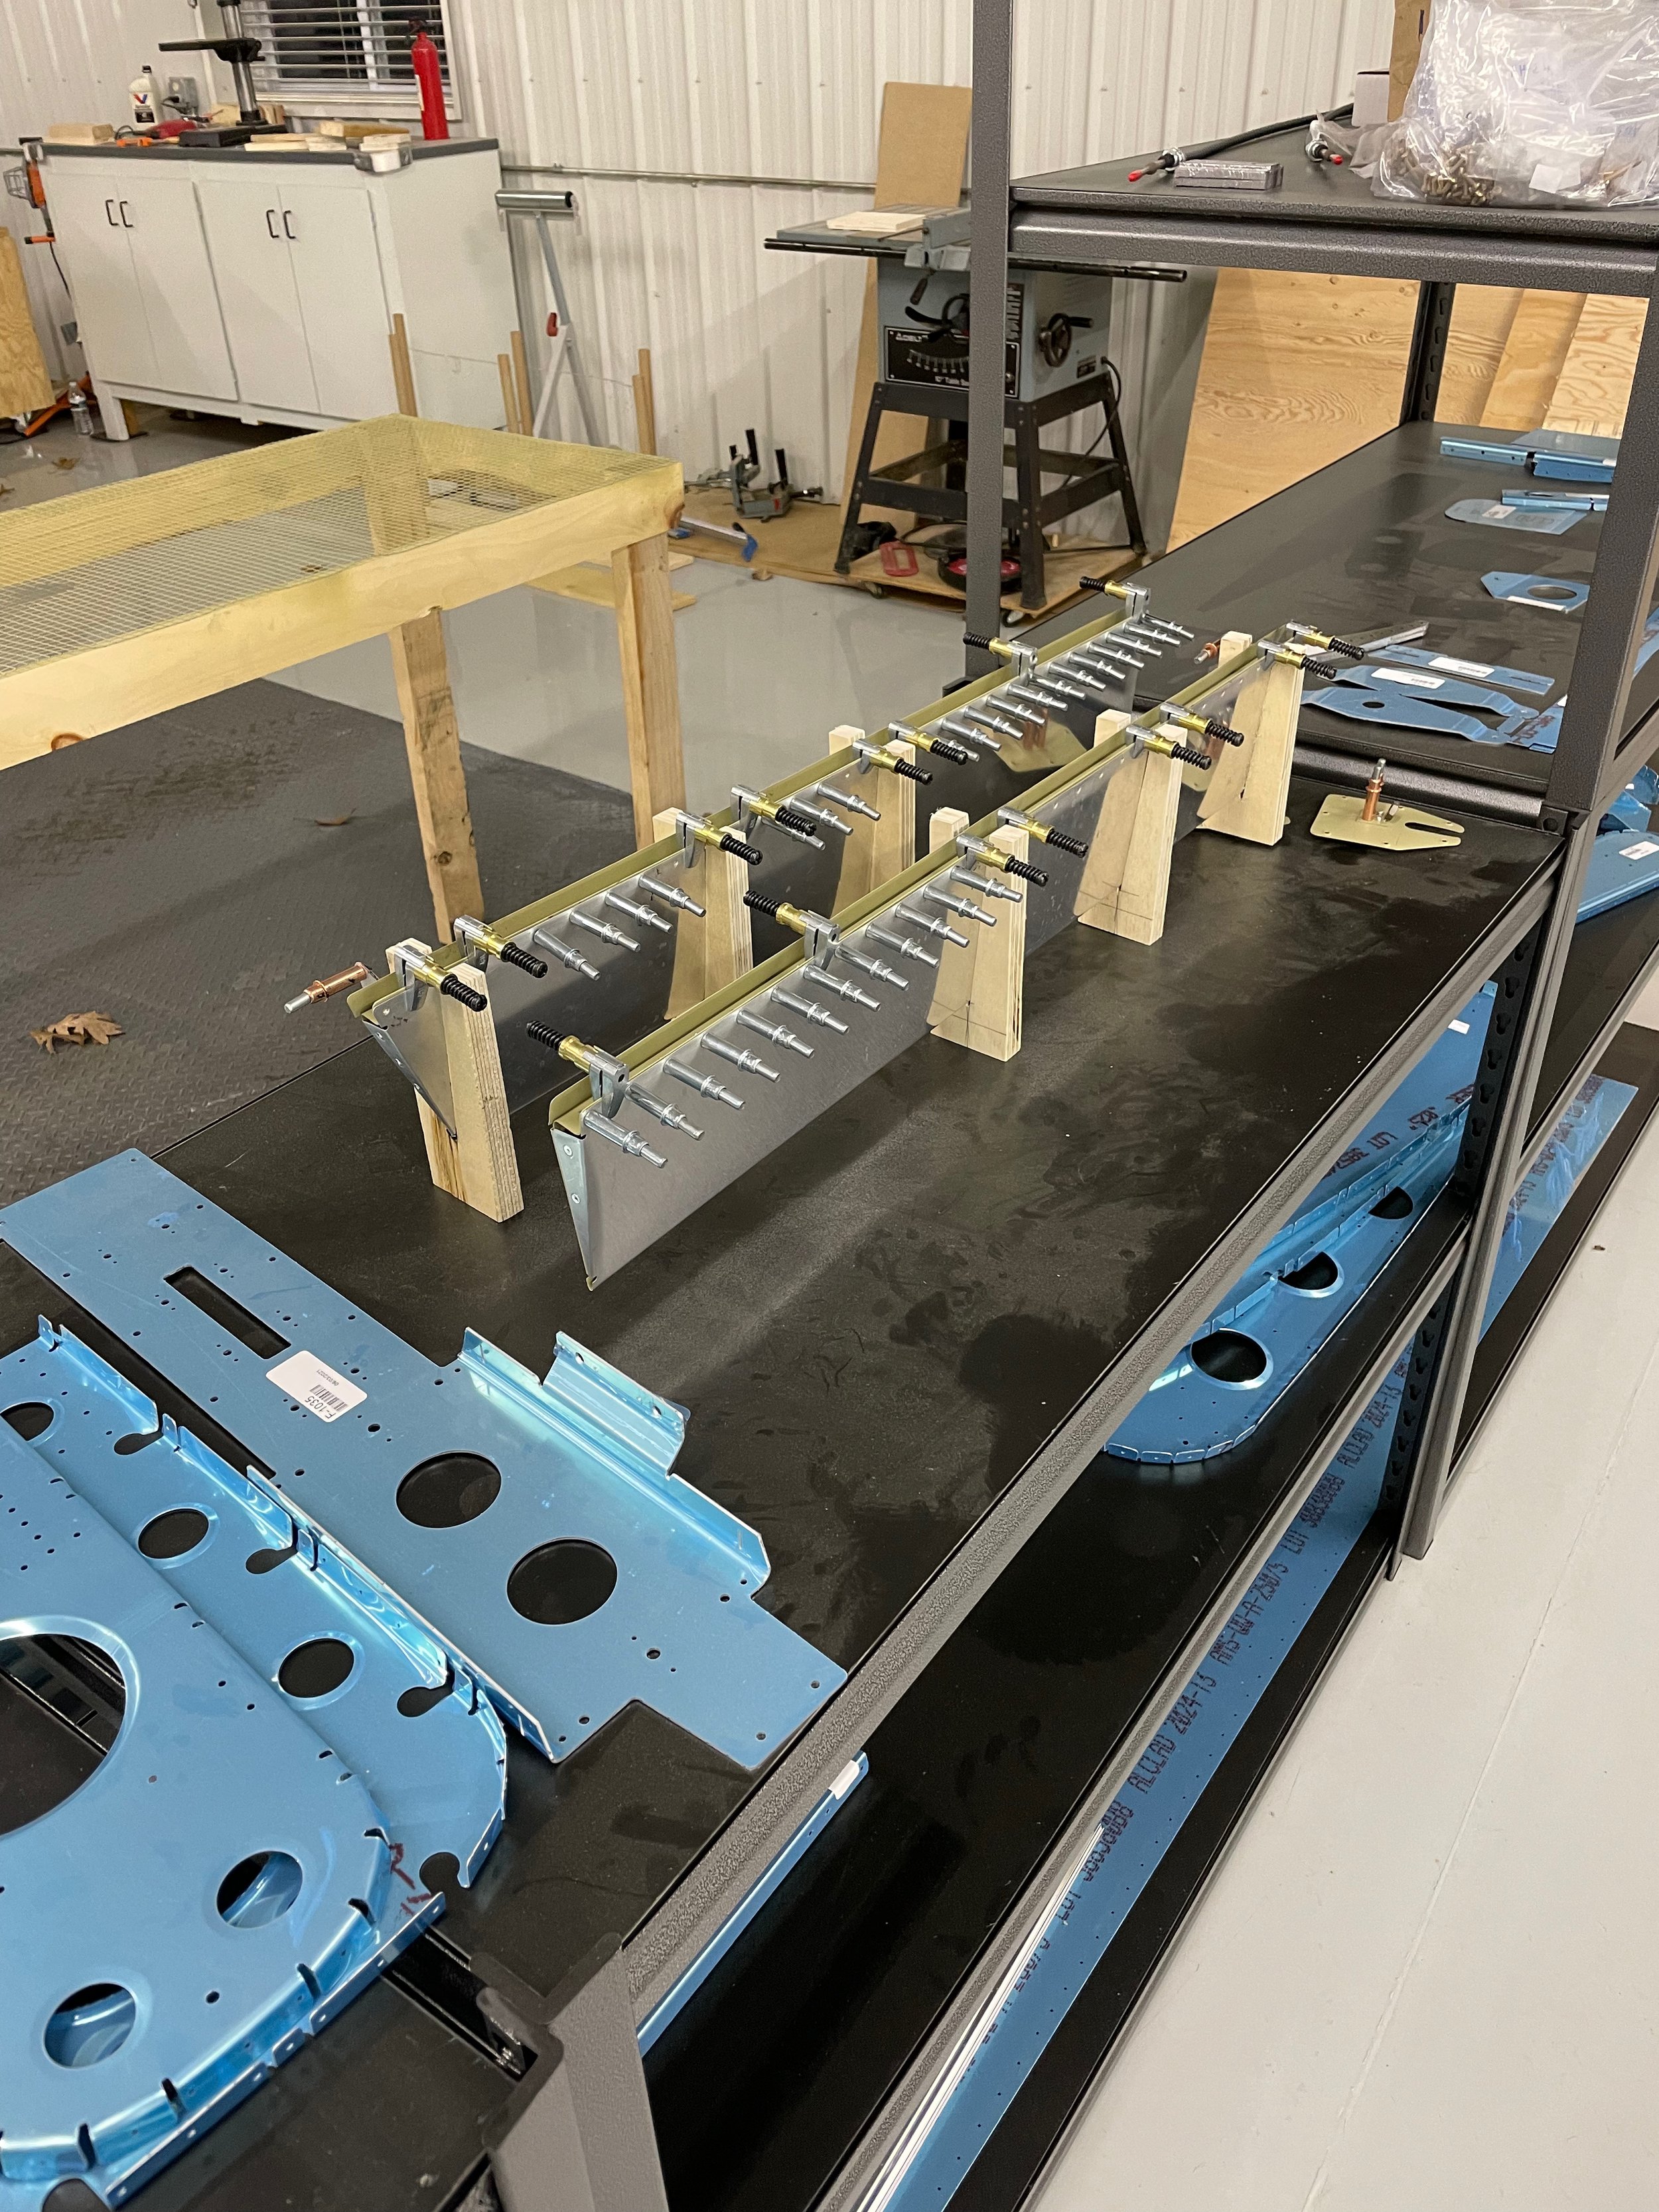
I also made the trim tabs at the same time as the elevators. In the picture above you can see the templates and foam ribs. These have to be bonded in place with tank sealant so I wanted to get all that done at the same time. To facilitate that, I had the elevators ready for the trailing edge wedges and foam ribs and the foam ribs for the trim tabs all primed and ready to go.
One suggestion I got from instagram was to use tank sealant on the trim tab control horns shown above next to the foam ribs. Didn’t seem like it would add to much more work so I went for it as well.

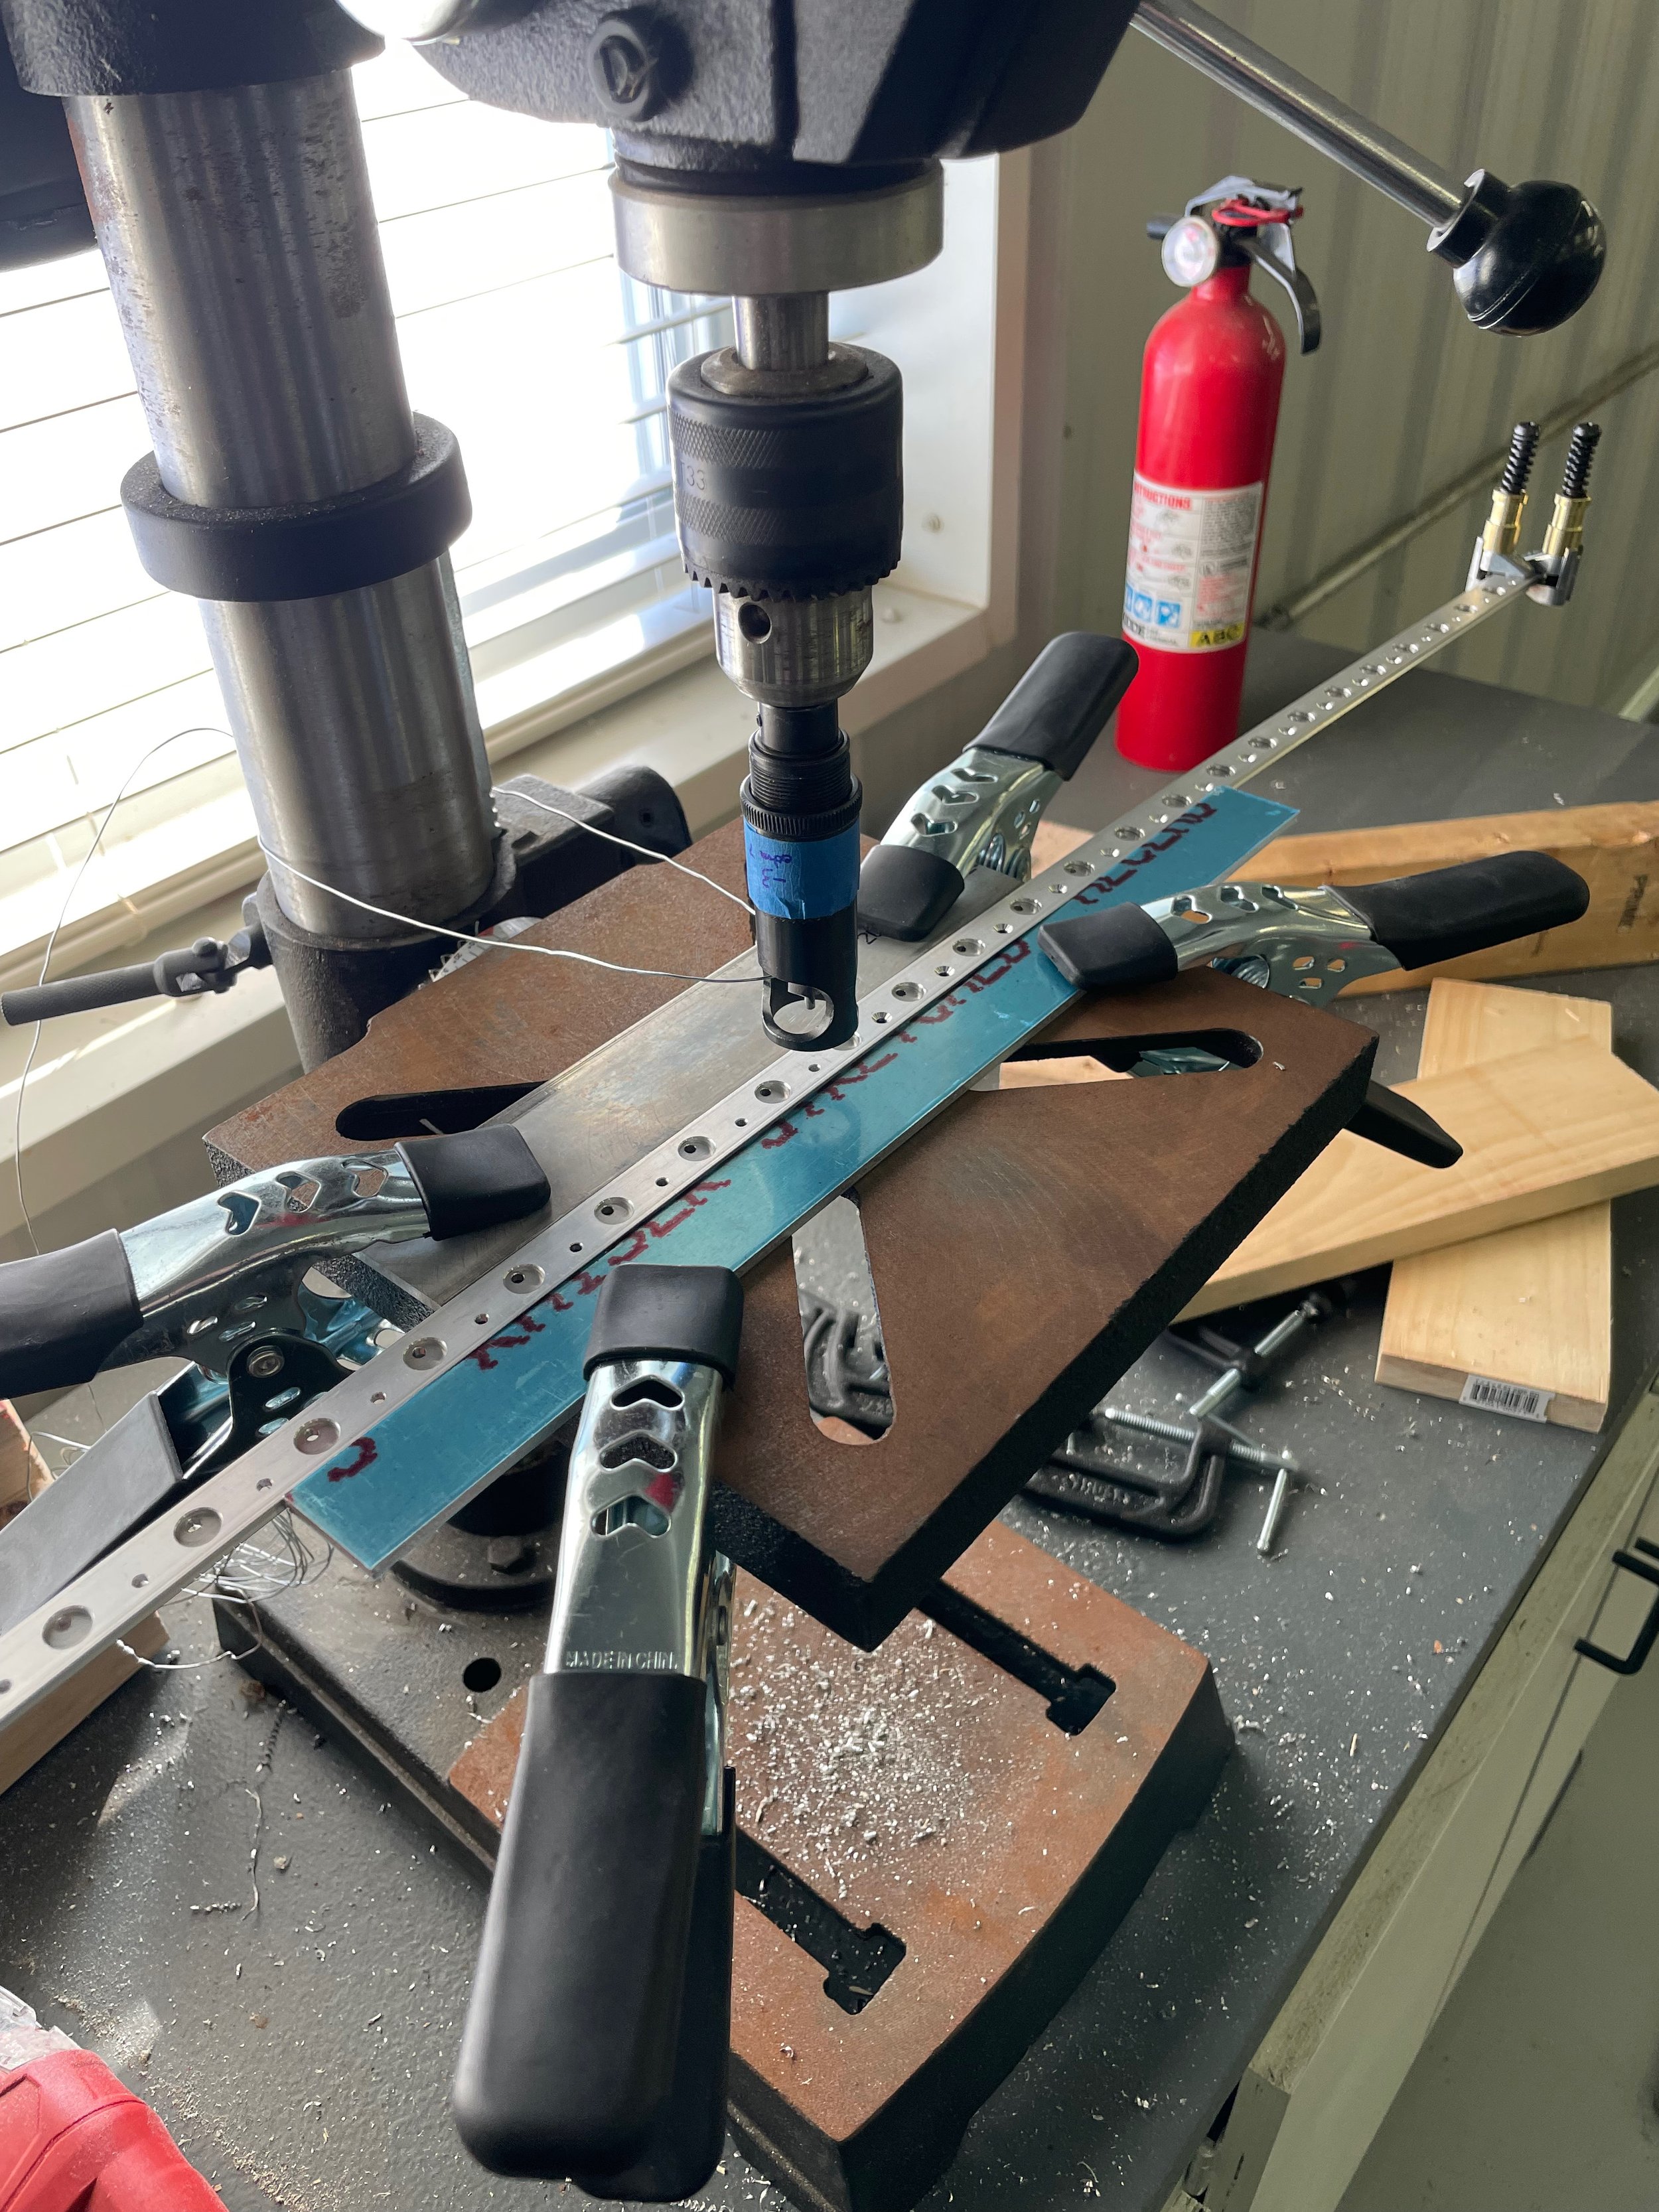
I made my first mistake big enough to need to re-order a part. When I was attaching my first piano hinge for the trim tab. I separated the halves in order to clamp them to their respective edges and better “line them up with the edges” only to make them not line up with each other very well. I got it completely riveted together and went to join the halves and the pin was difficult to advance. Once in, the hinge would bind. So out came all the rivets and a new piece of piano hinge was on its way from AircraftSpruce. Luckily I figured it out before botching both of the elevators.
With the elevators done, it’s time to start on the tail cone.