Finishing Off the Rudder
It didn’t take long before Van’s got the tank sealant to me and I was ready to get the rudder buttoned up. I made sure I had a full day available to so I could plan out everything that needed to happen while the sealant was workable.

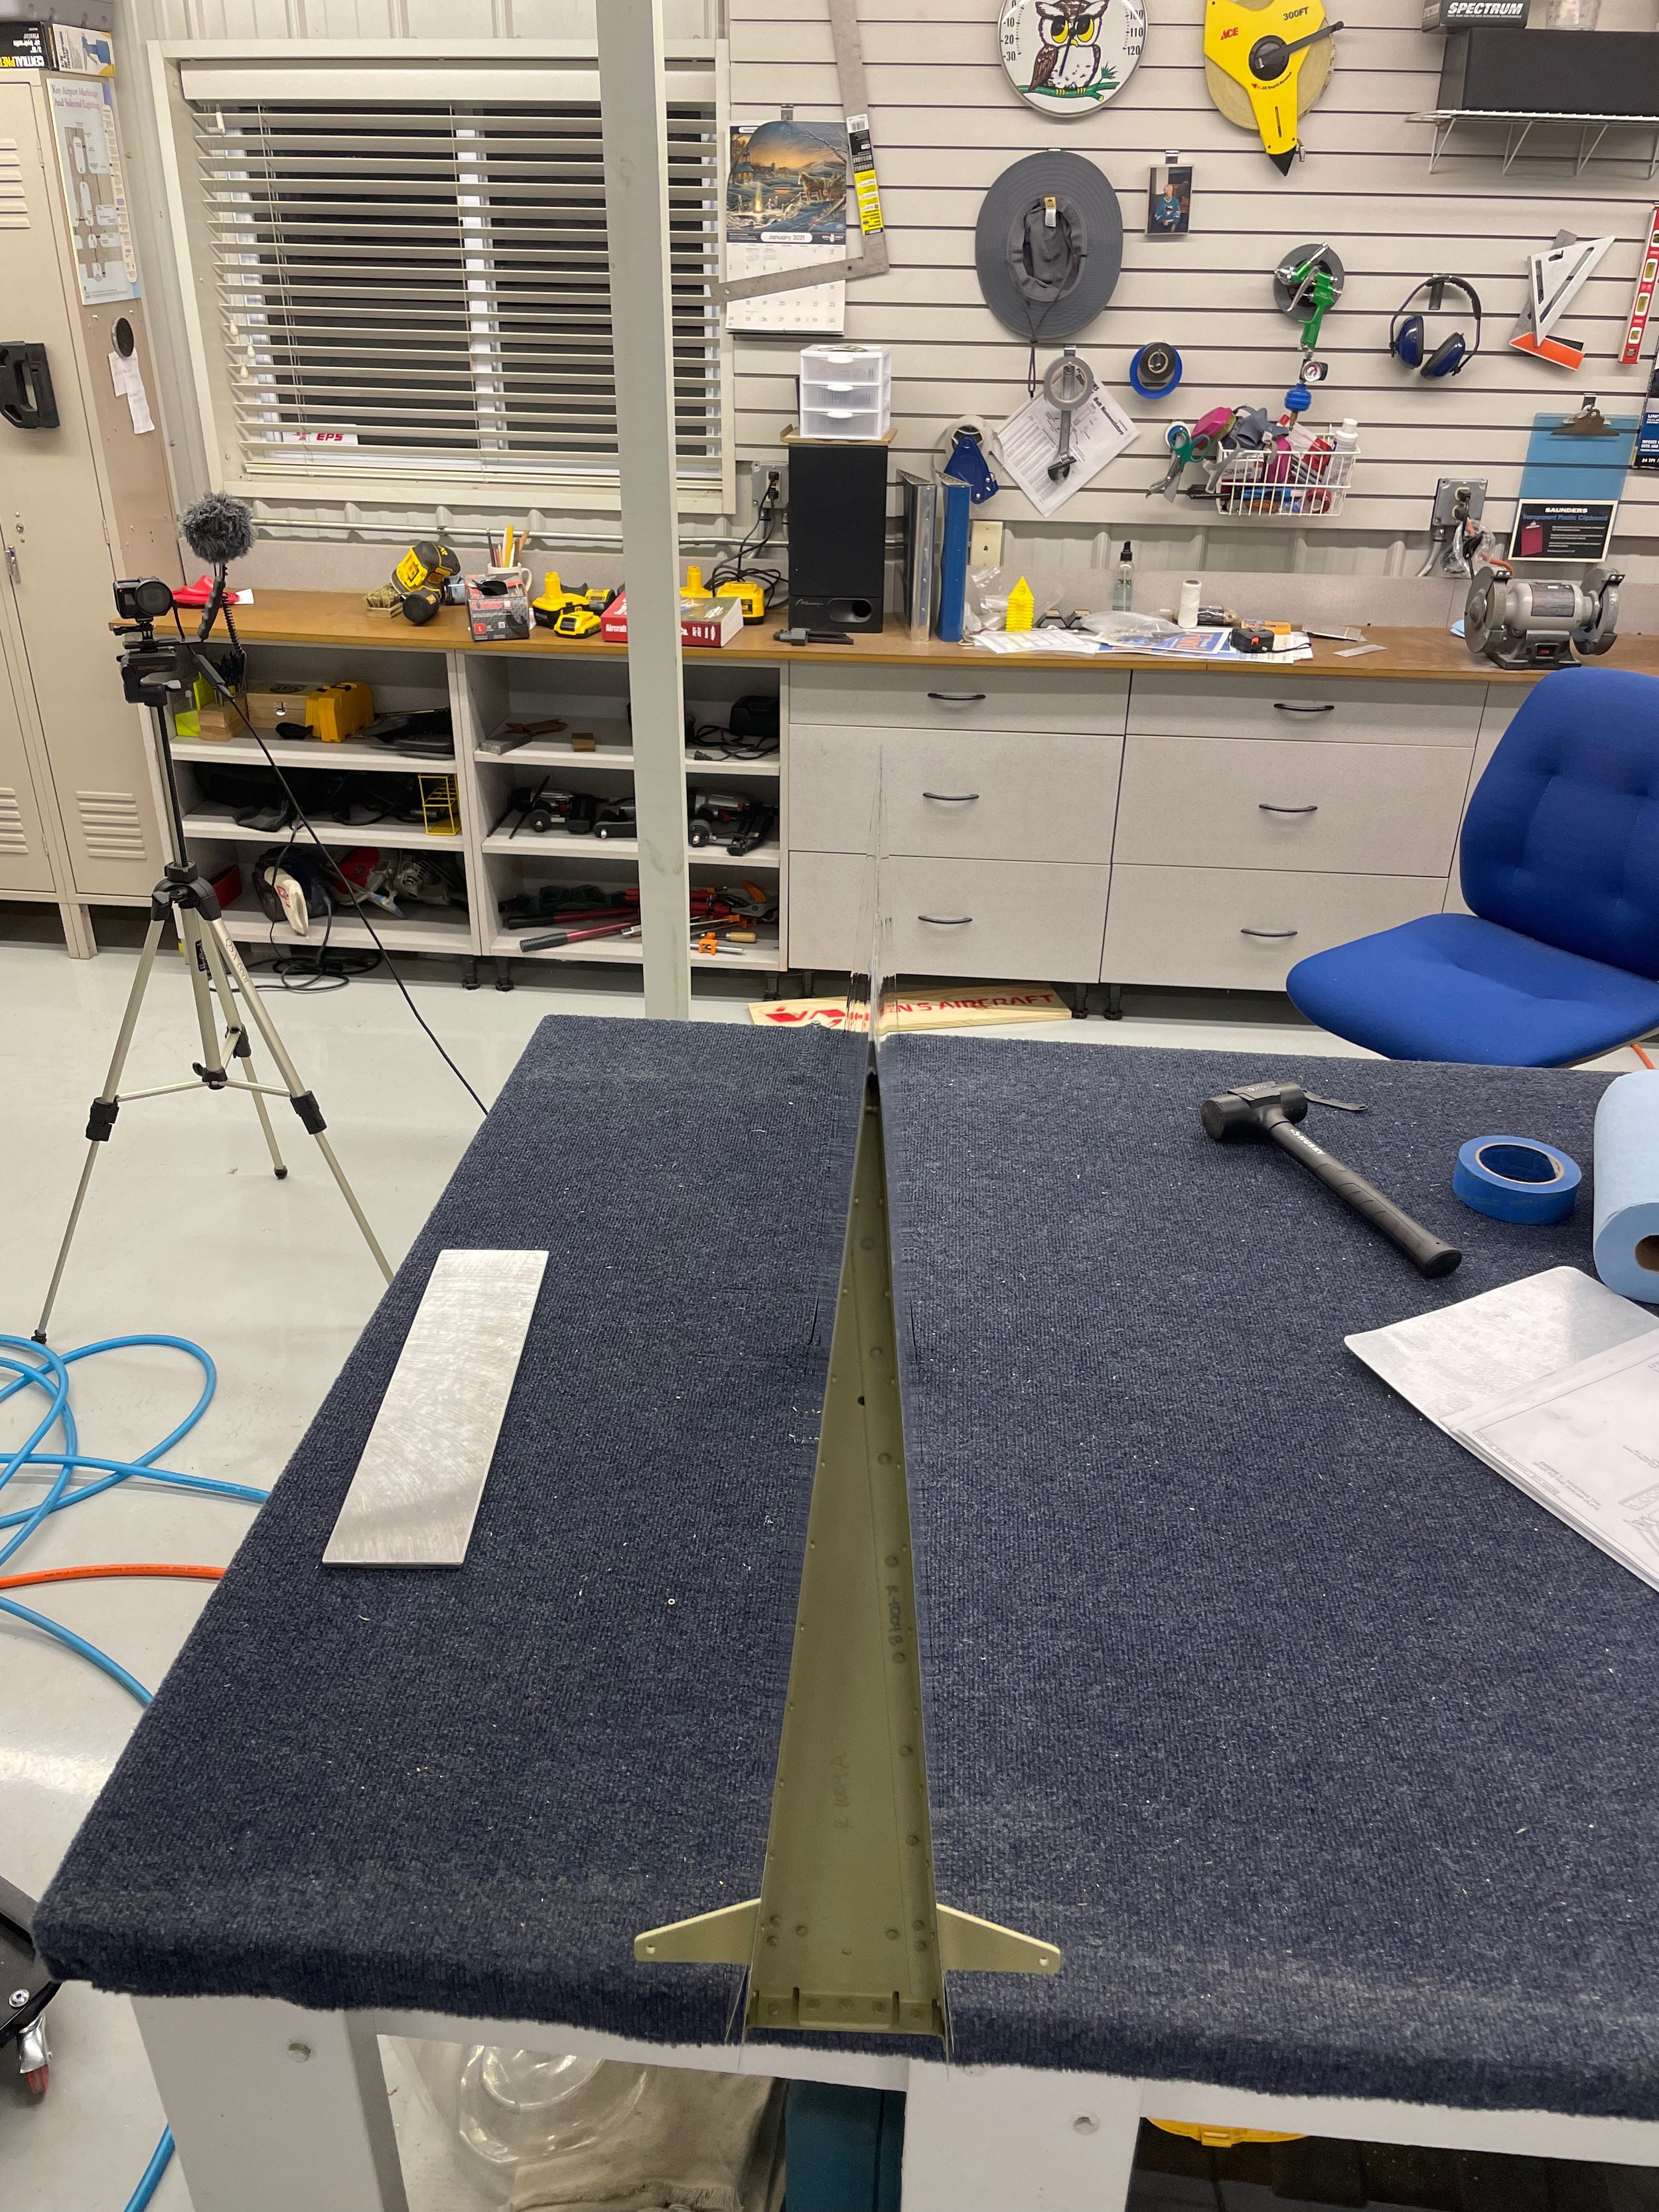
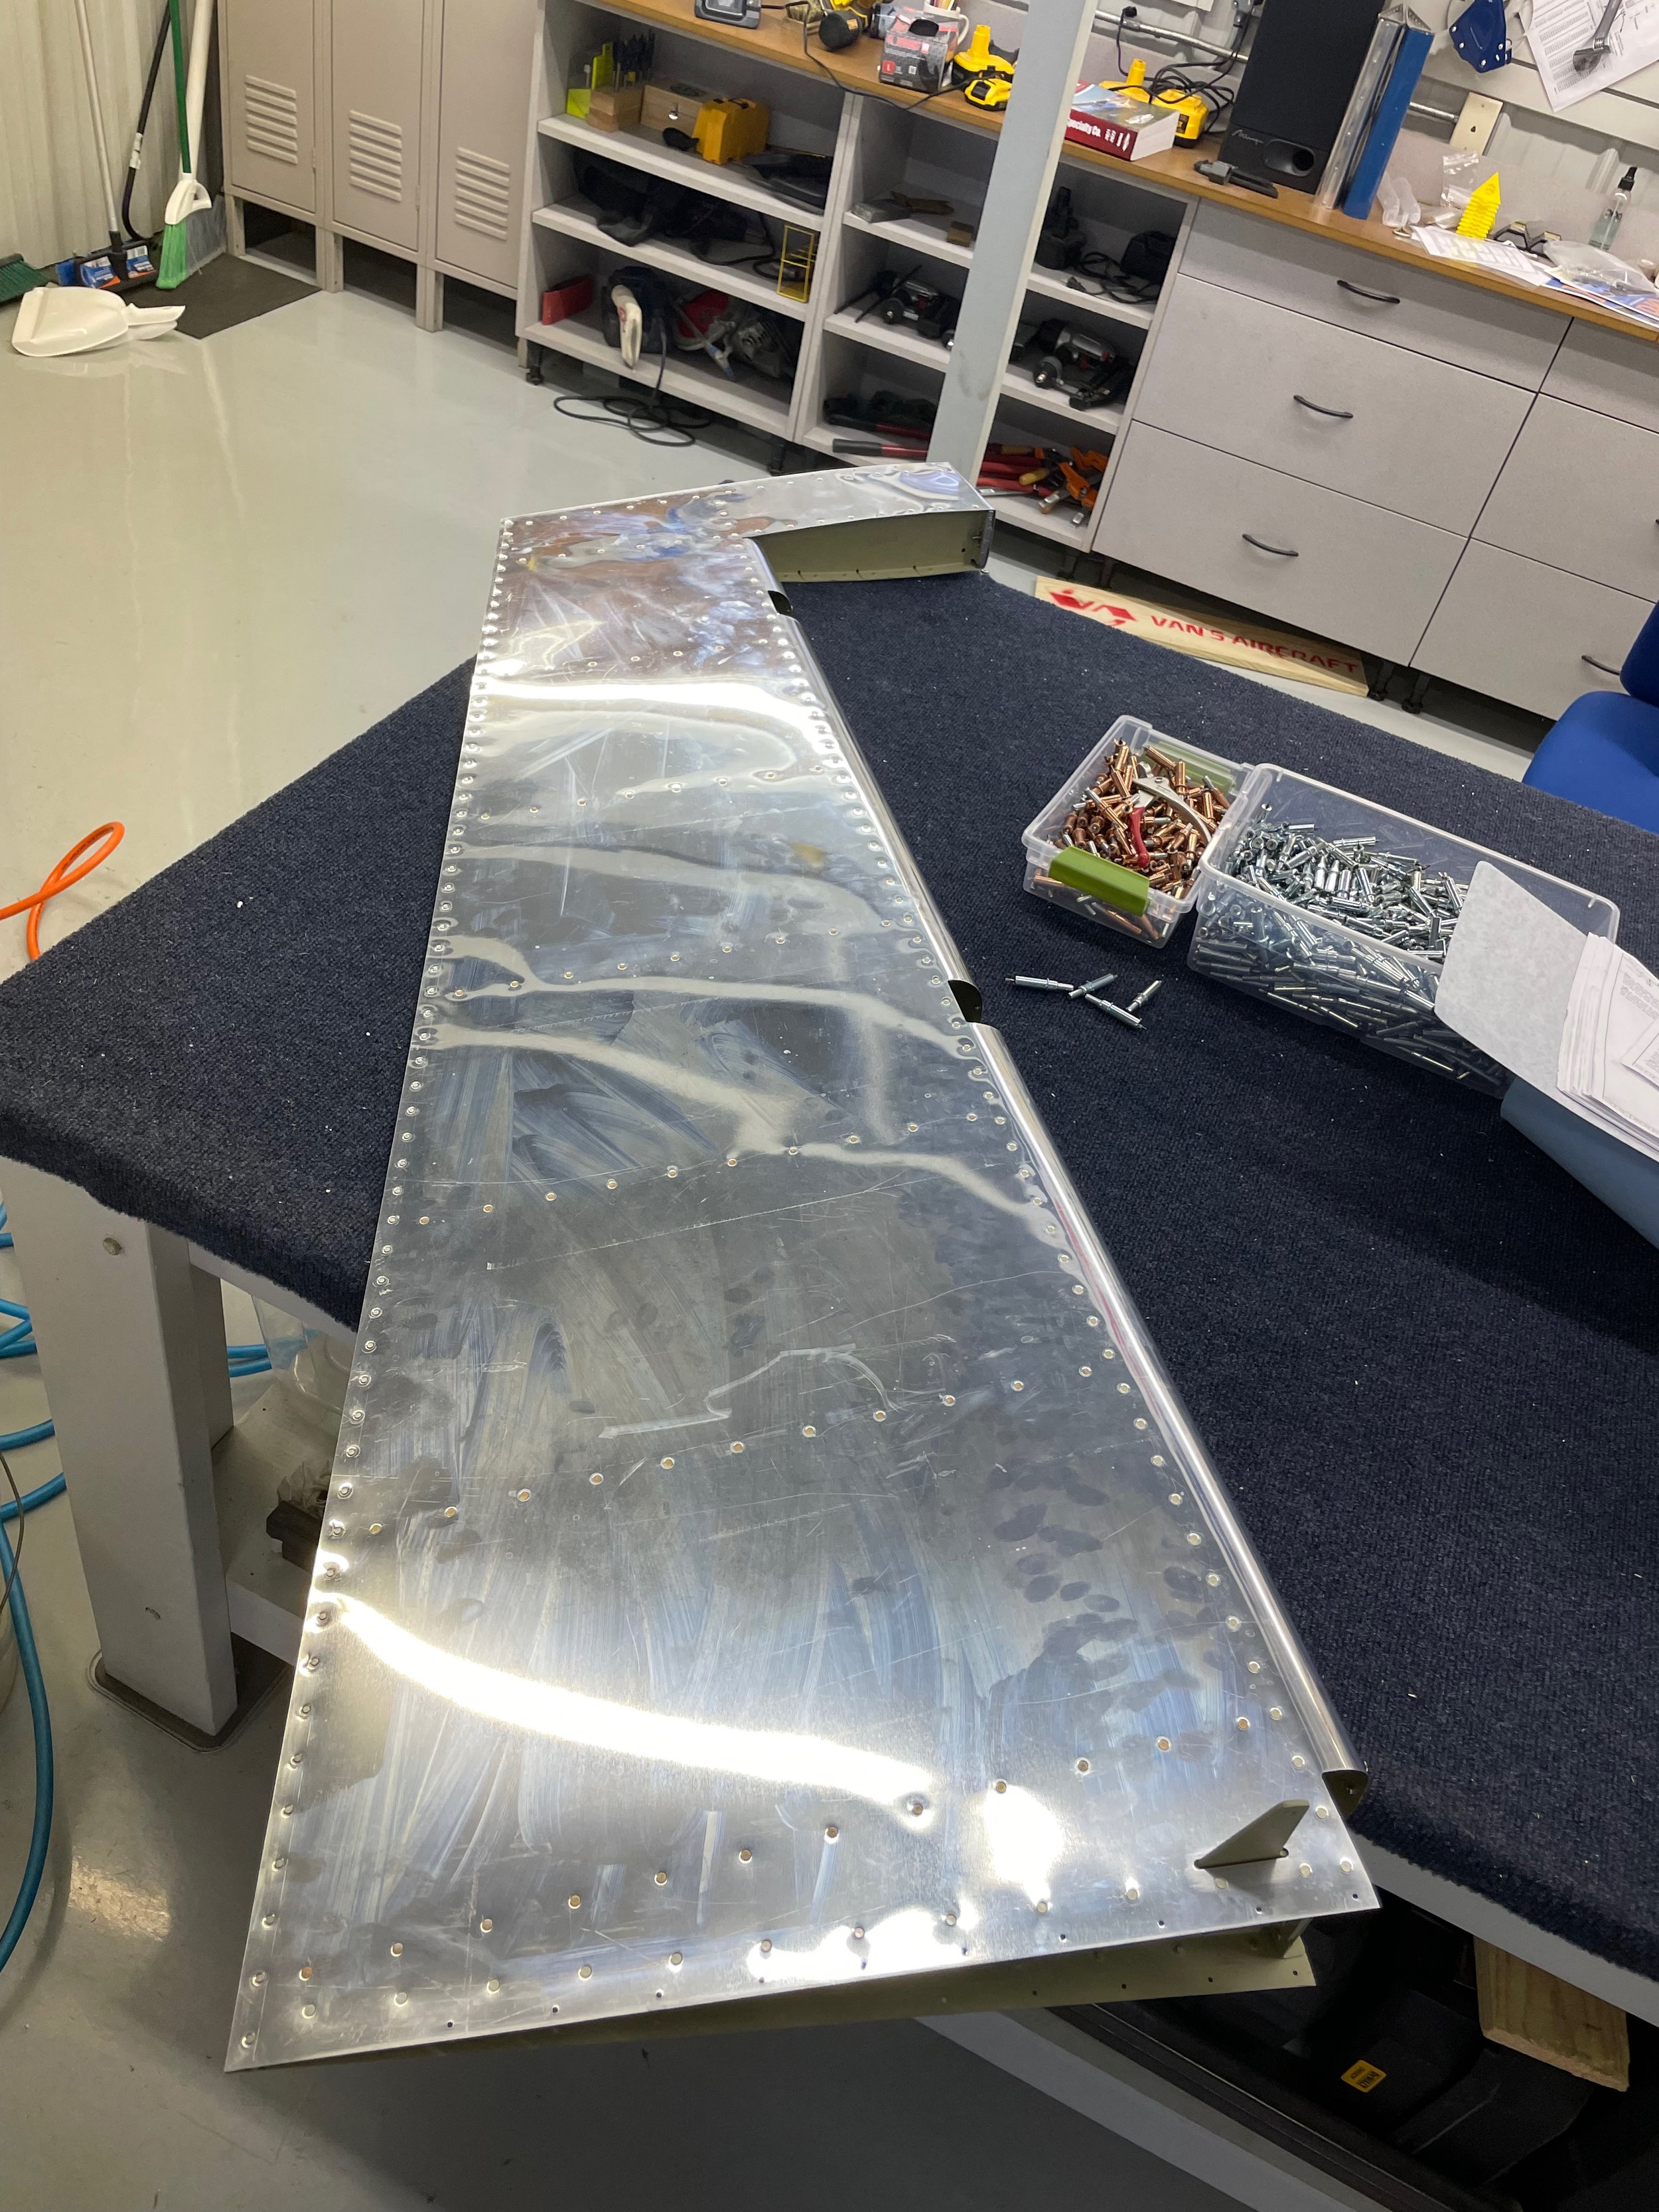
the two halves of the rudder in place and the trailing edge ready for a thin layer of tank sealant.
I didn’t take any pictures of the tank sealant but it’s the 3.5 ounce Flamemaster tank sealant semco cartridge from the Van’s webstore. It’s easy enough to mix and will work in a regular caulking gun. I tried to apply the thinnest layer possible while still having it completely covered but I think I could have/should have gotten it even thinner. There was quite a bit squeezed out and I scrambled to keep it from getting everywhere and I had to really work the edges to make sure there wasn’t any sealant keeping the ends from coming together.
With the sealant in place, it was time to fold the skins together and use the pull rivets to get all the stiffeners secured to each other at the trailing end and at the shear clips on at the front. Then it was a waiting game. I put a bunch of weights on the edges and let it sit for 2 days.

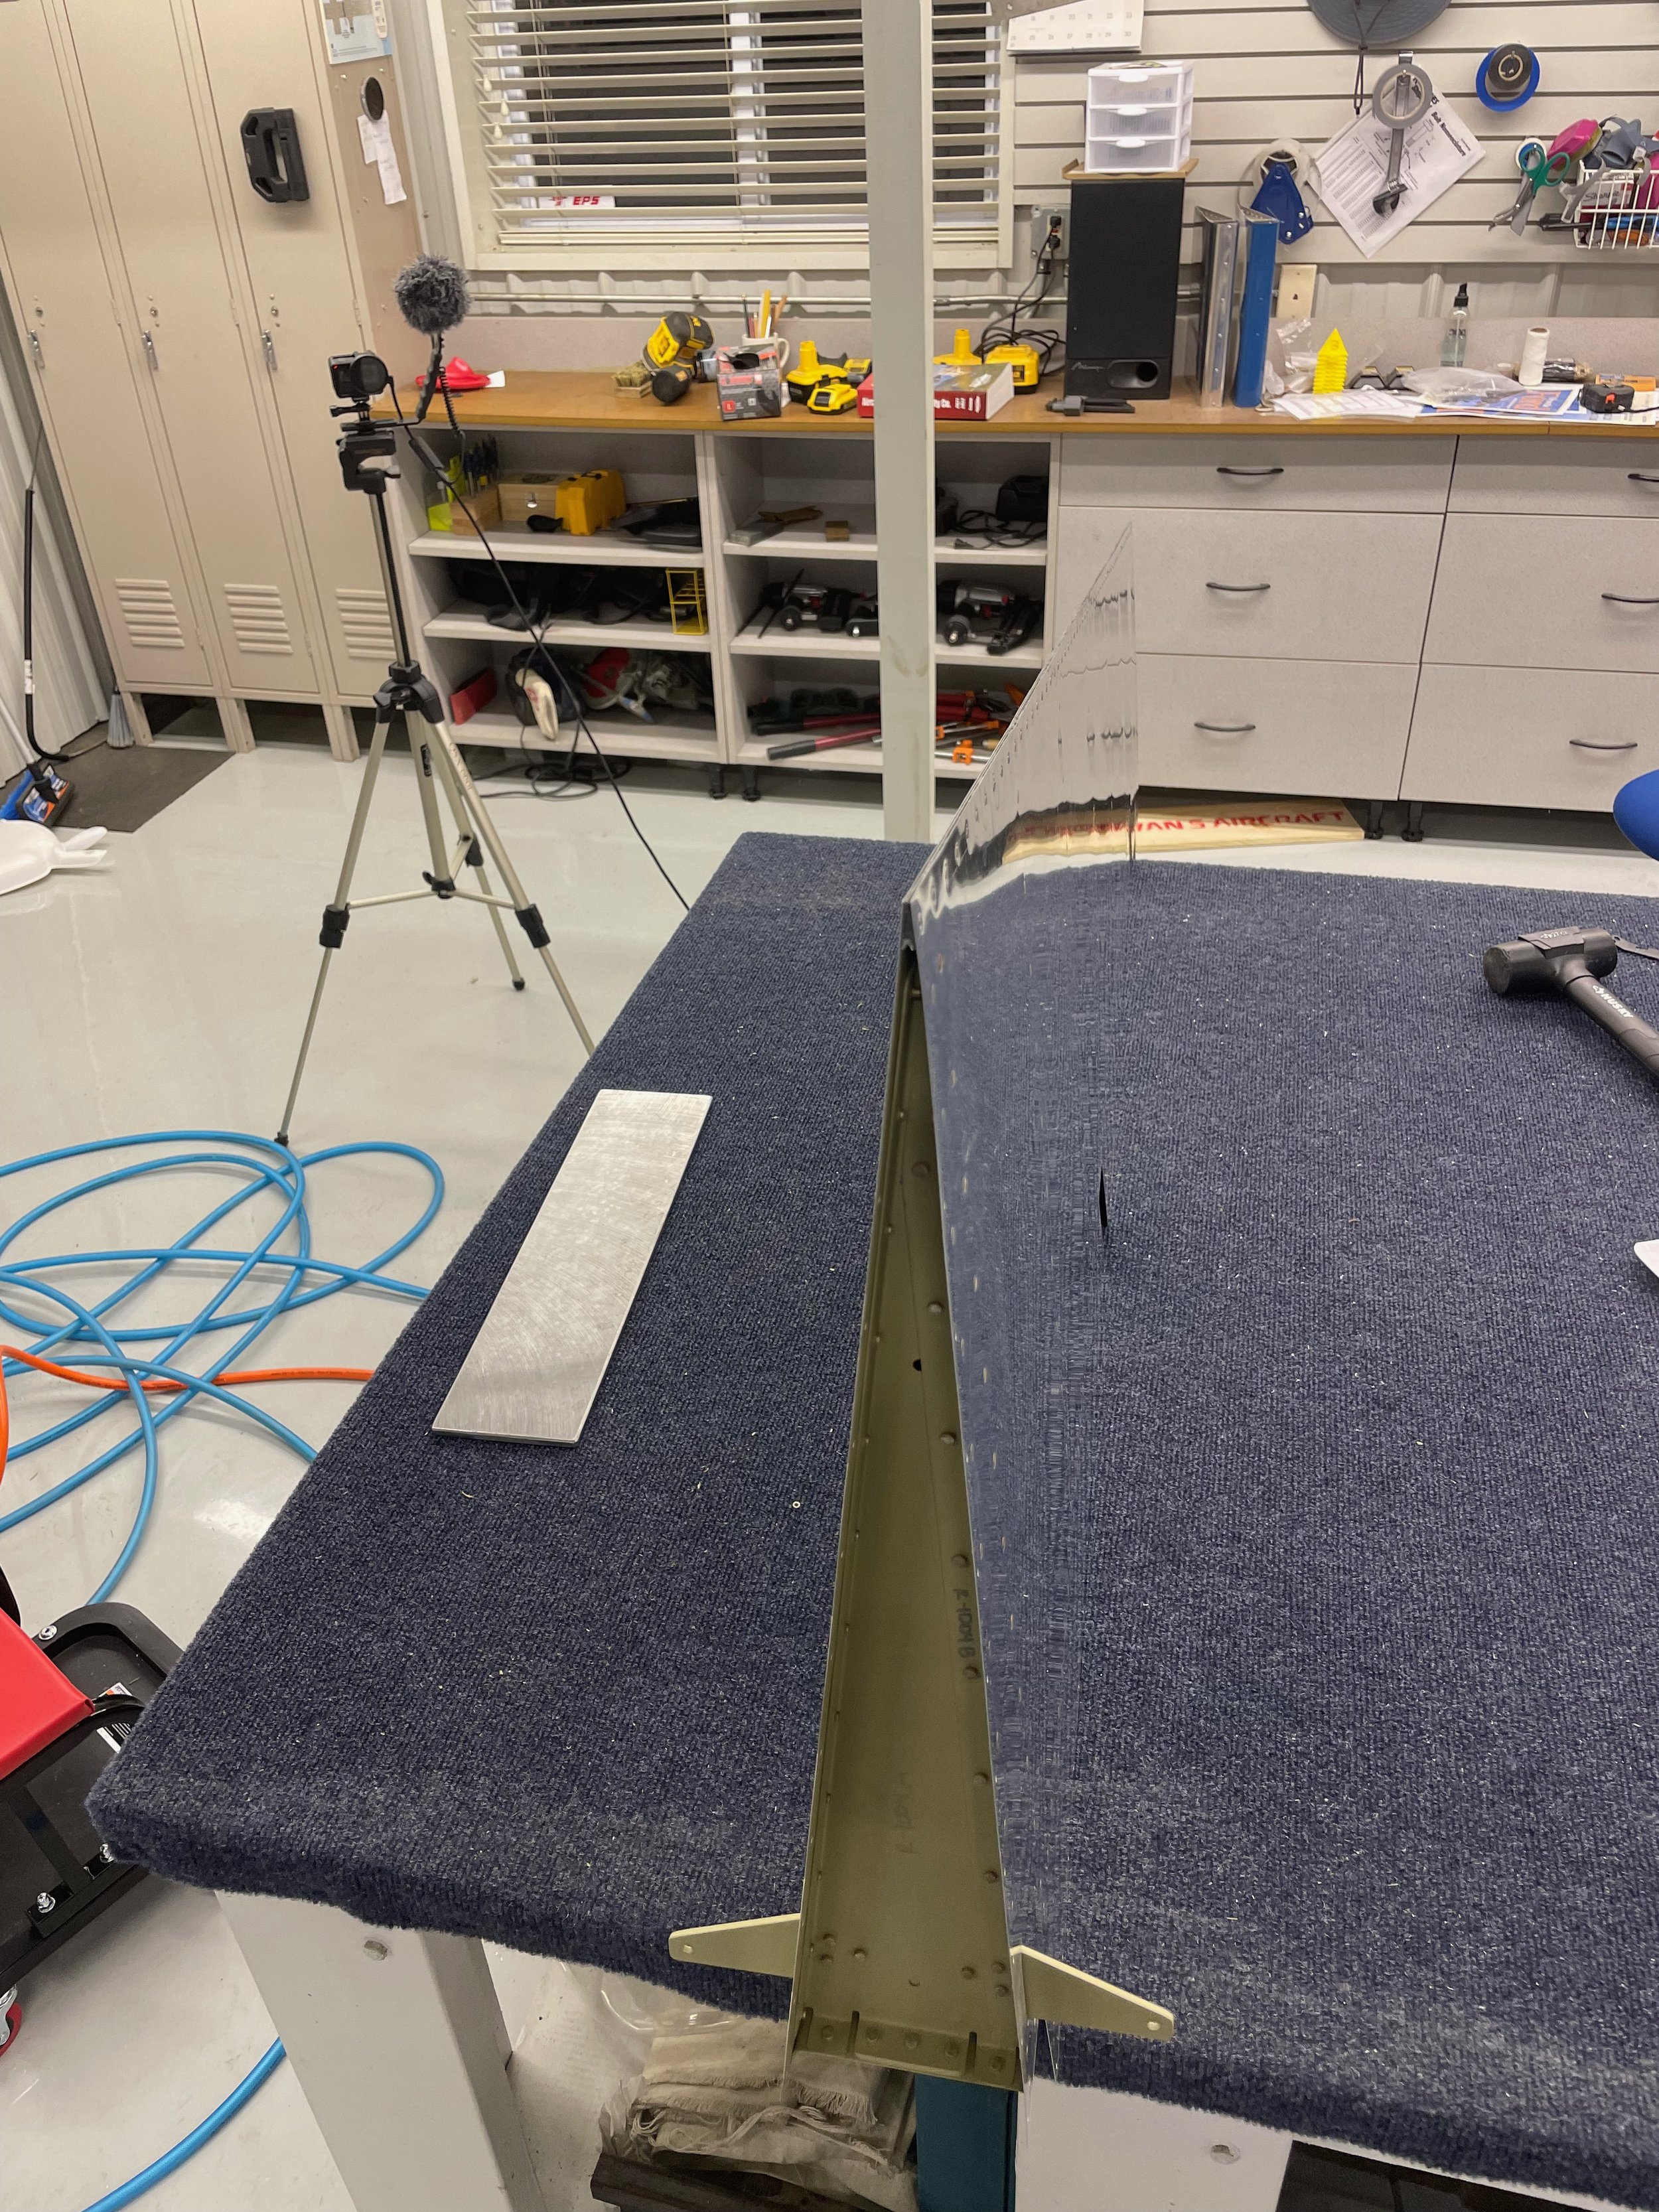
trailing edge before cleaning excess sealant
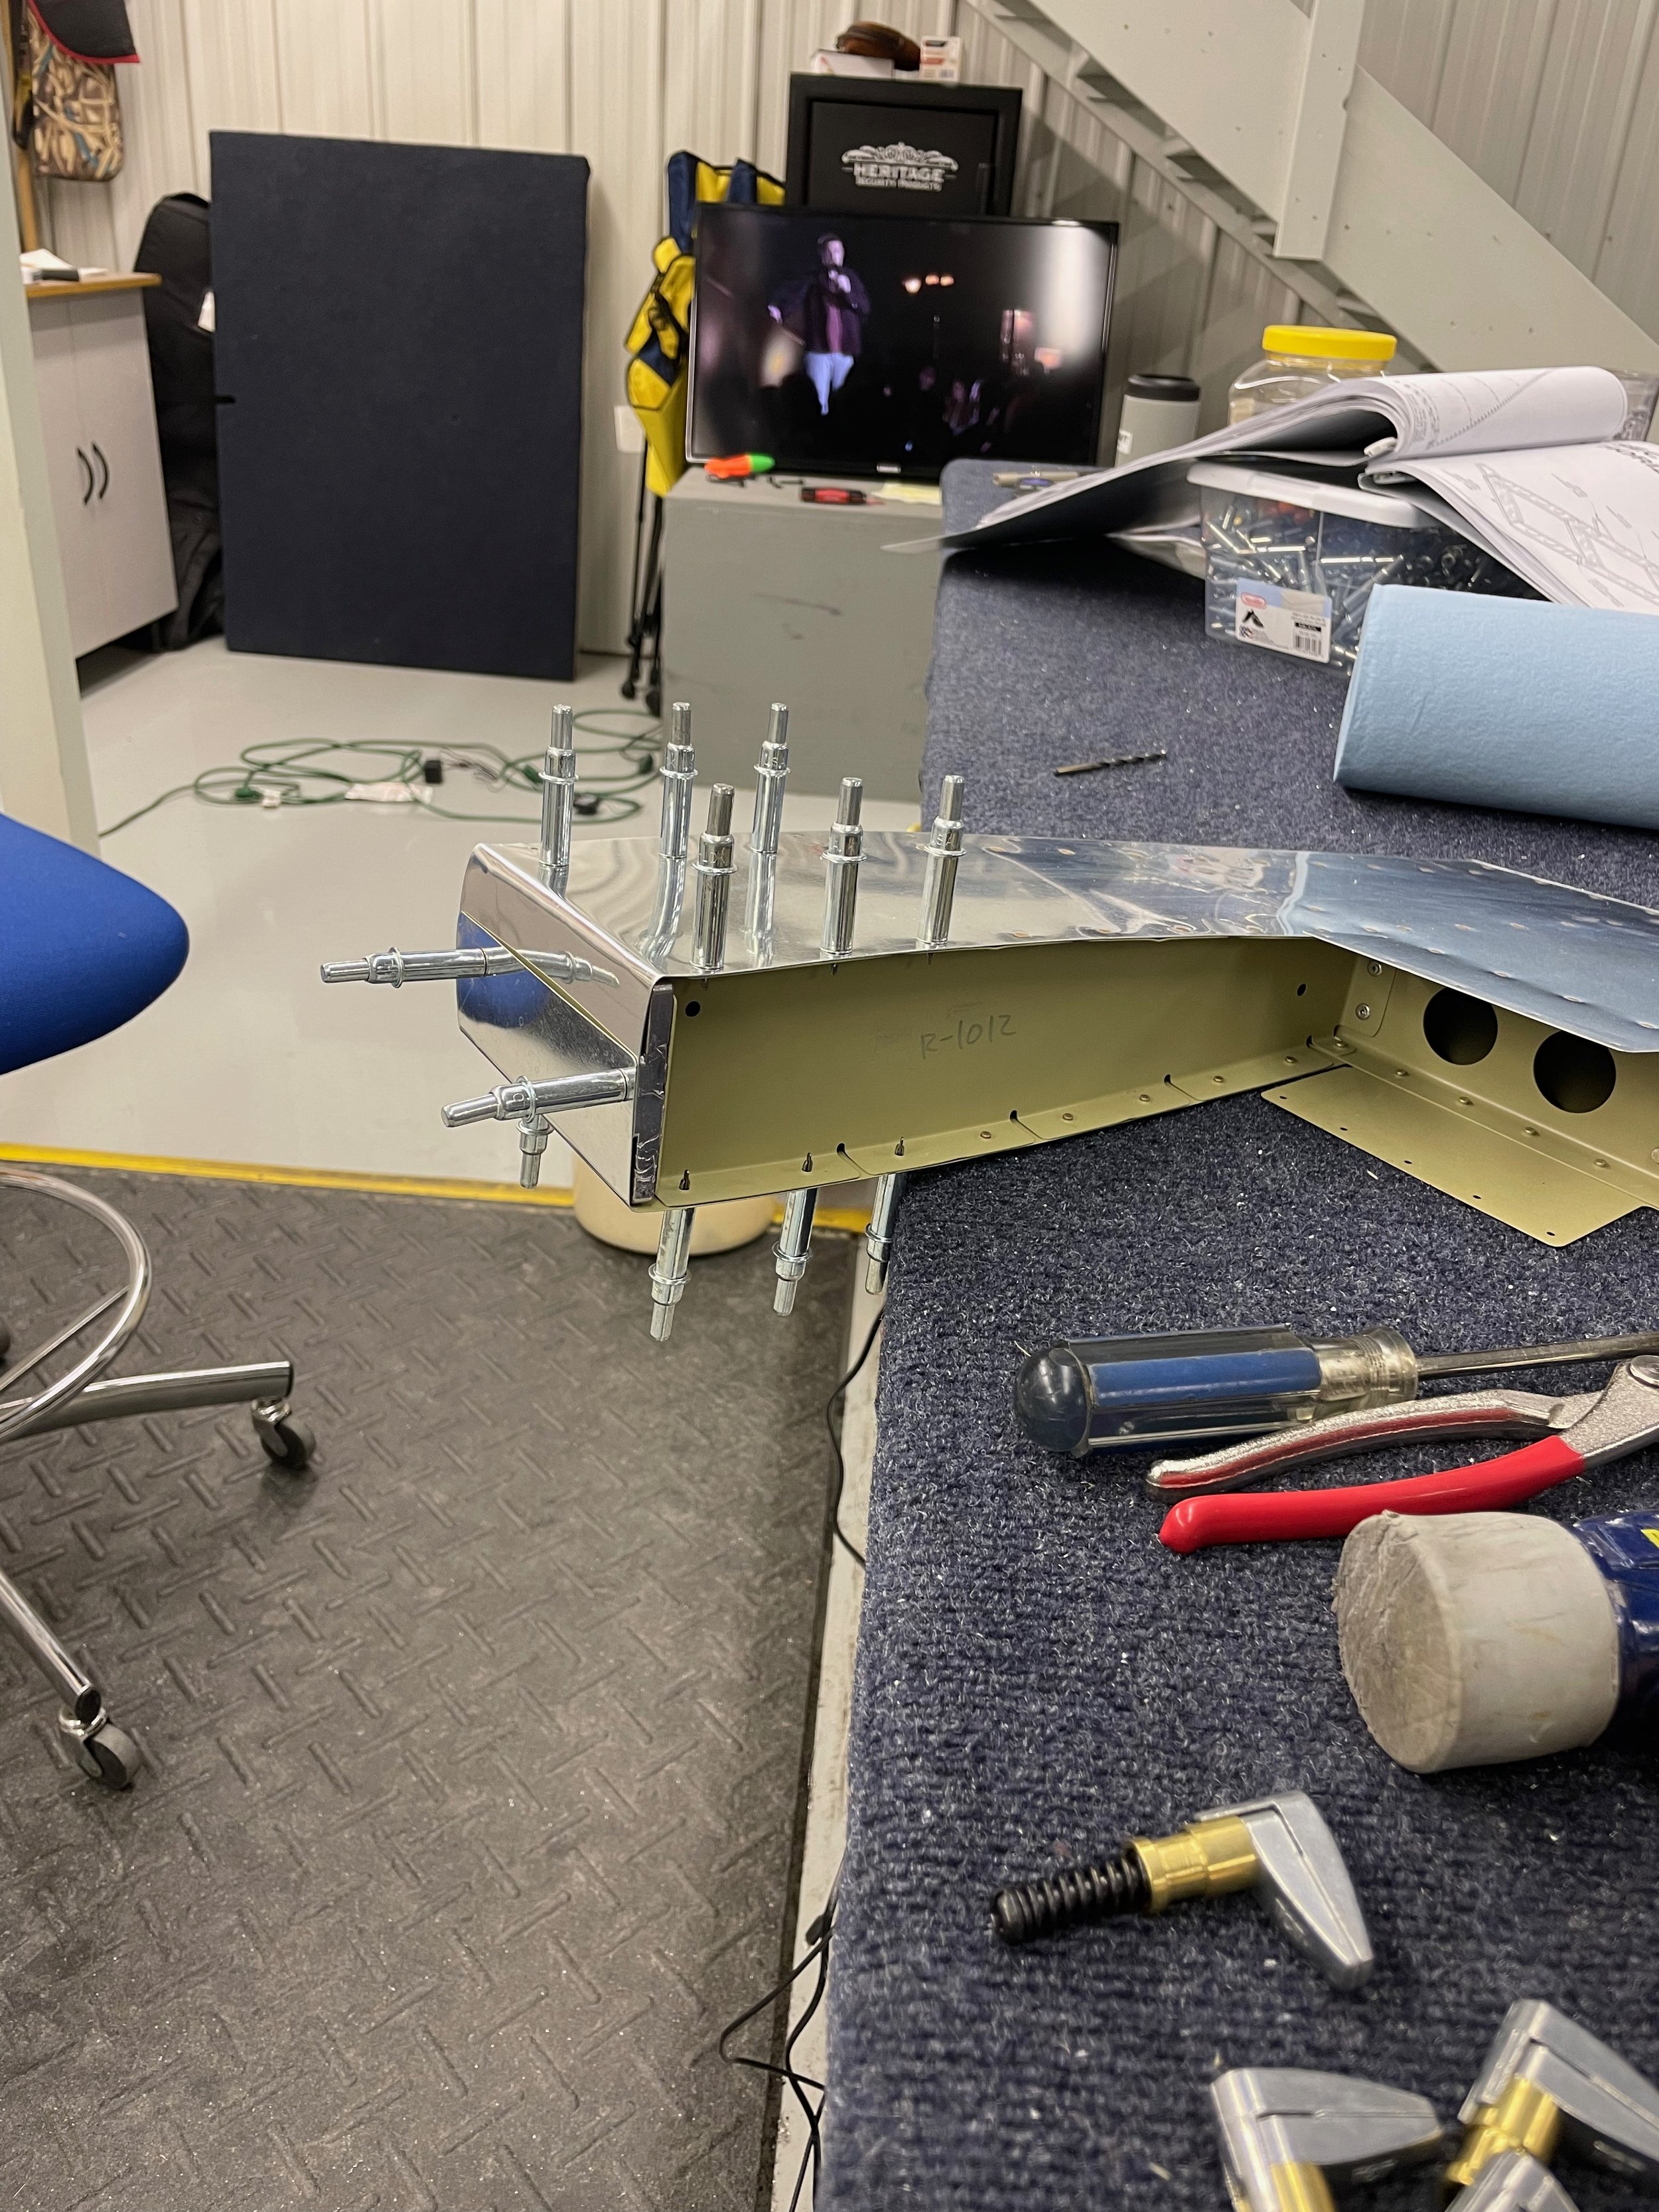
with the sealant cured, it was time to clean the holes and get the spar squeezed in. When it came to riveting the double flush rivets in the trailing edge, I followed the instructions to the “T” instead of using the angled squeezer cups that came with my Cleaveland Aircraft tool kit. I’m really happy with the process of setting the rivets this way and will do all riveted trailing edges that way. I tried both the rivet gun and squeezer set on the practice kits and the rivet gun makes it easier to “pre-set” the rivets along the whole edge before going back to finish them off.
All that’s left is to get the counterbalance rib and counterbalance in place and roll the leading edges. Nothing particularly challenging about the counterbalance. Again, followed the directions and sandwiched the skins between some wood blocks to create the bends. I did use a middle pull rivet as it looked like the center was going to “pillow” as described in the plans.

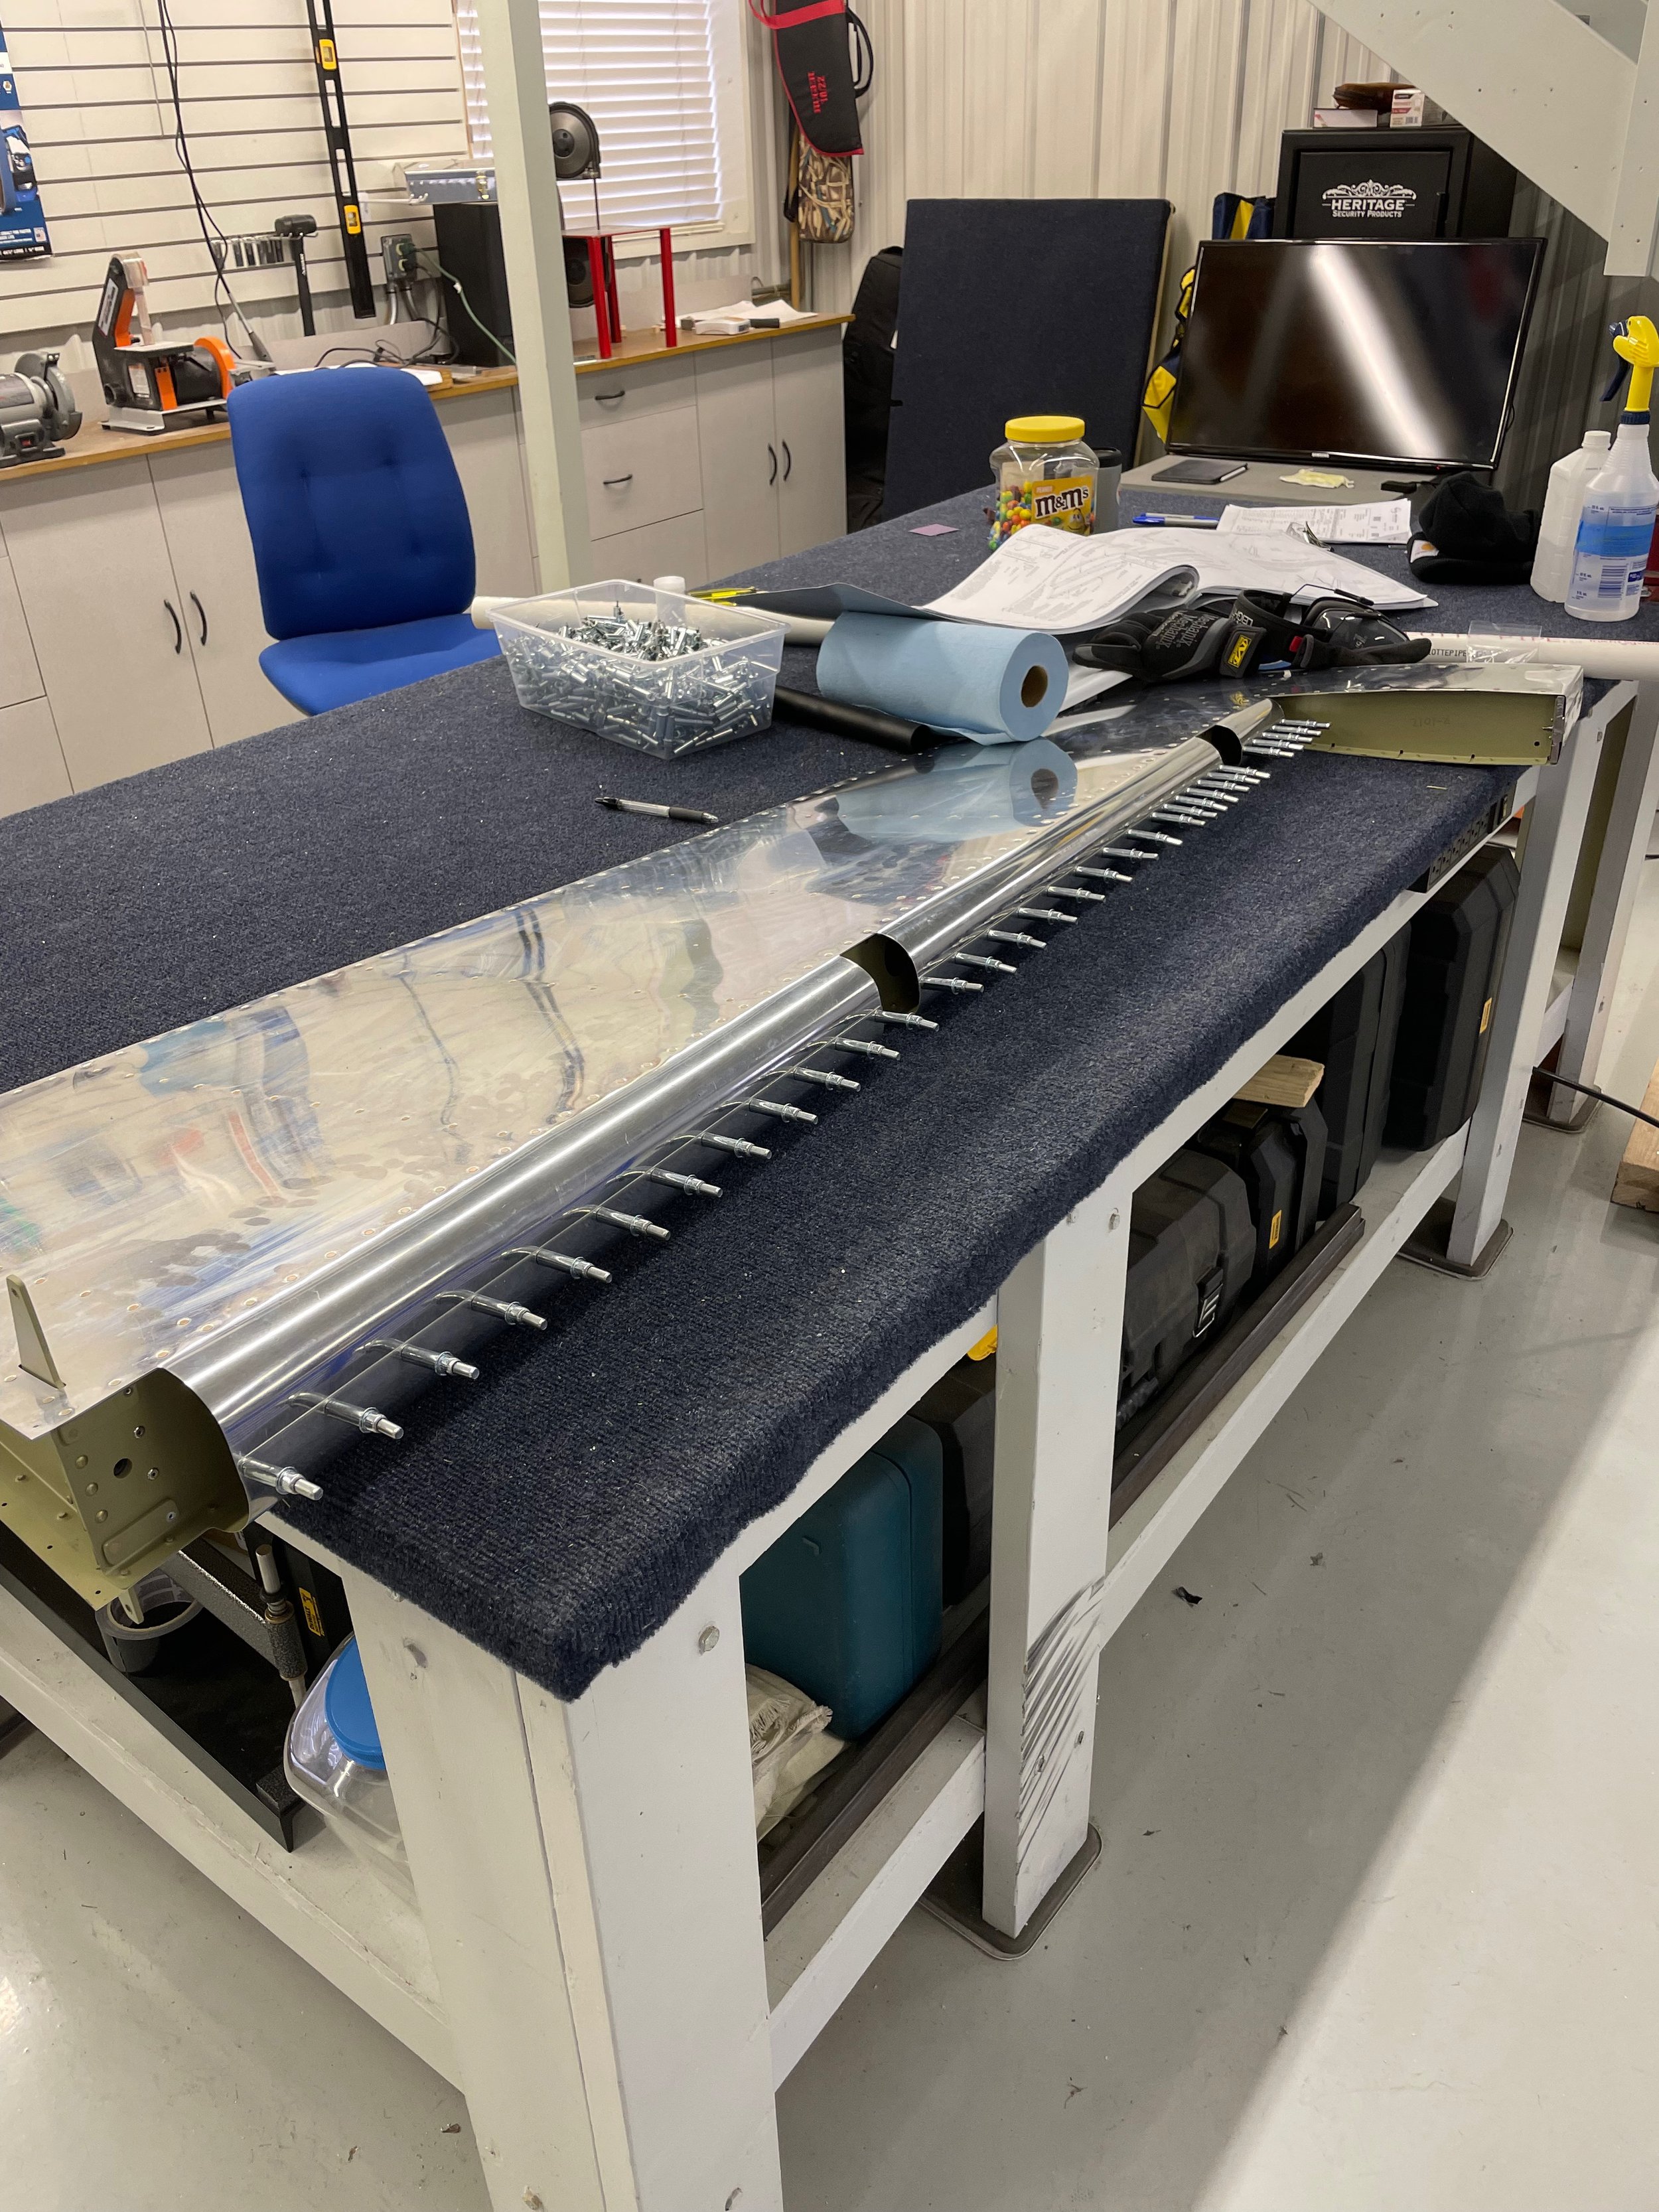
Rolling the leading edge was a little challenge mostly because I was trying to use the wrong tool. The plans call for using a “1 1/4” pipe” to roll the edges. A 1 1/4” pipe has a larger outer diameter than 1 1/4”. What it really needs is something 1 1/4” inch in diameter. The hero of the day ended up being a garden hoe with a straight handle (most of my tools had some sort of taper) that was the right diameter. The head of the tool acted as a lever to help rotate the handle. Now with the right diameter tool, the edges came together nicely.
With a few pull rivets, the rudder was complete. On to the horizontal stabilizer.