…Horizontal Stabilizer…
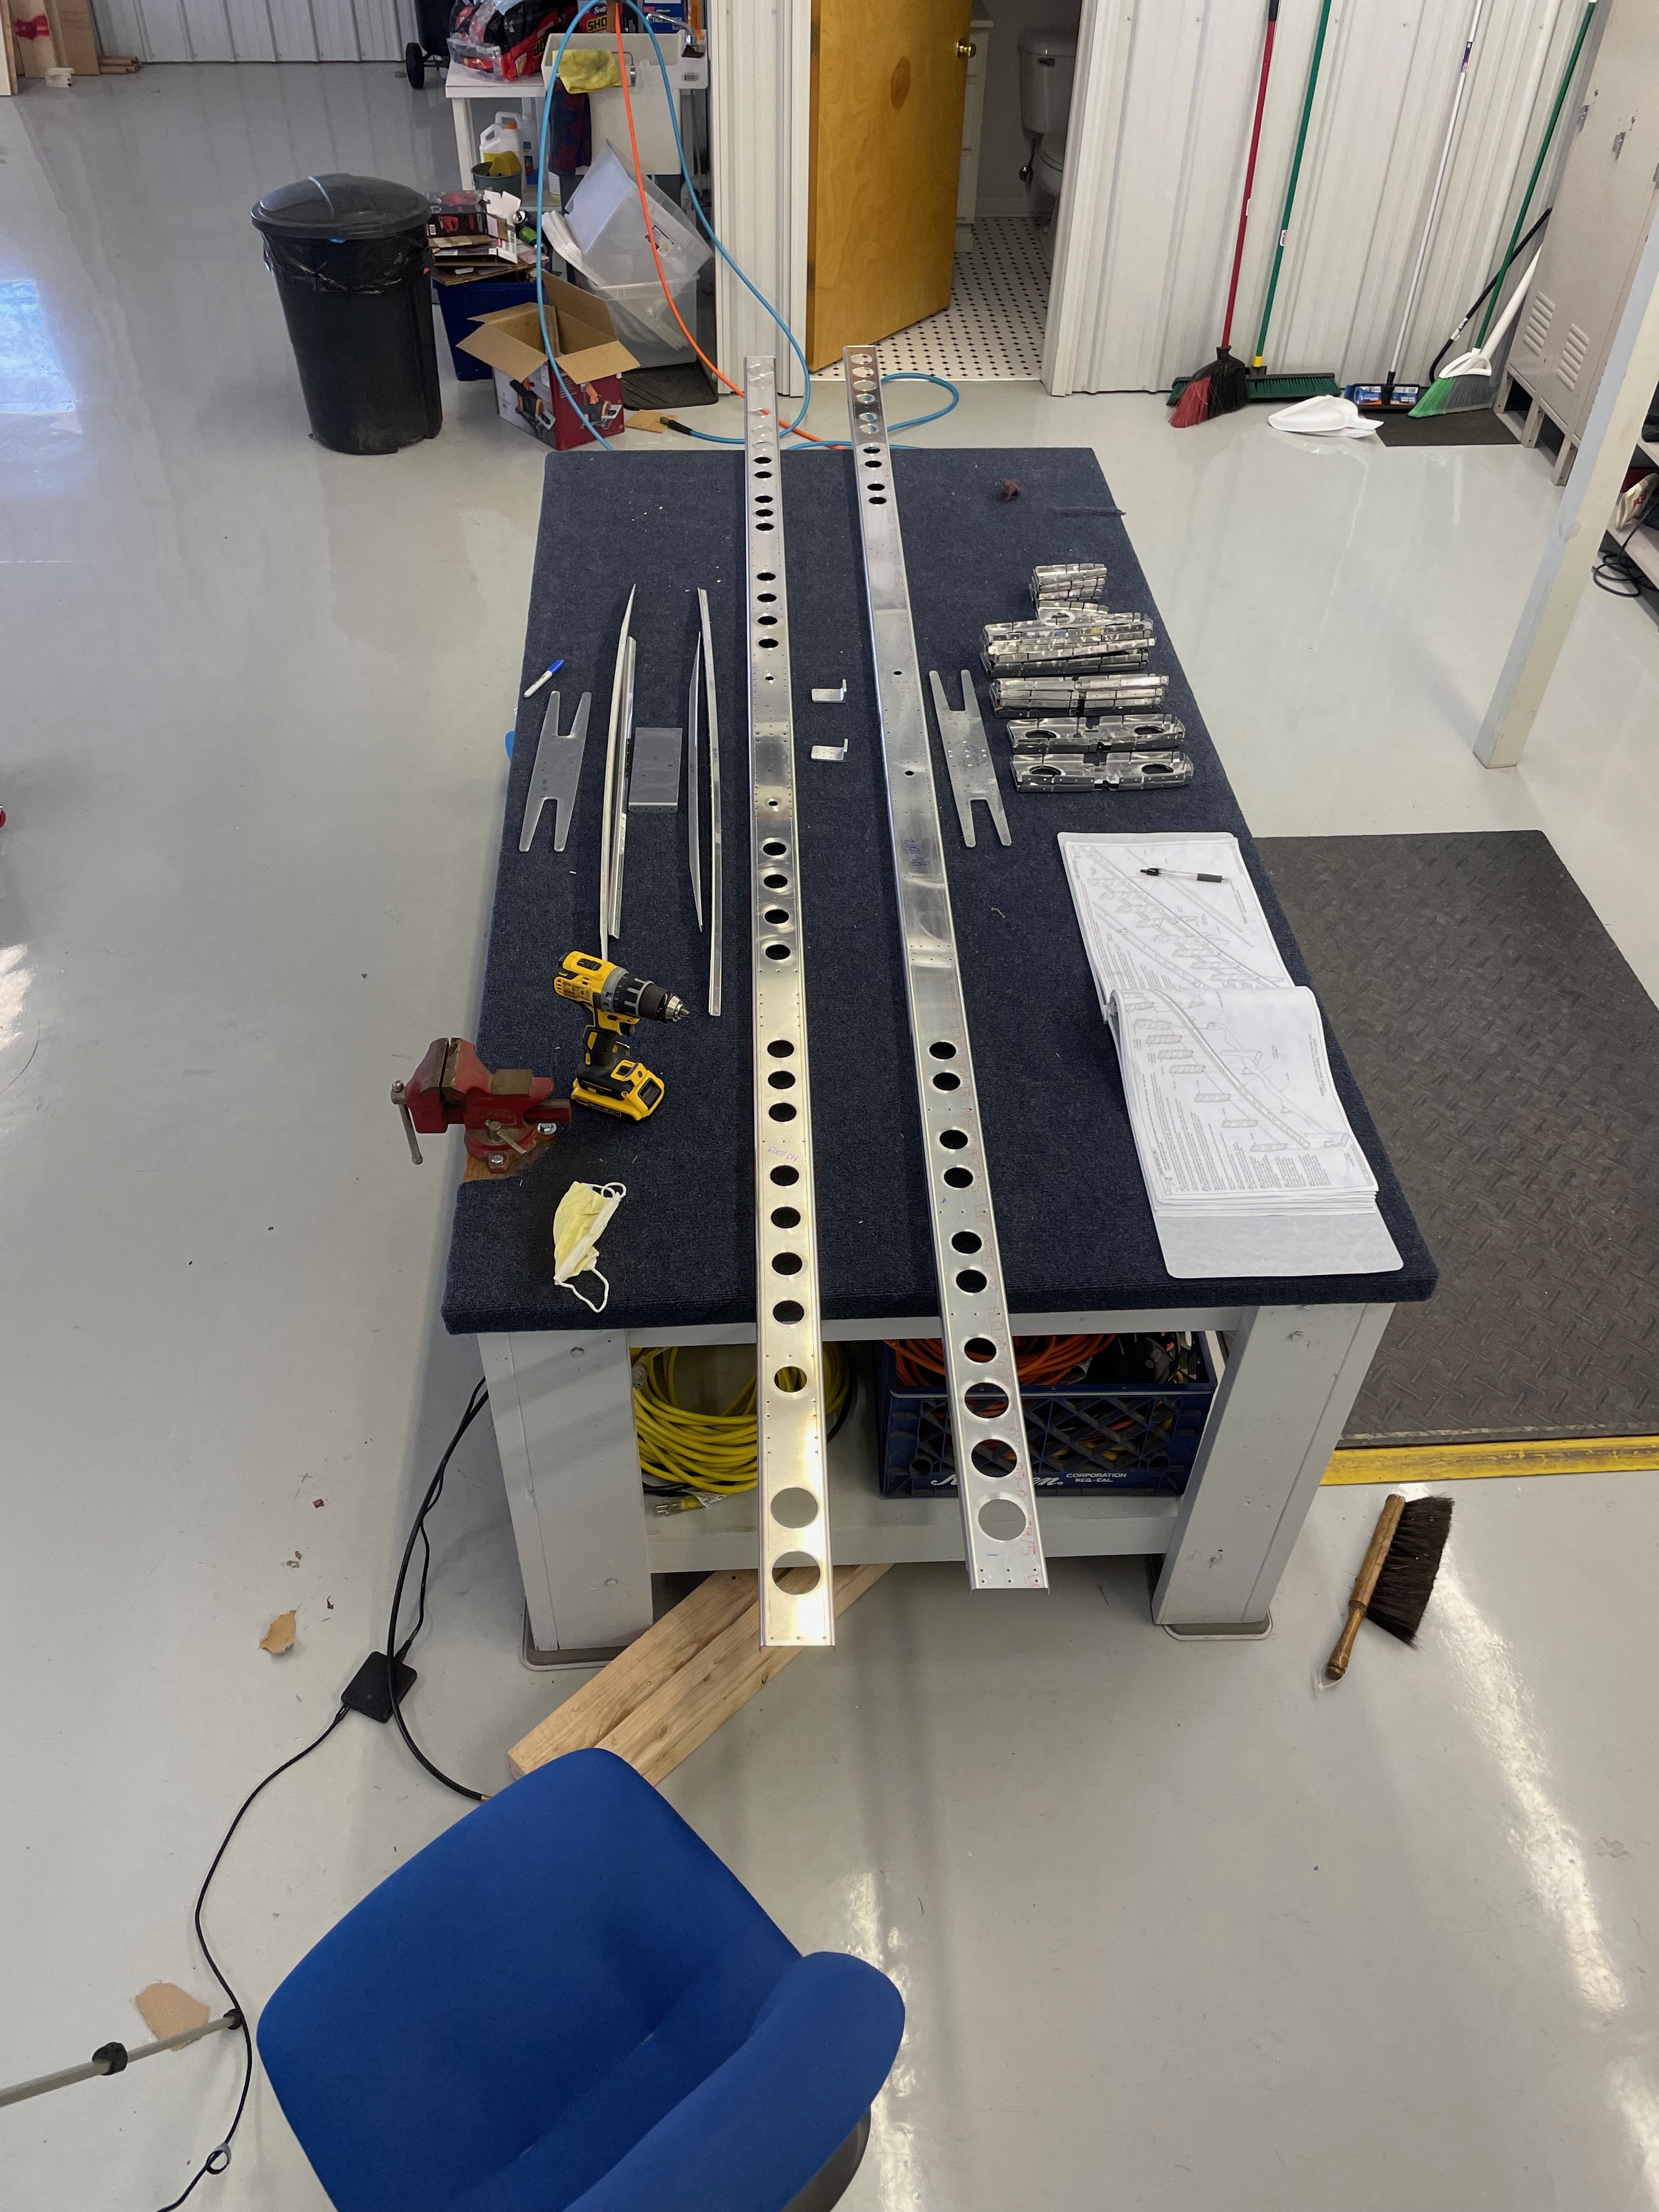
I’ve gotten so much done on the horizontal stabilizer but it’s not quite finished. Since the last post, I’ve gotten the parts all primed and almost completely assembled. The spars are completed and set aside. The instructions say to prime and rivet the doublers and brackets in place but I’m holding off to do a mega priming session before final assembly of the entire section.
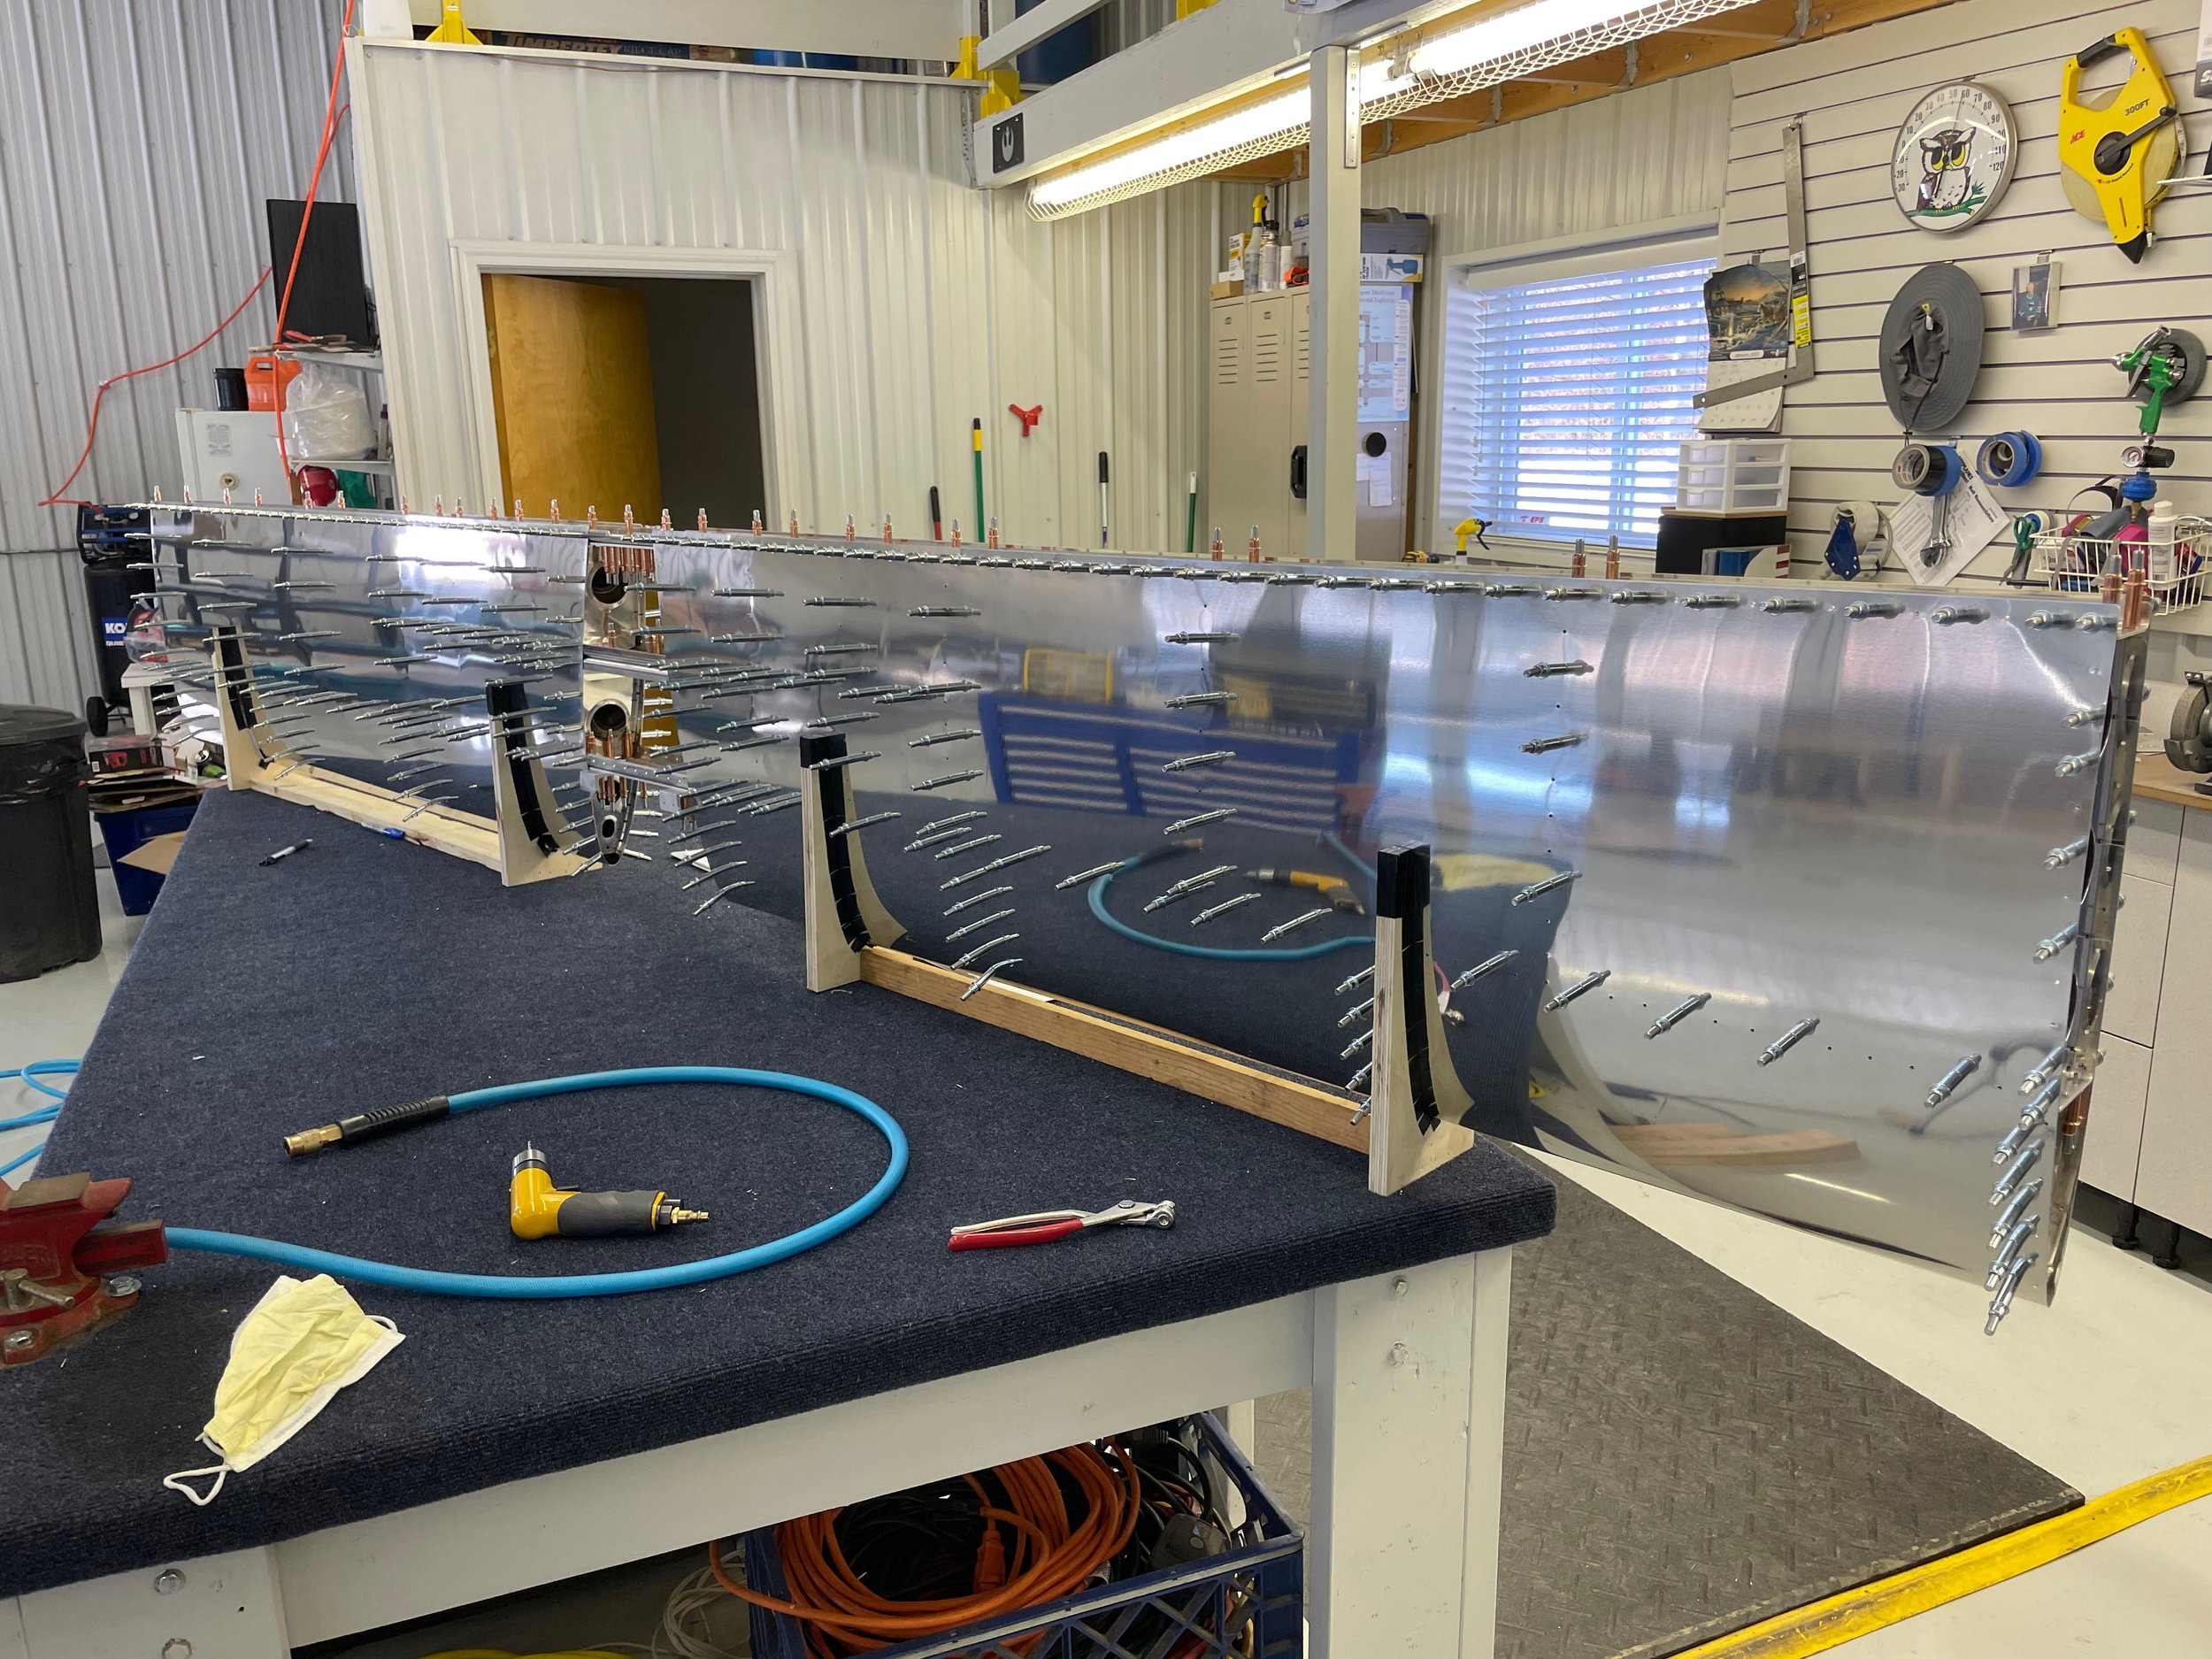
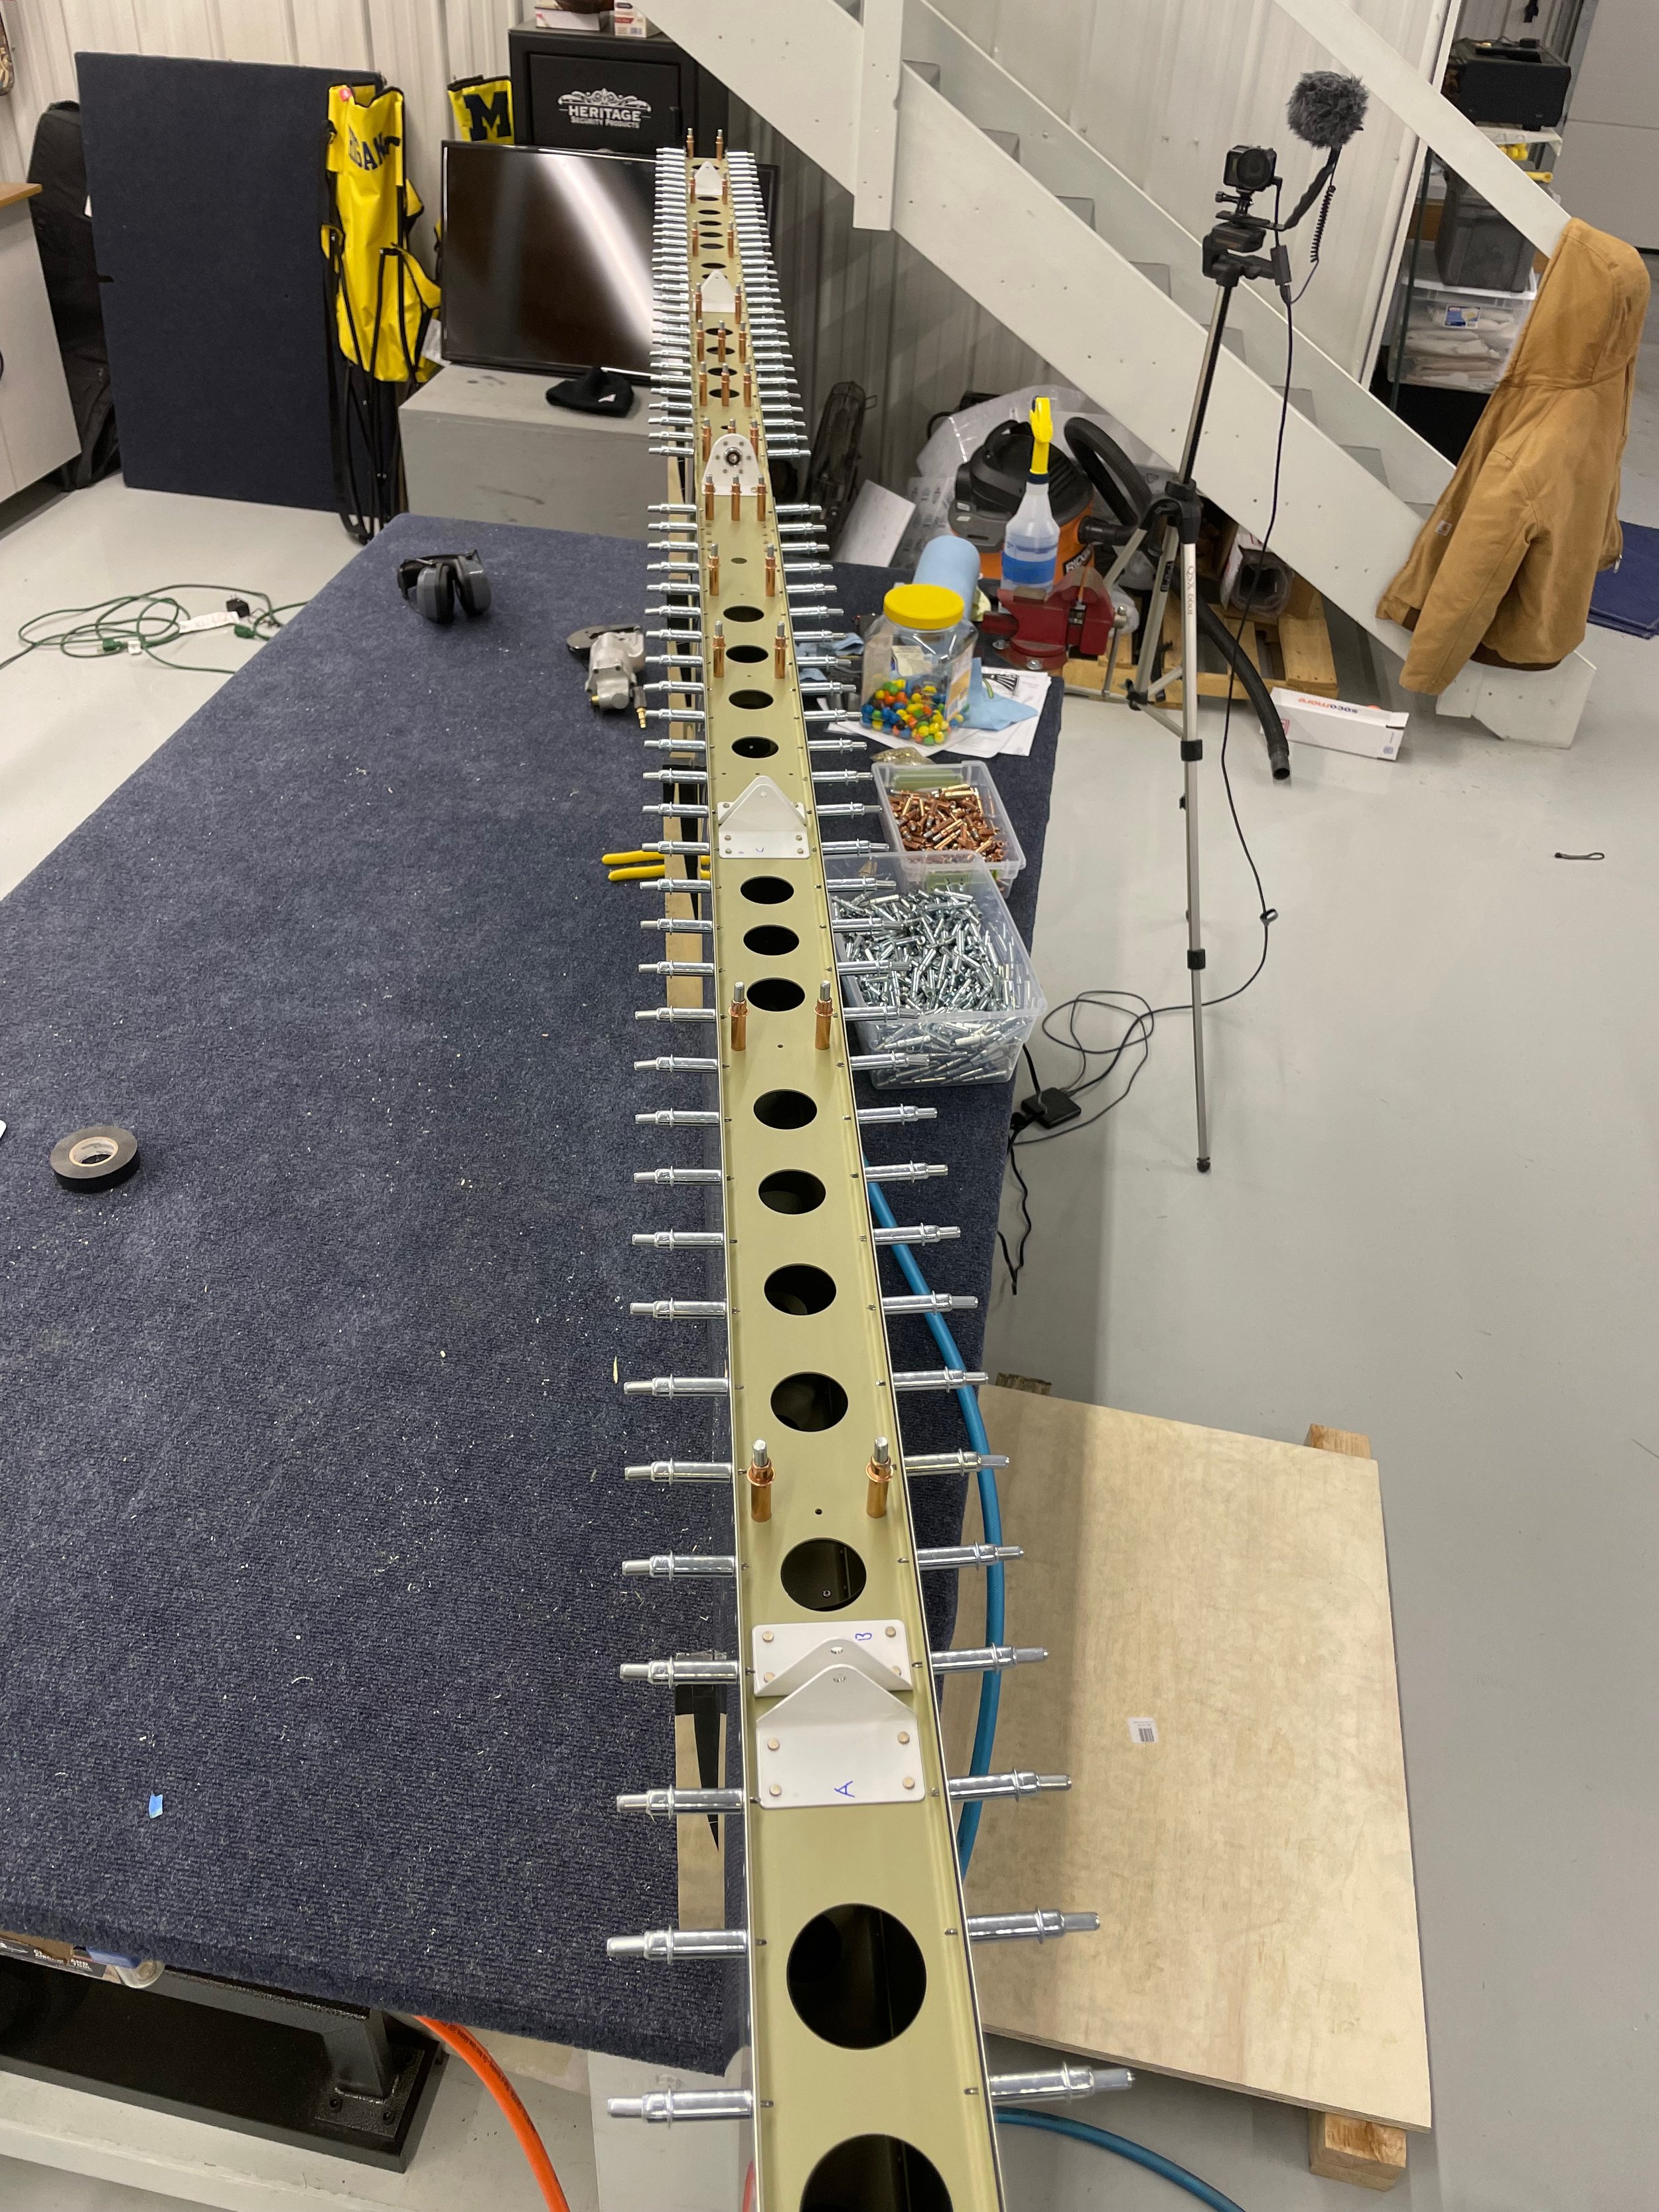
Like everything, the horizontal stabilizer is built up with Clecos to match drill parts that needed final sizing.
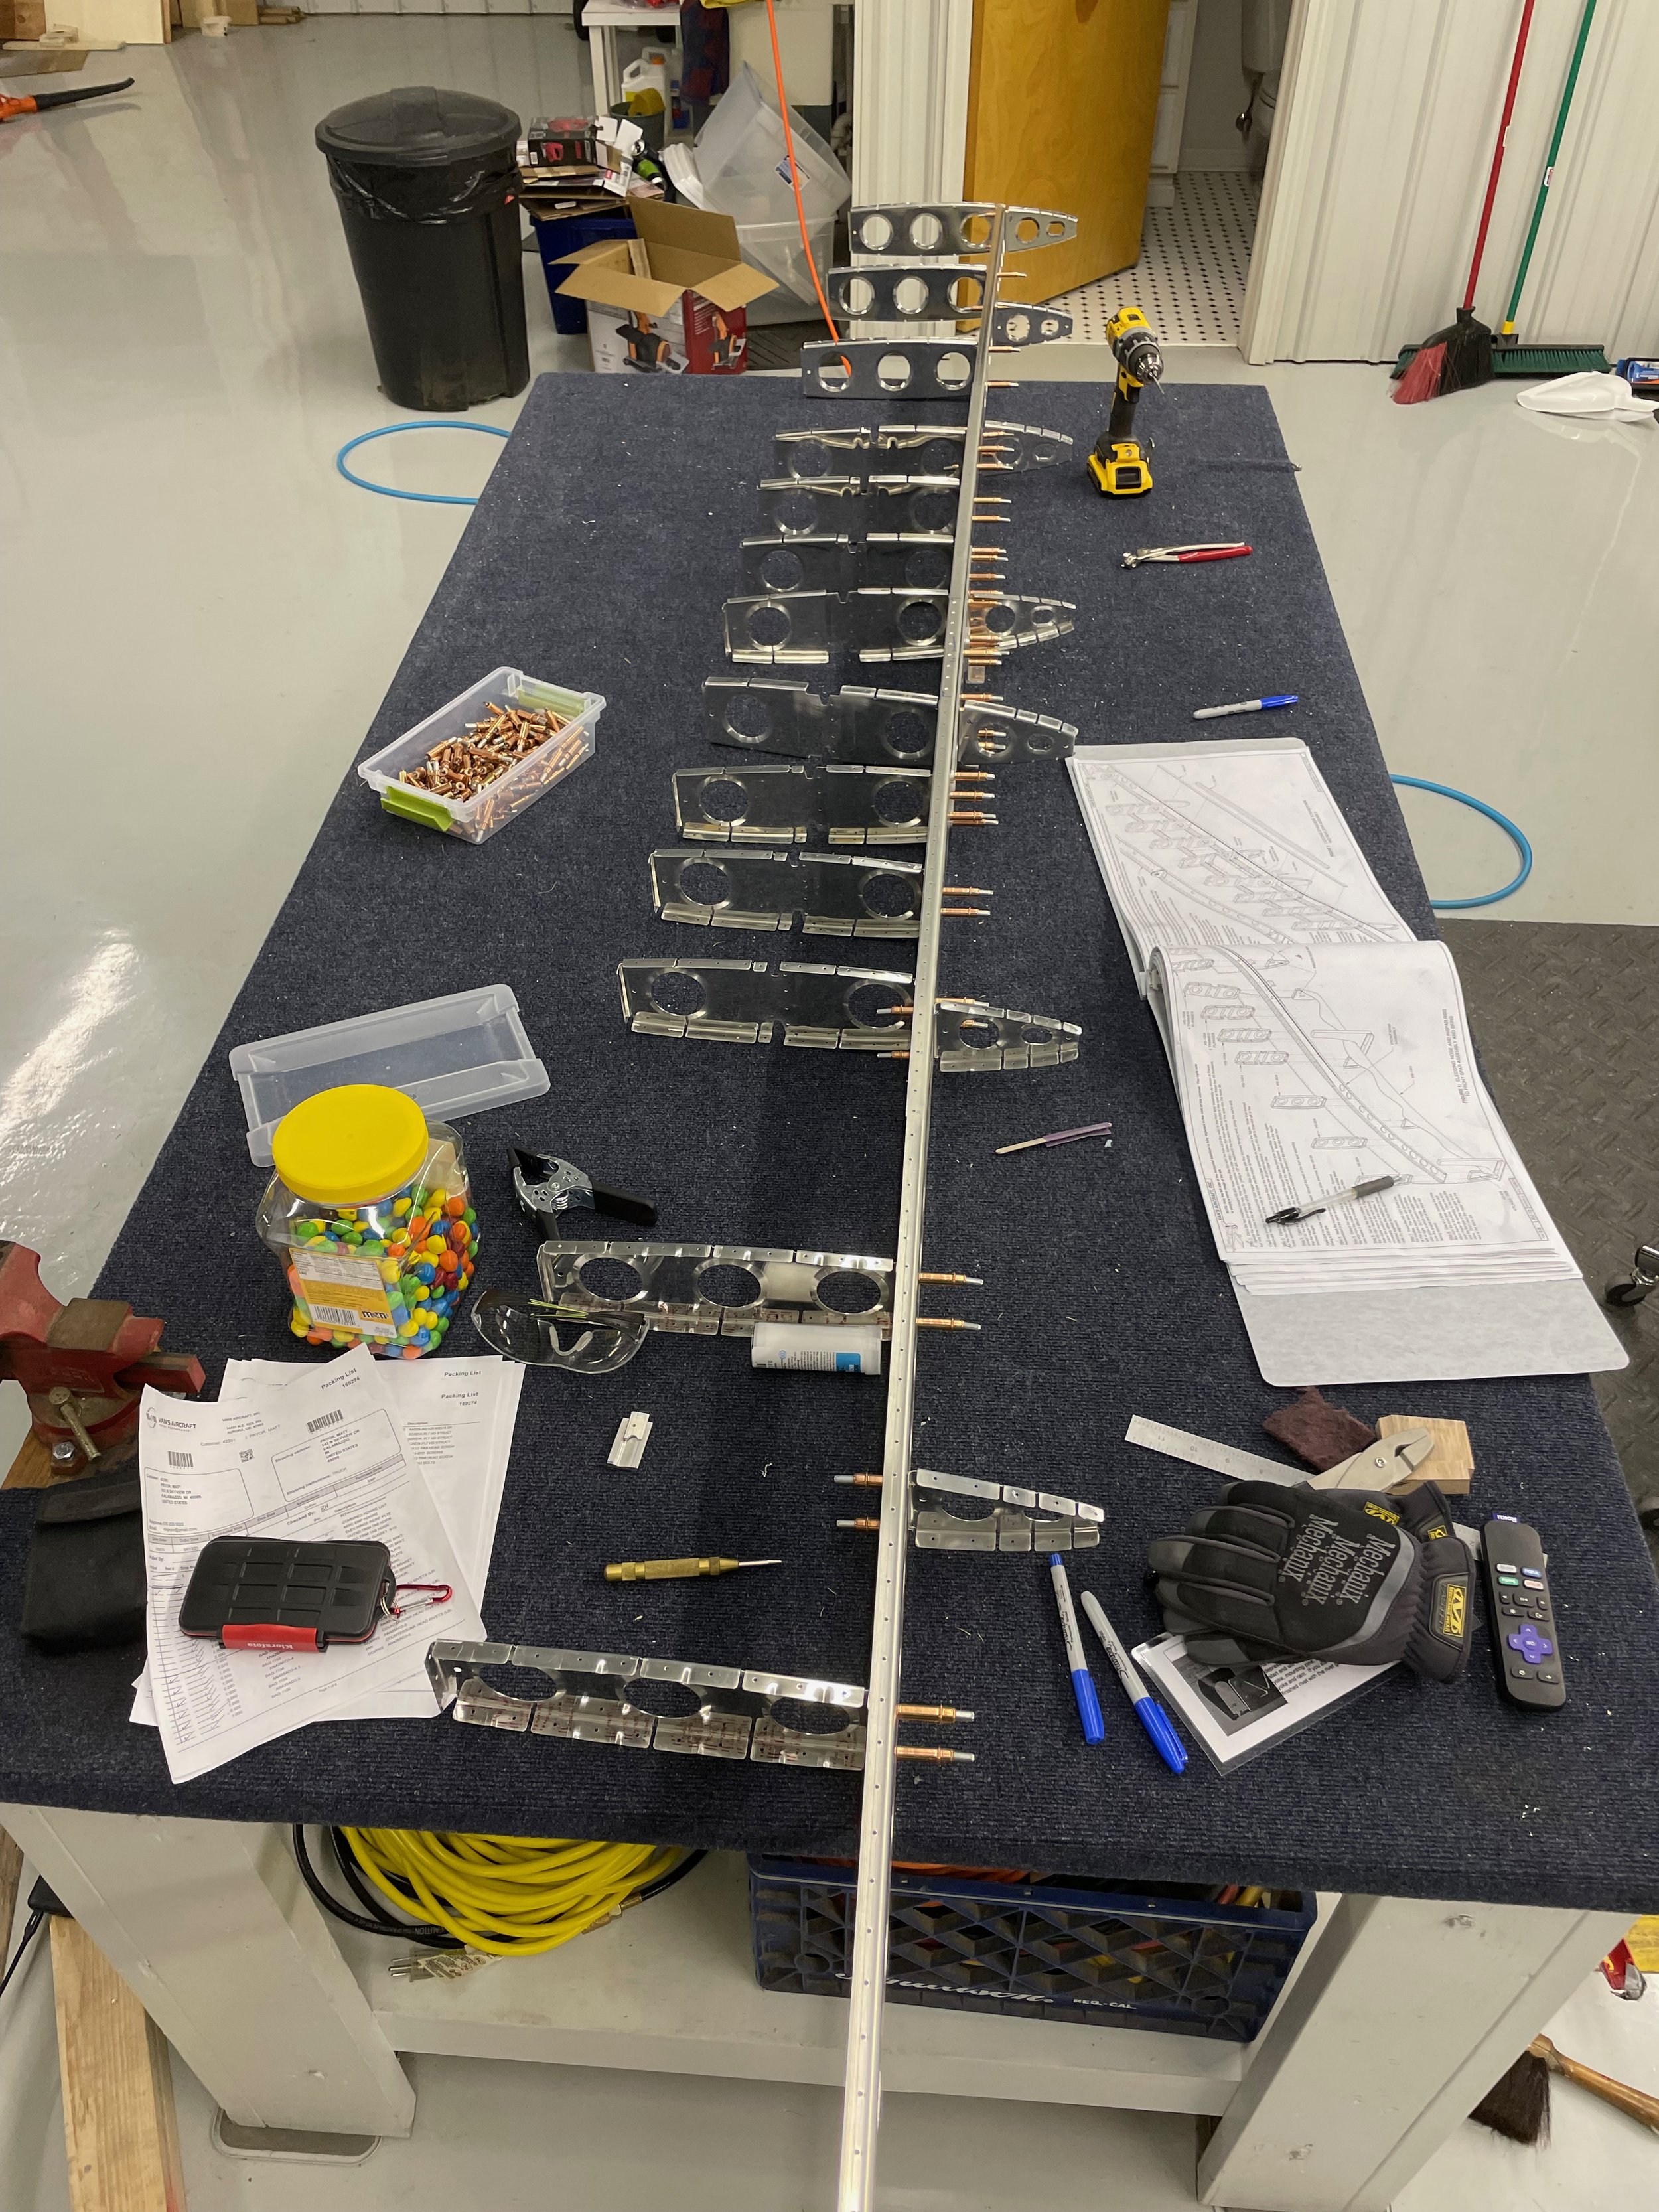
After breaking everything back down, the ultramarathon of deburring began. It took several days of spending whatever free time I could find to sneak out to the hanger and deburr a few parts here and there. Then I had to let the project sit for about a week with a heavy work schedule before having enough time to get out and Prekote and prime all the parts.

RV-10 Horizontal Stabilizer forward spar
On to the best part of every section… riveting. Actually building the structures with rivets is soooooo rewarding. It really never gets old. Taking flimsy sheet aluminum parts that flop around on their own and turning into a solid, lightweight structure that’s going to keep me rocketing through the air is awesome.
On a sobering note though, the horizontal stabilizer is the first realization of the fact a plane is more or less symmetrical and I’ll be doing everything twice.

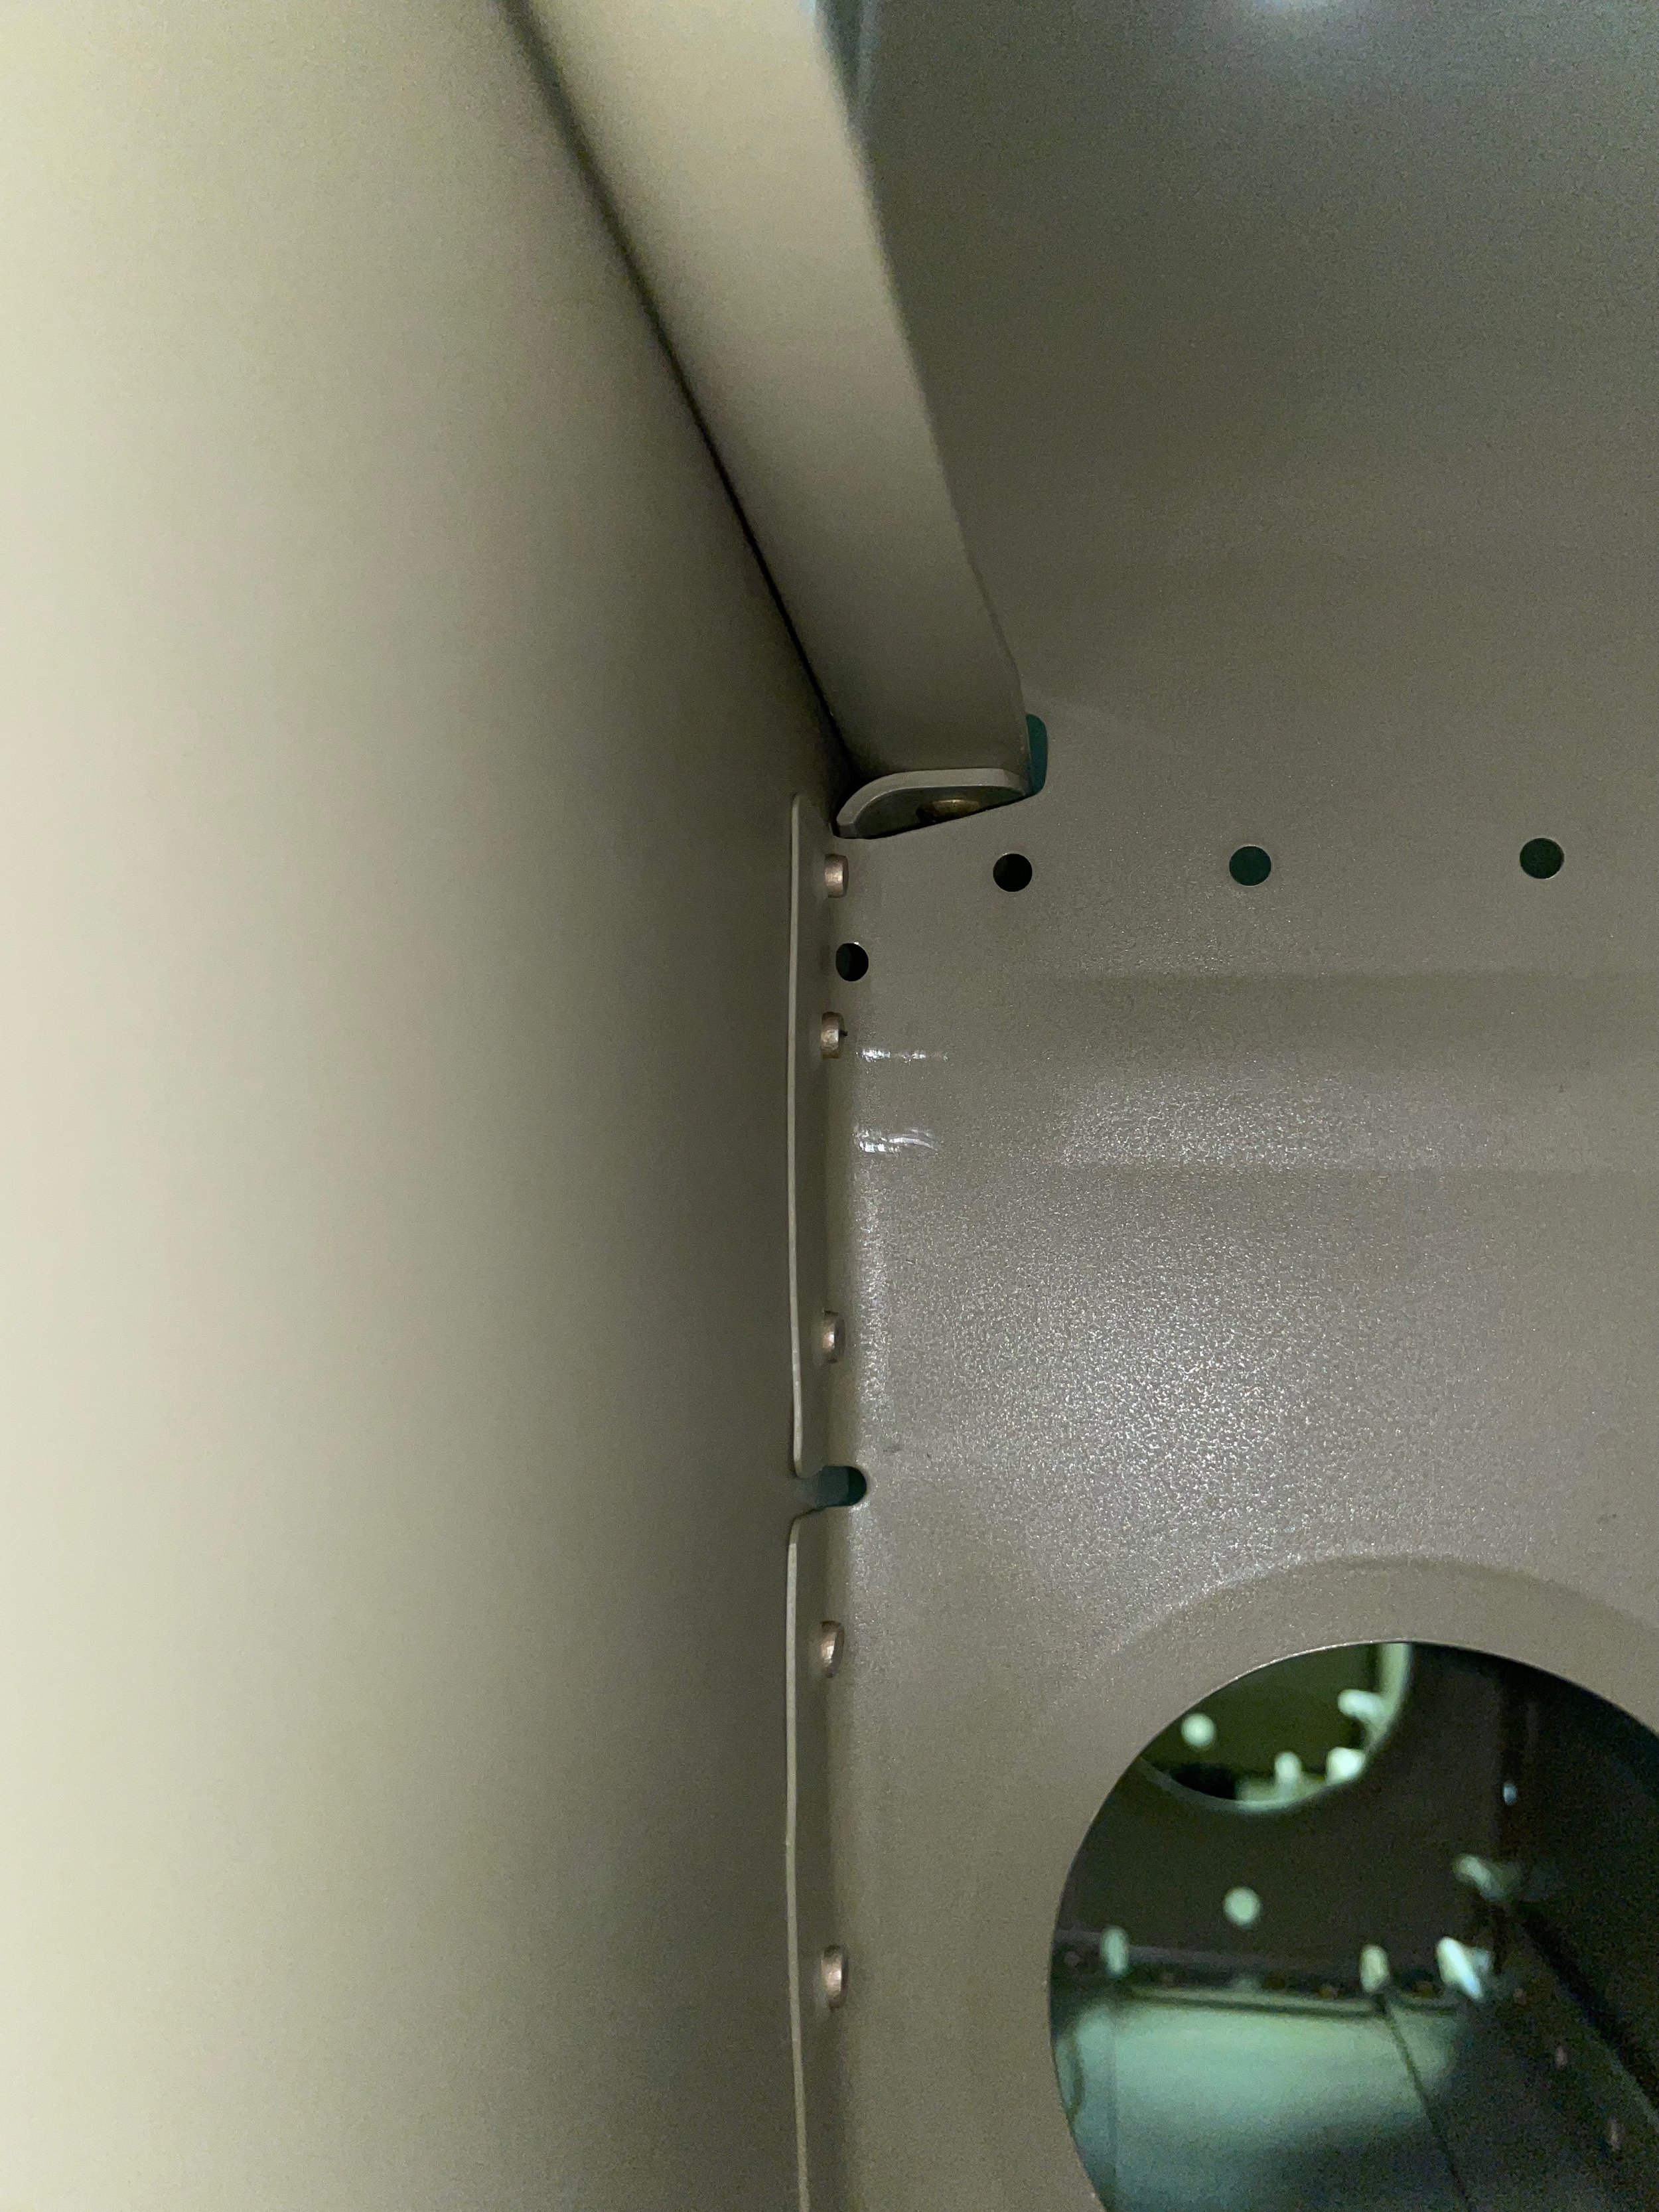
AN 470AD 4-10 aka big mamma jammas
I’m pretty sure these are the biggest rivets left to the builder. The wing spars are done at Van’s because they use 5 or 6 rivets that can’t be driven or squeezed by home build/mortal rivet guns or squeezers. These are used on the bottom of the spar above where the spar, doubler, cap and attach brackets all get riveted together.
With the spars assembled, the next step is riveting nose ribs to skins. I don’t have any pictures of this and quite frankly I’d like to block the process from my memory. I can already tell anytime I see “rivet nose ribs to skin” in the instructions, I’m going to have a minor freak out. It’s a pain in the butt.
Once they’re in, the forward spar goes in and gets pull riveted to the nose ribs. Next, the joyous process of reaching down to the forward spar and riveting it to the skins. It’s not terrible, just tedious getting the bucking bar positioned, bucking, getting the rivet go/no go gauge in there. I will say there were a couple instances where I disagreed with the rivet call outs. The rivets that capture the skin-spar-cap-rib flange are labeled as -4 and I could not get them set to be the right diameter or height. I changed to -4.5 and could get a nice shop head. And of course, I have no pictures… sorry.
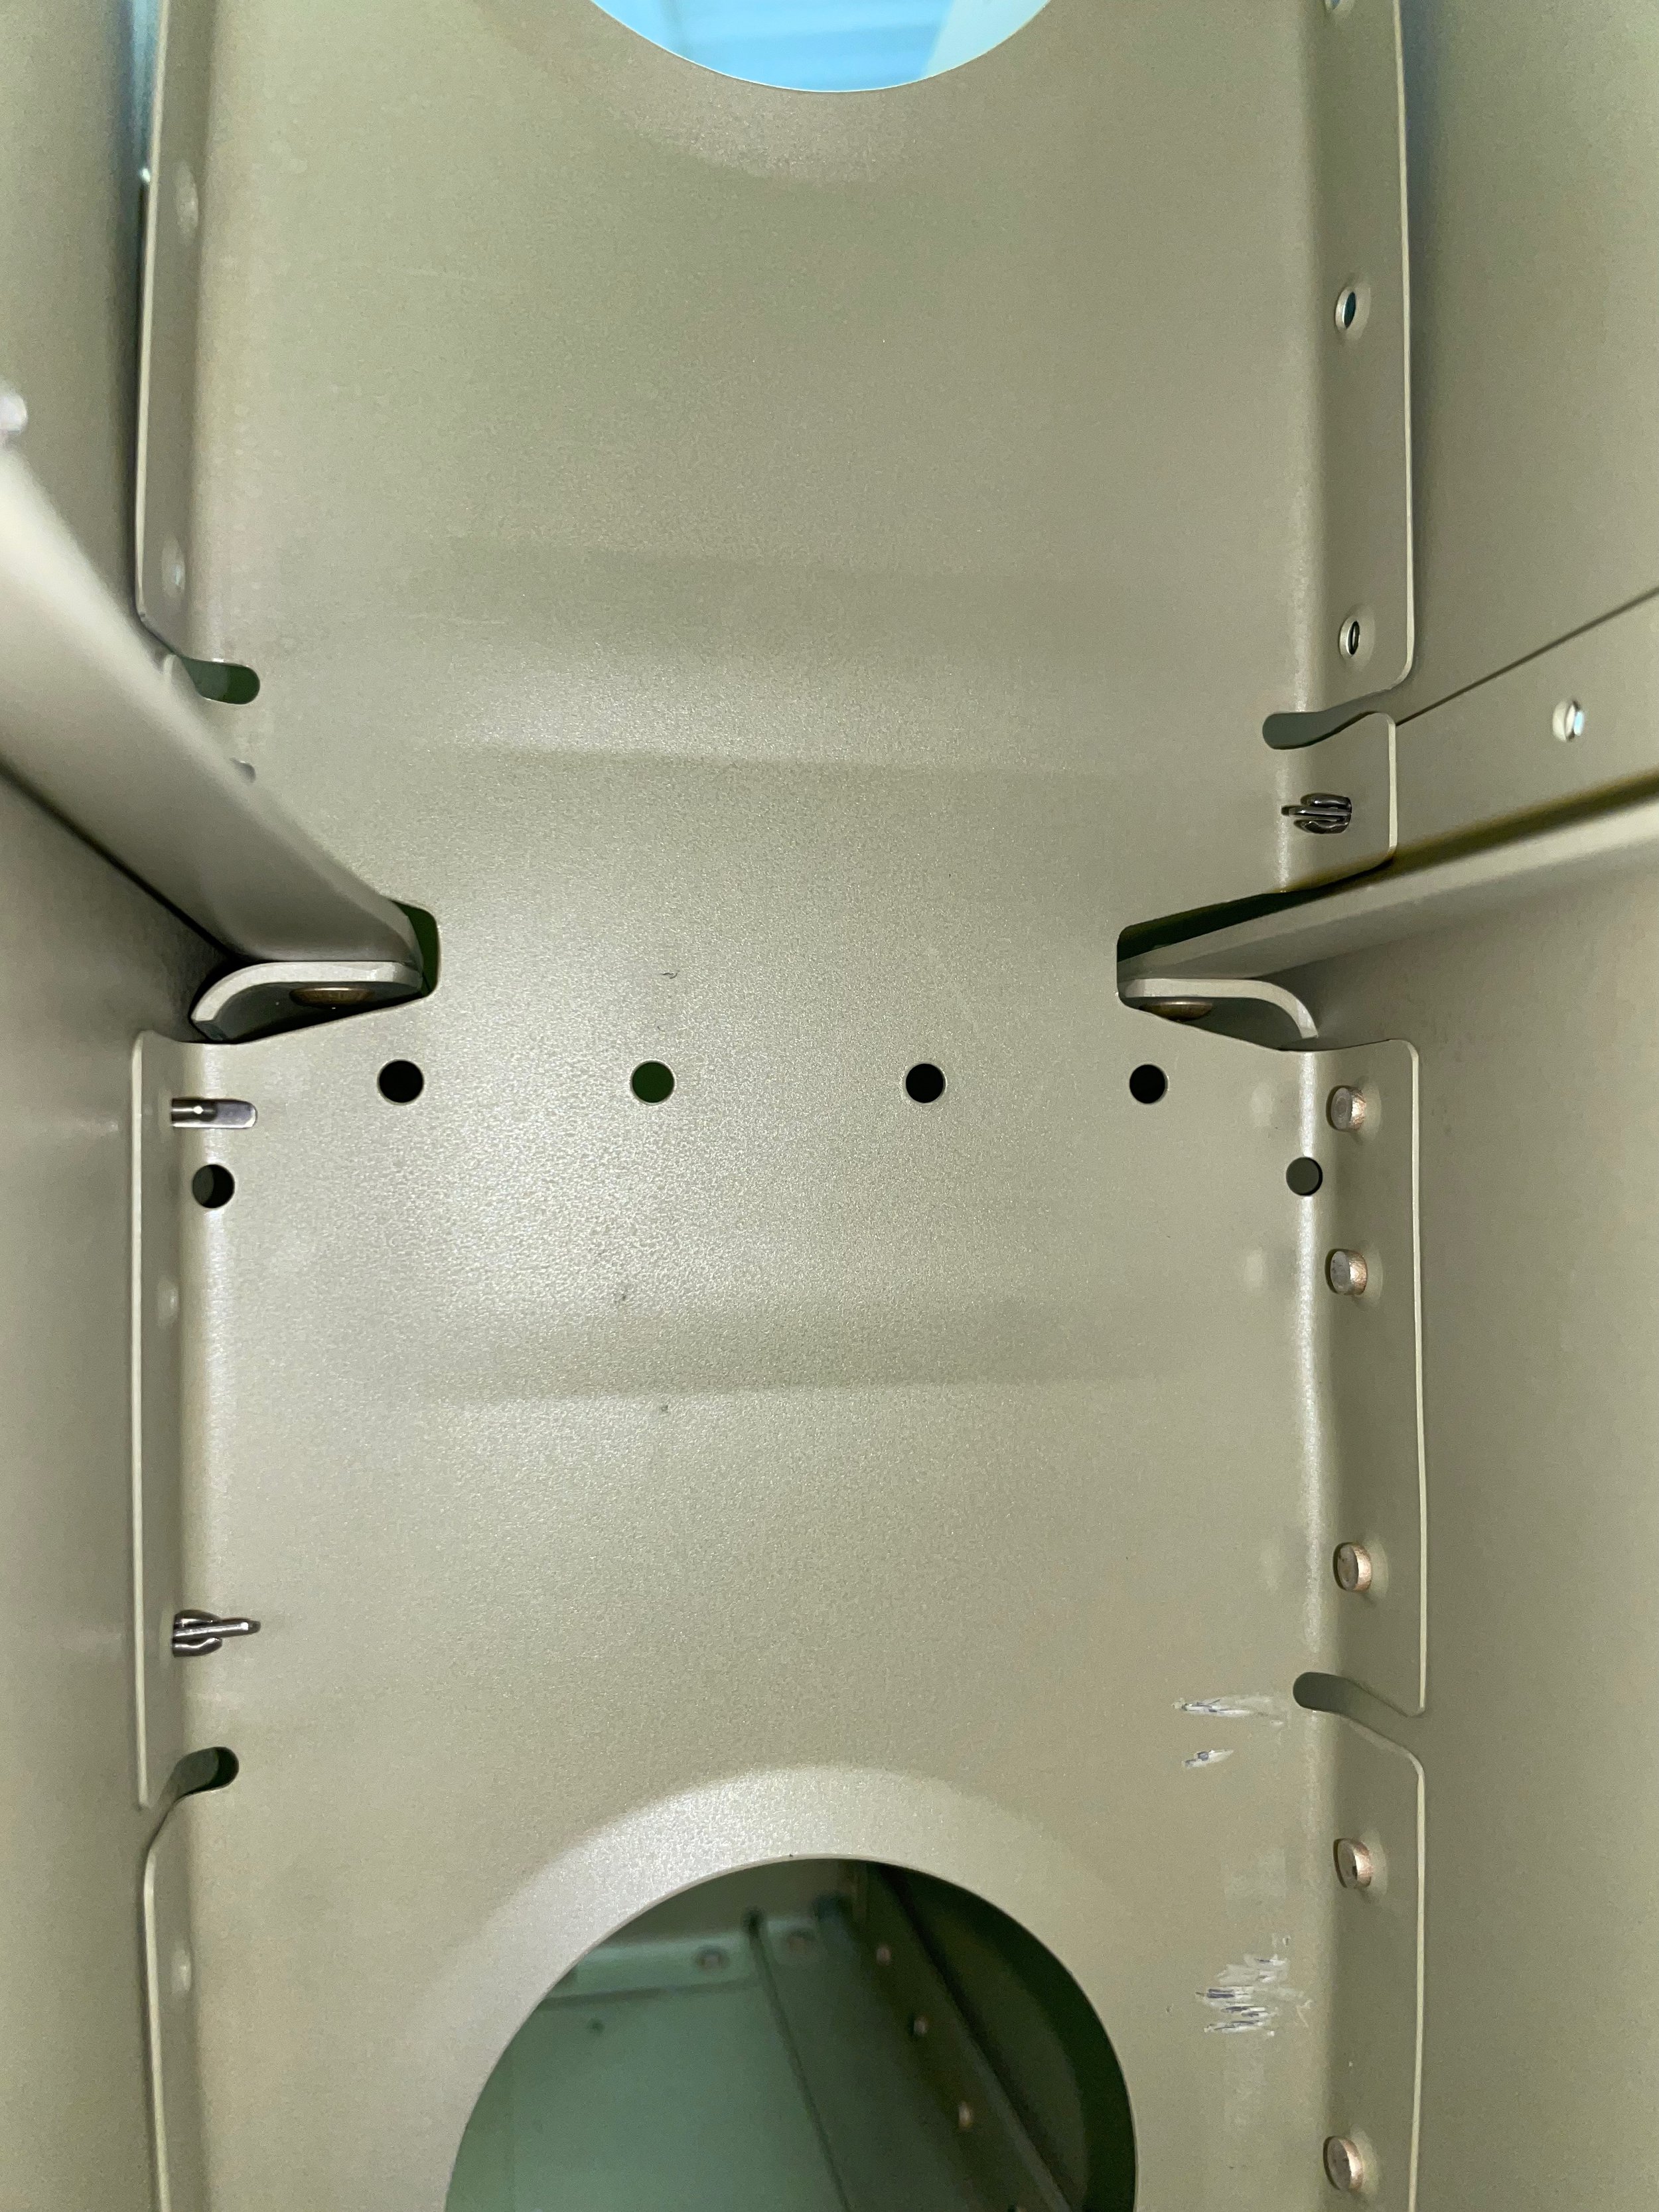
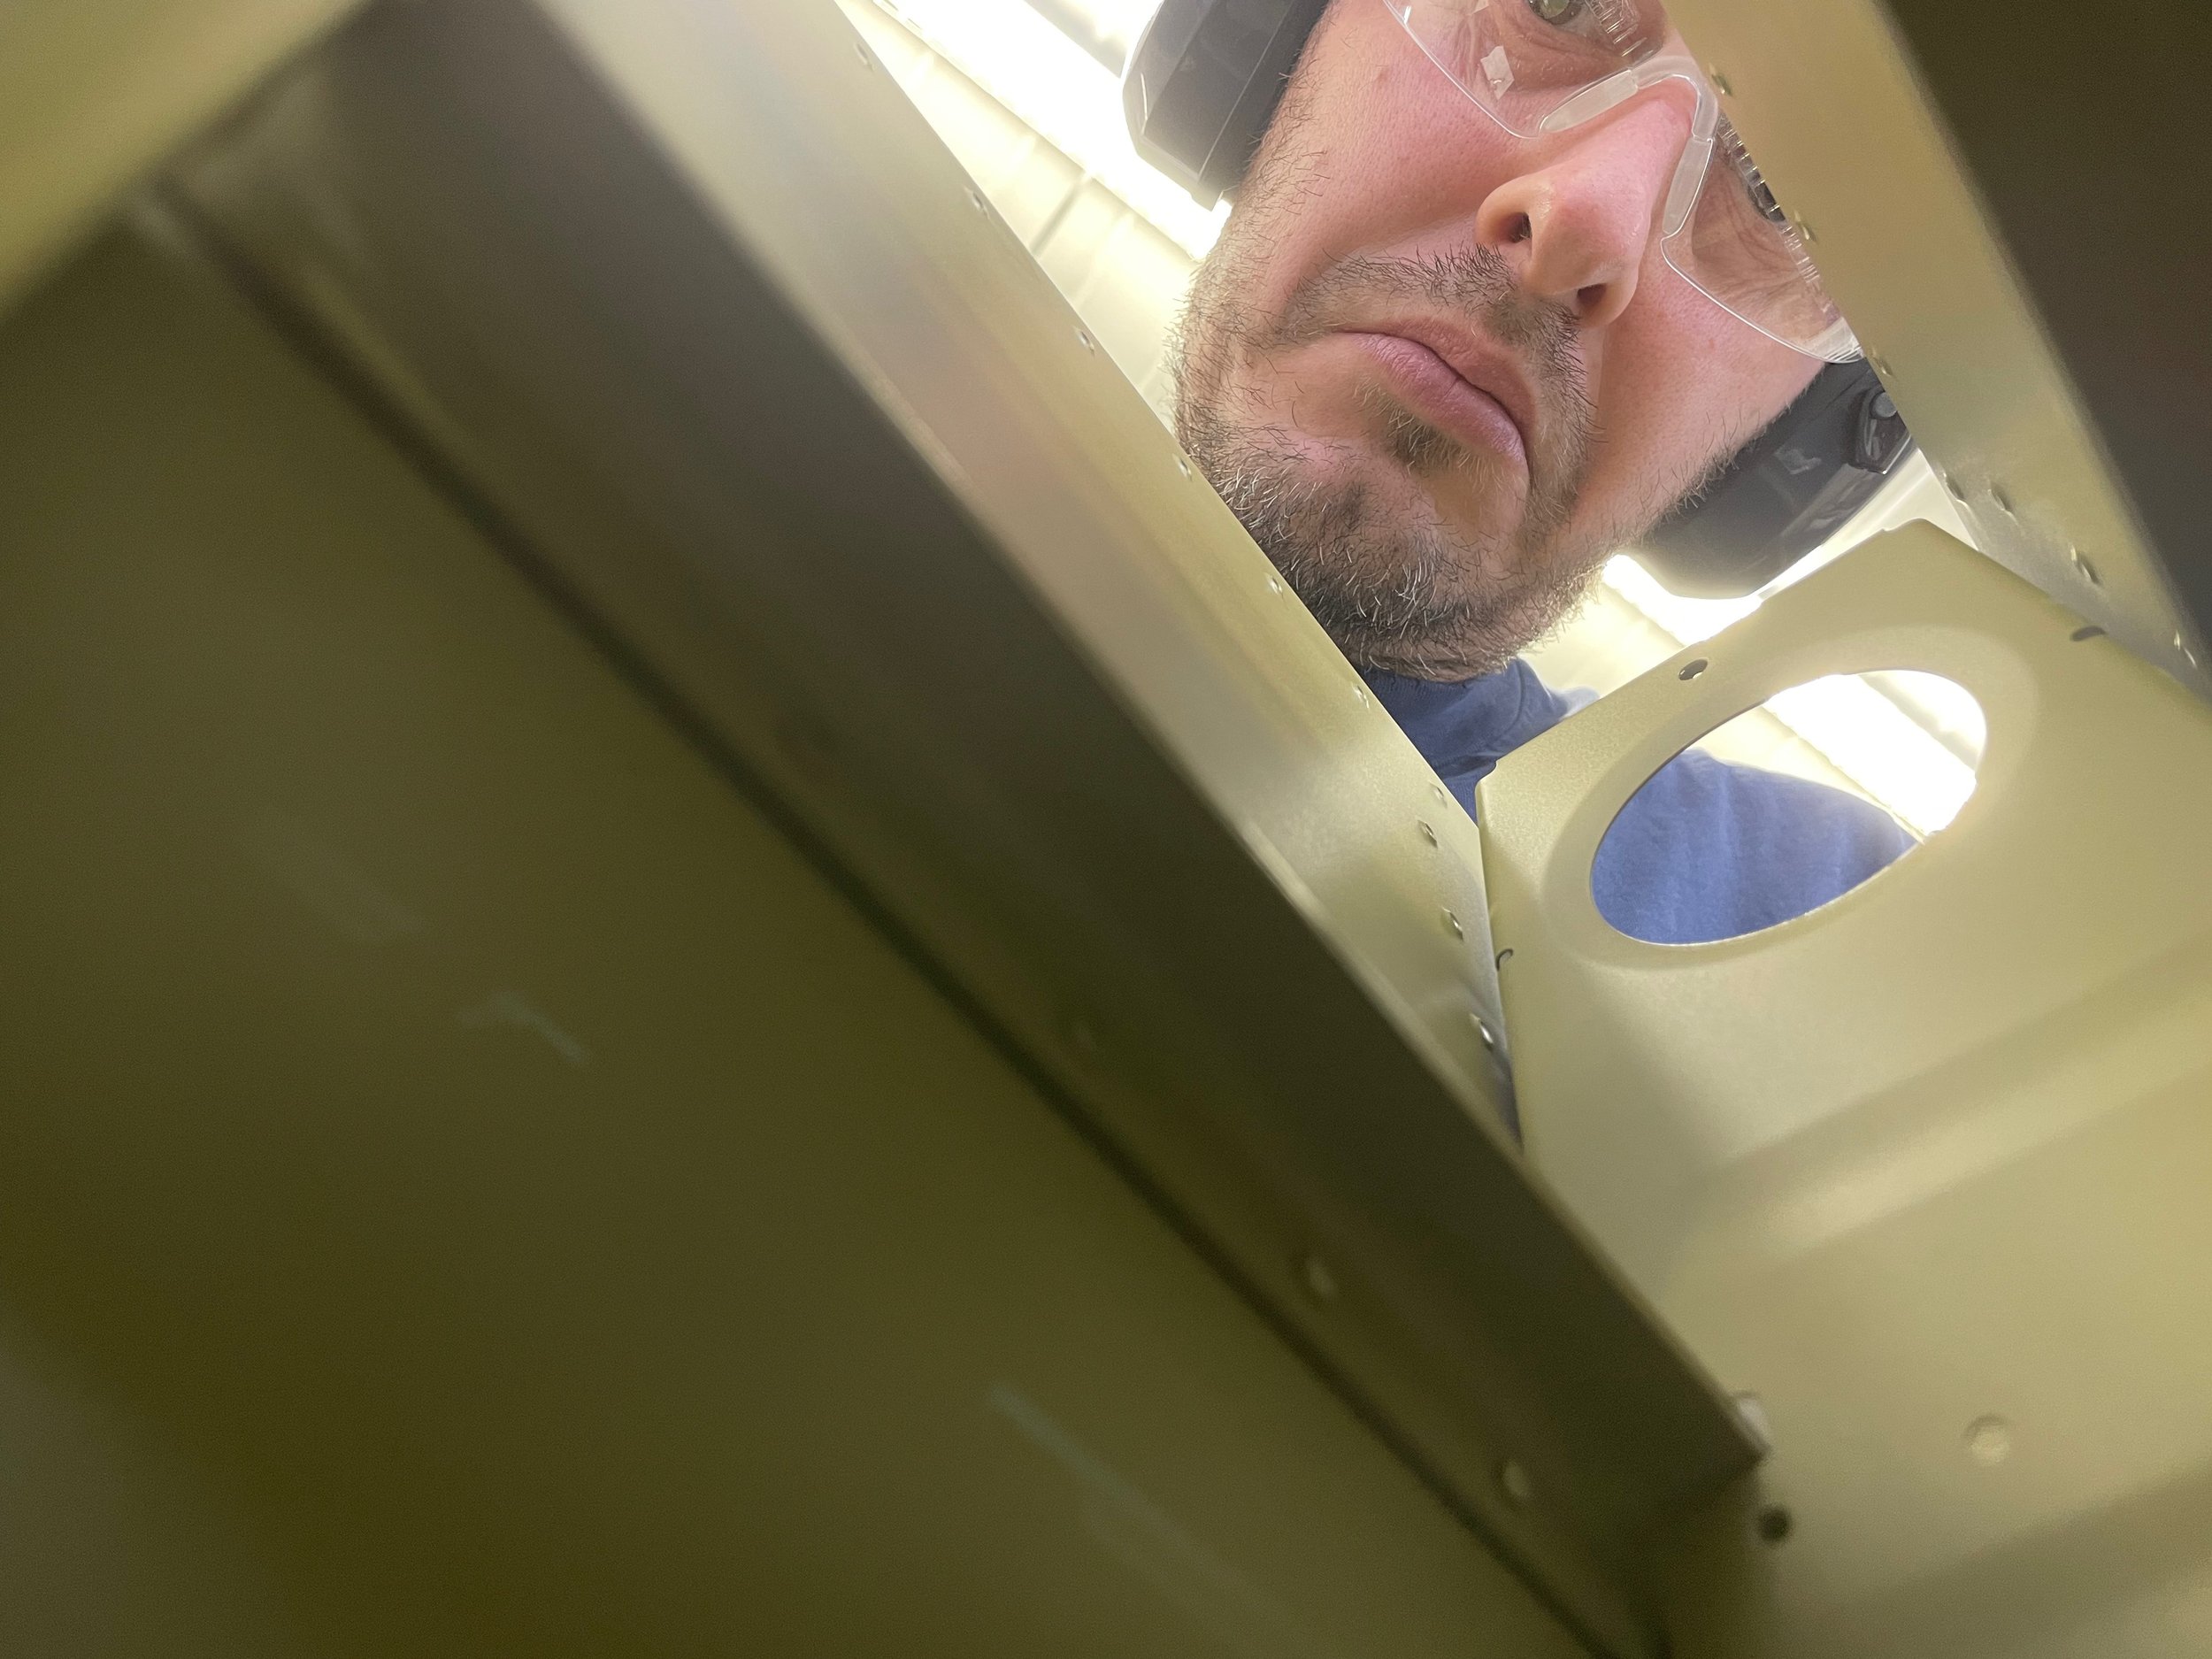
With the spar set, it was time to go after the in spar ribs and stringers. I used a combination of my phone camera and a Ryobi inspection scope. I checked Home Depot and it doesn’t look like the model I have is made anymore. But I bought this simple scope with my first house when I need to check in walls for illegal electrical junction that needed to be fixed. There are plenty of USB or bluetooth scopes out there that’ll get the job done.

Ryobi inspection scope to view forward stringer rivets that would be otherwise unable to be seen
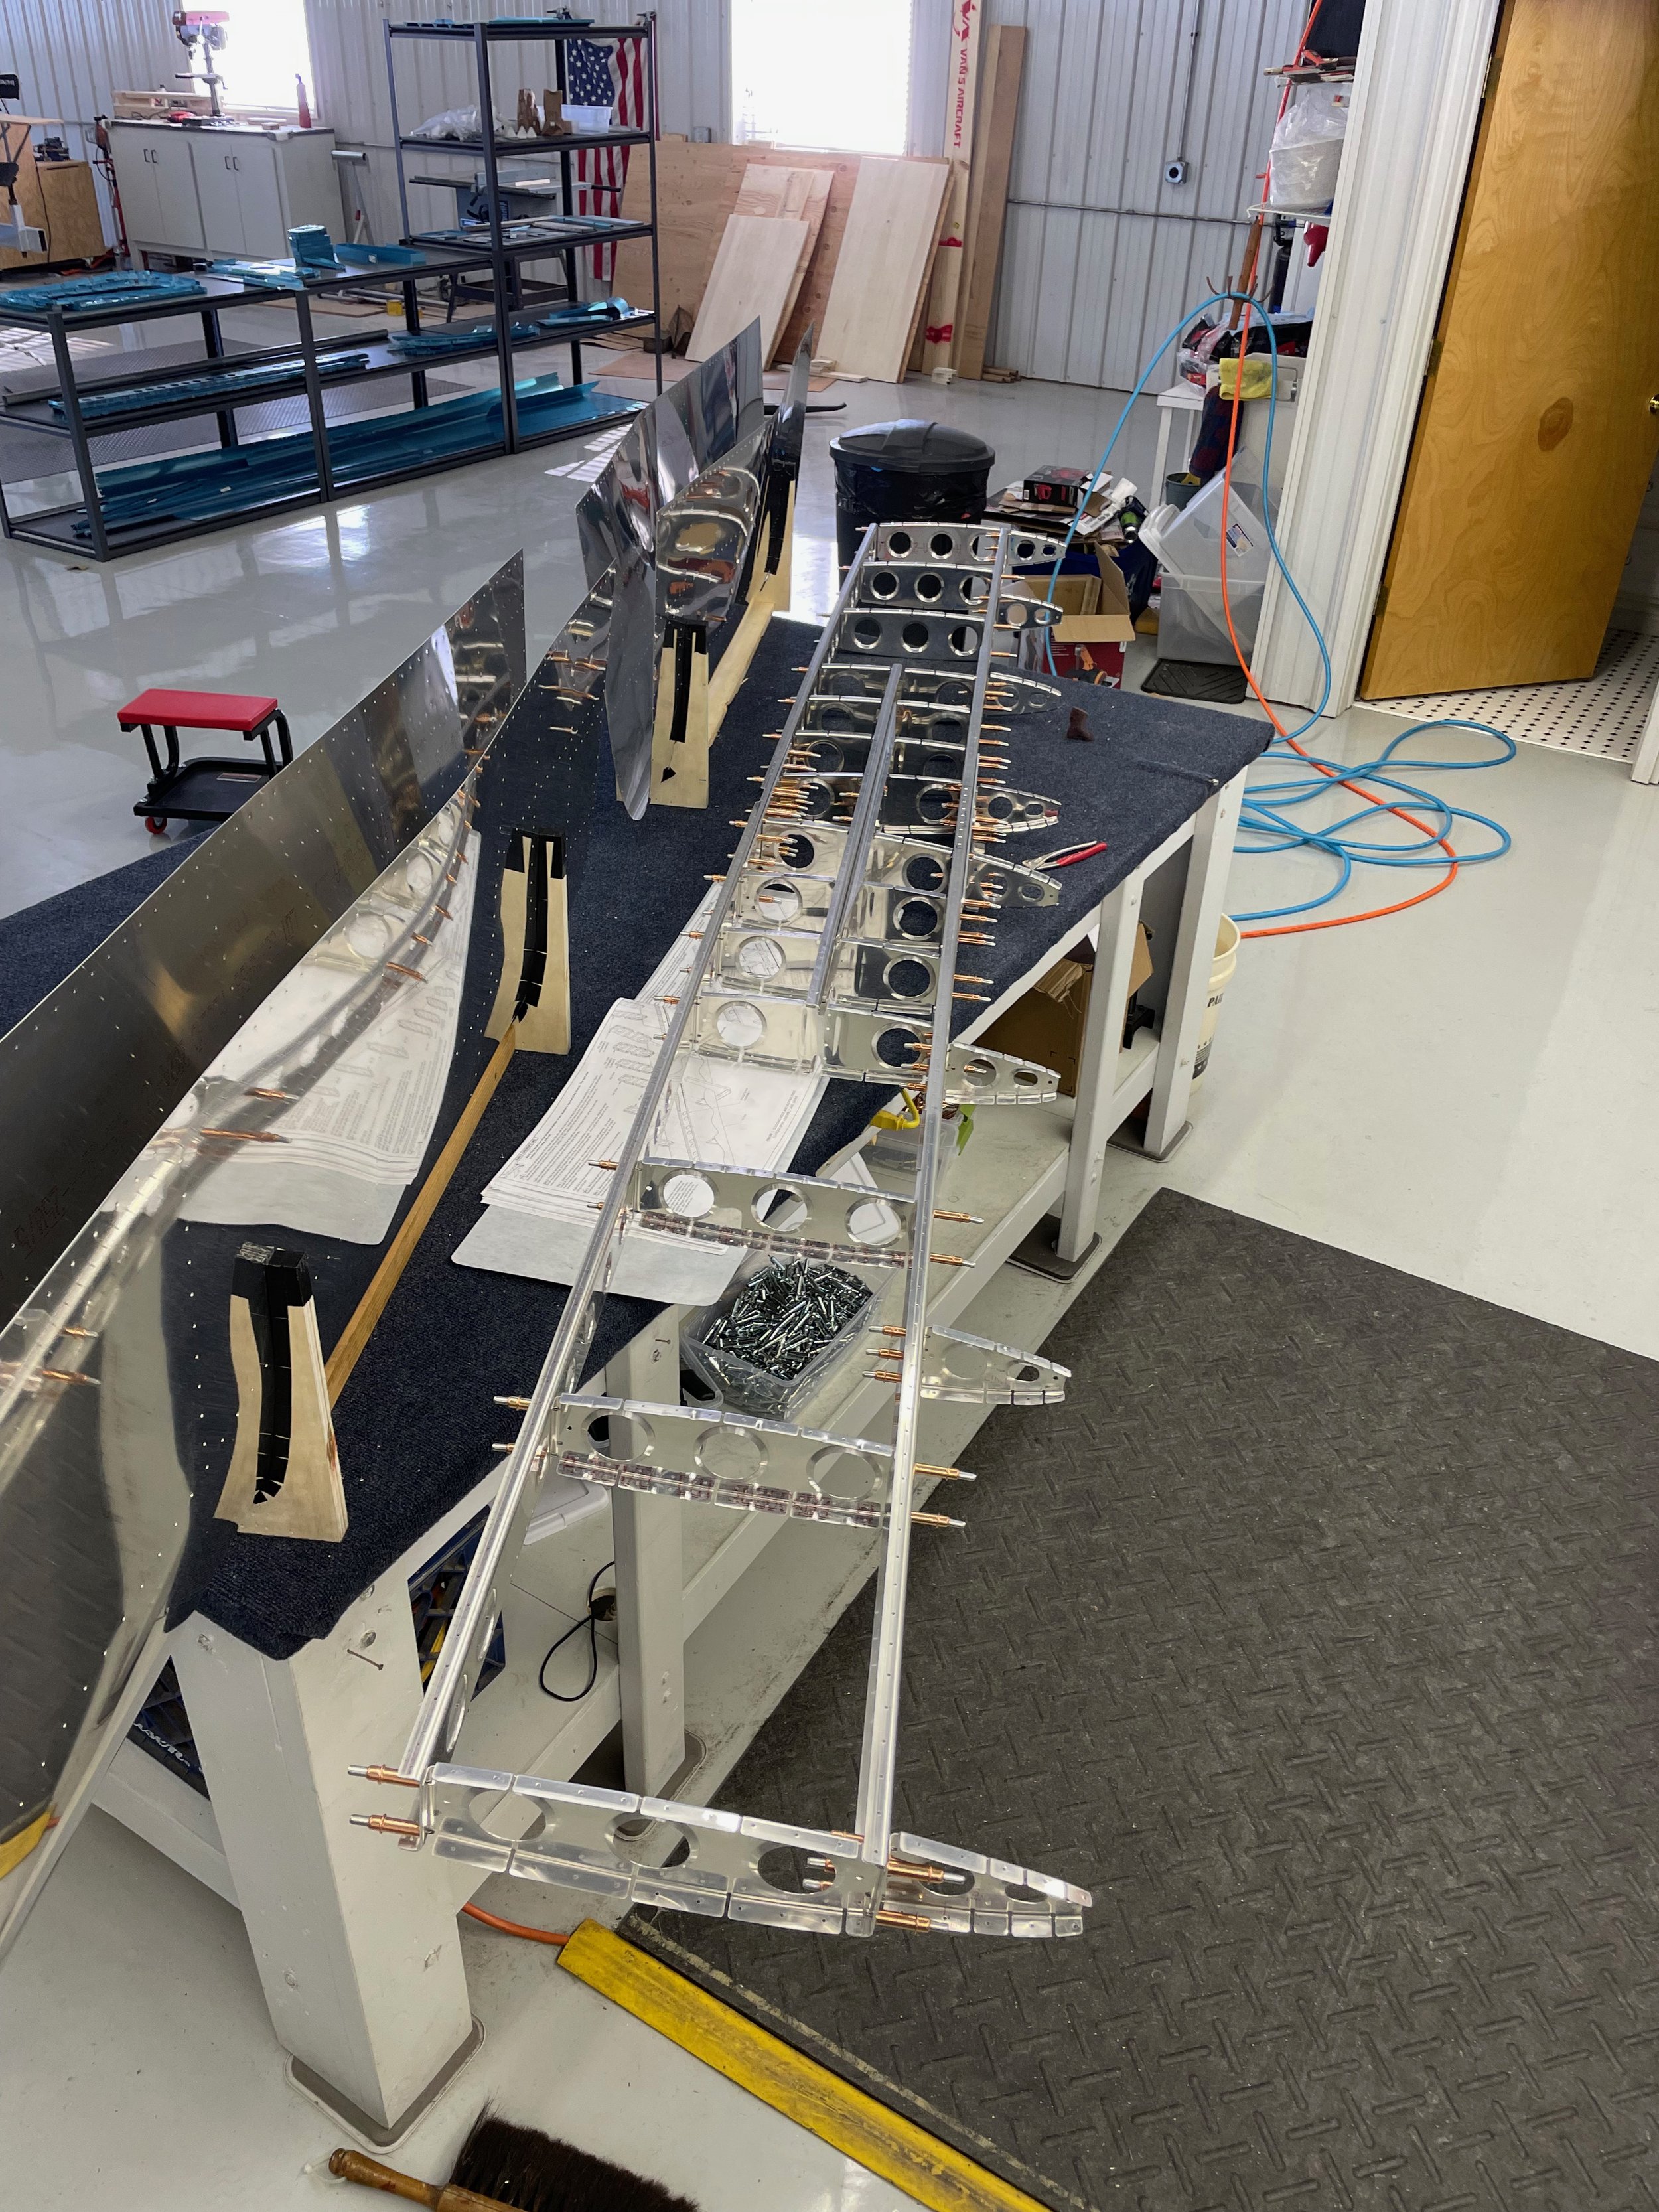
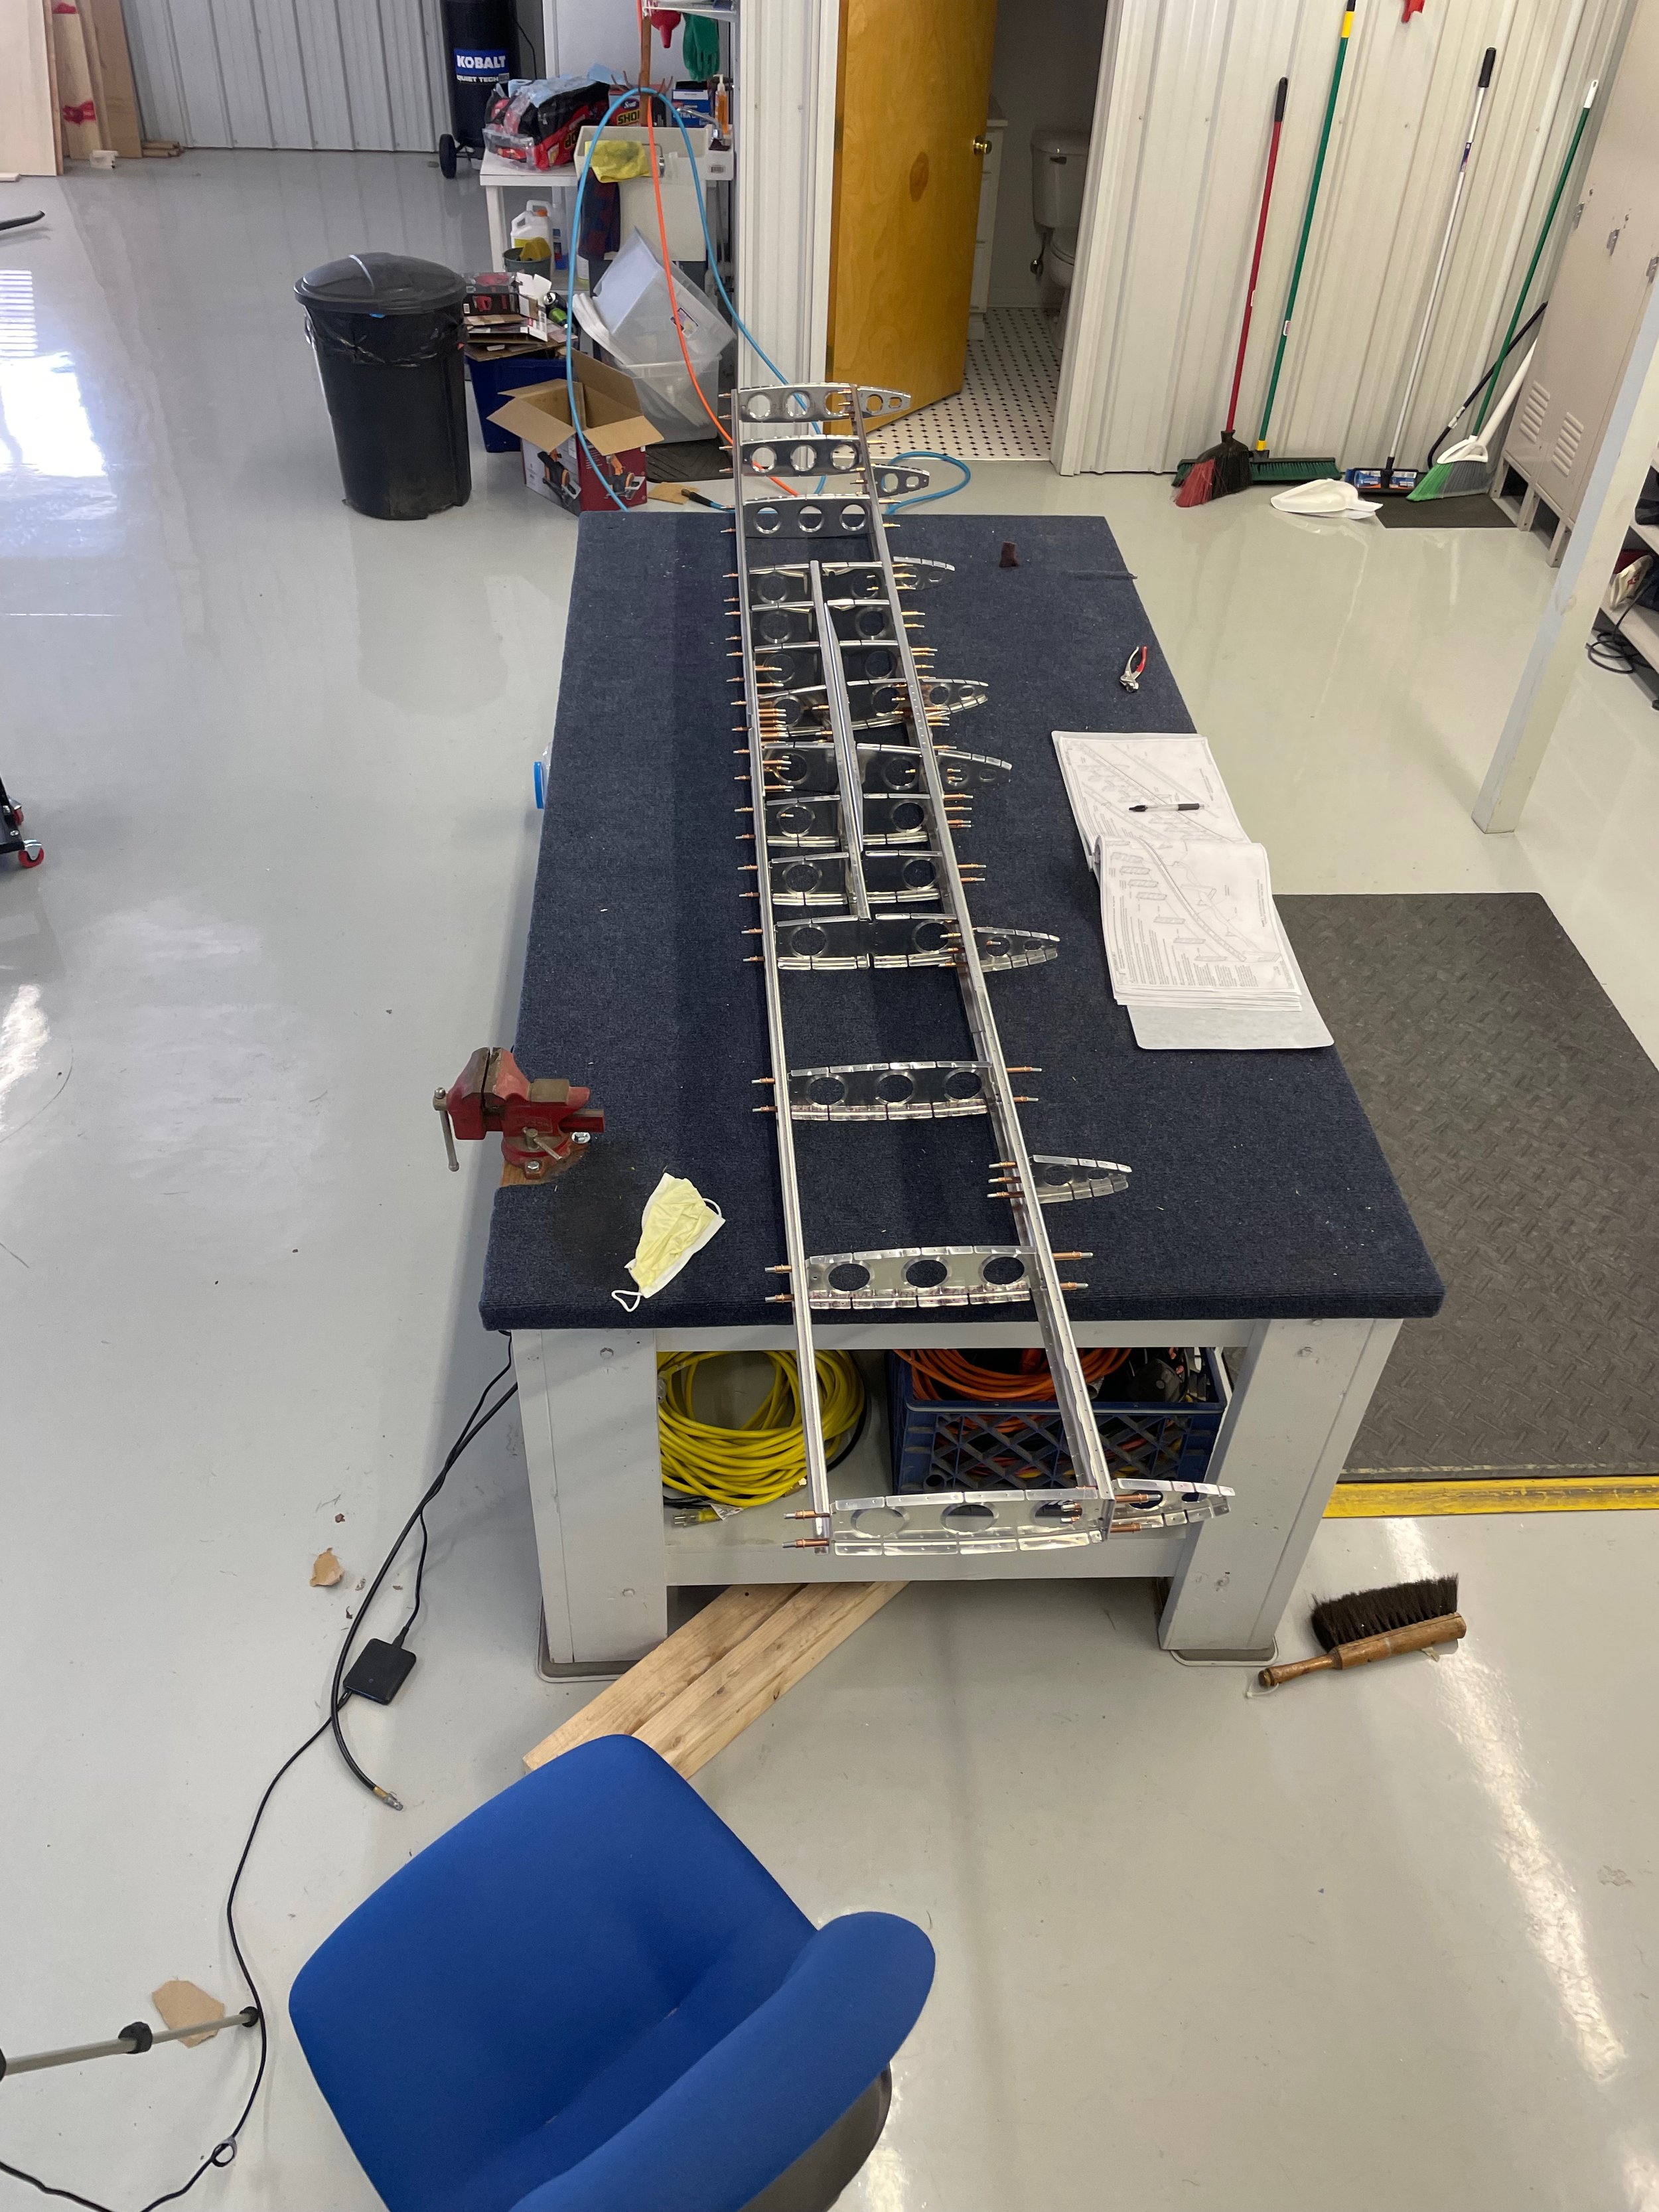
At this point, I have the forward spar done. The inspar ribs in place. Stringers riveted. I’ve got the rear spar Clecoed and just plain ran out of time to get it riveted. It should be quick work because everything is either pull riveted or squeezed. Hopefully the next post will be soon and will say “Horizontal stabilizer done!”
PS.
I almost forget my most brilliant/Oh S*#@ moment yet. While I was riveting the forward spar to the skins, my tungsten bucking bar slid through a lightening hole into the closed out space of between the nose ribs and spar. luckily it stayed upright, dead center of the hole, didn’t dent the skin, and I have padding tape on the edges, so I was able to grab it with pliers and pull it out like the most sphincter tightening game of operation ever.
