Rudder Work

The vertical stabilizer is complete and tucked away in the loft. Next up is the rudder. It starts out with taking seven identical angle pieces and turning them into seven pairs of skin stiffeners of different length. There’s nothing particularly difficult with this step, just making good marks, and keeping track of which length you’re creating. Then lots and lots of deburring.

Rudder stiffeners after cutting to length
The coolest thing to date (I know it’s early) is the bottom rib and rudder horn. It’s a big chunk of aluminum that protrudes out of the sides of the rudder that give the control cables leverage. Once everything has been prepped and primed, that’s the first thing assembled.

Lower rudder rib with rudder horn and nut plate in place.

The spar gets reinforcement plates where the nut plates are installed.
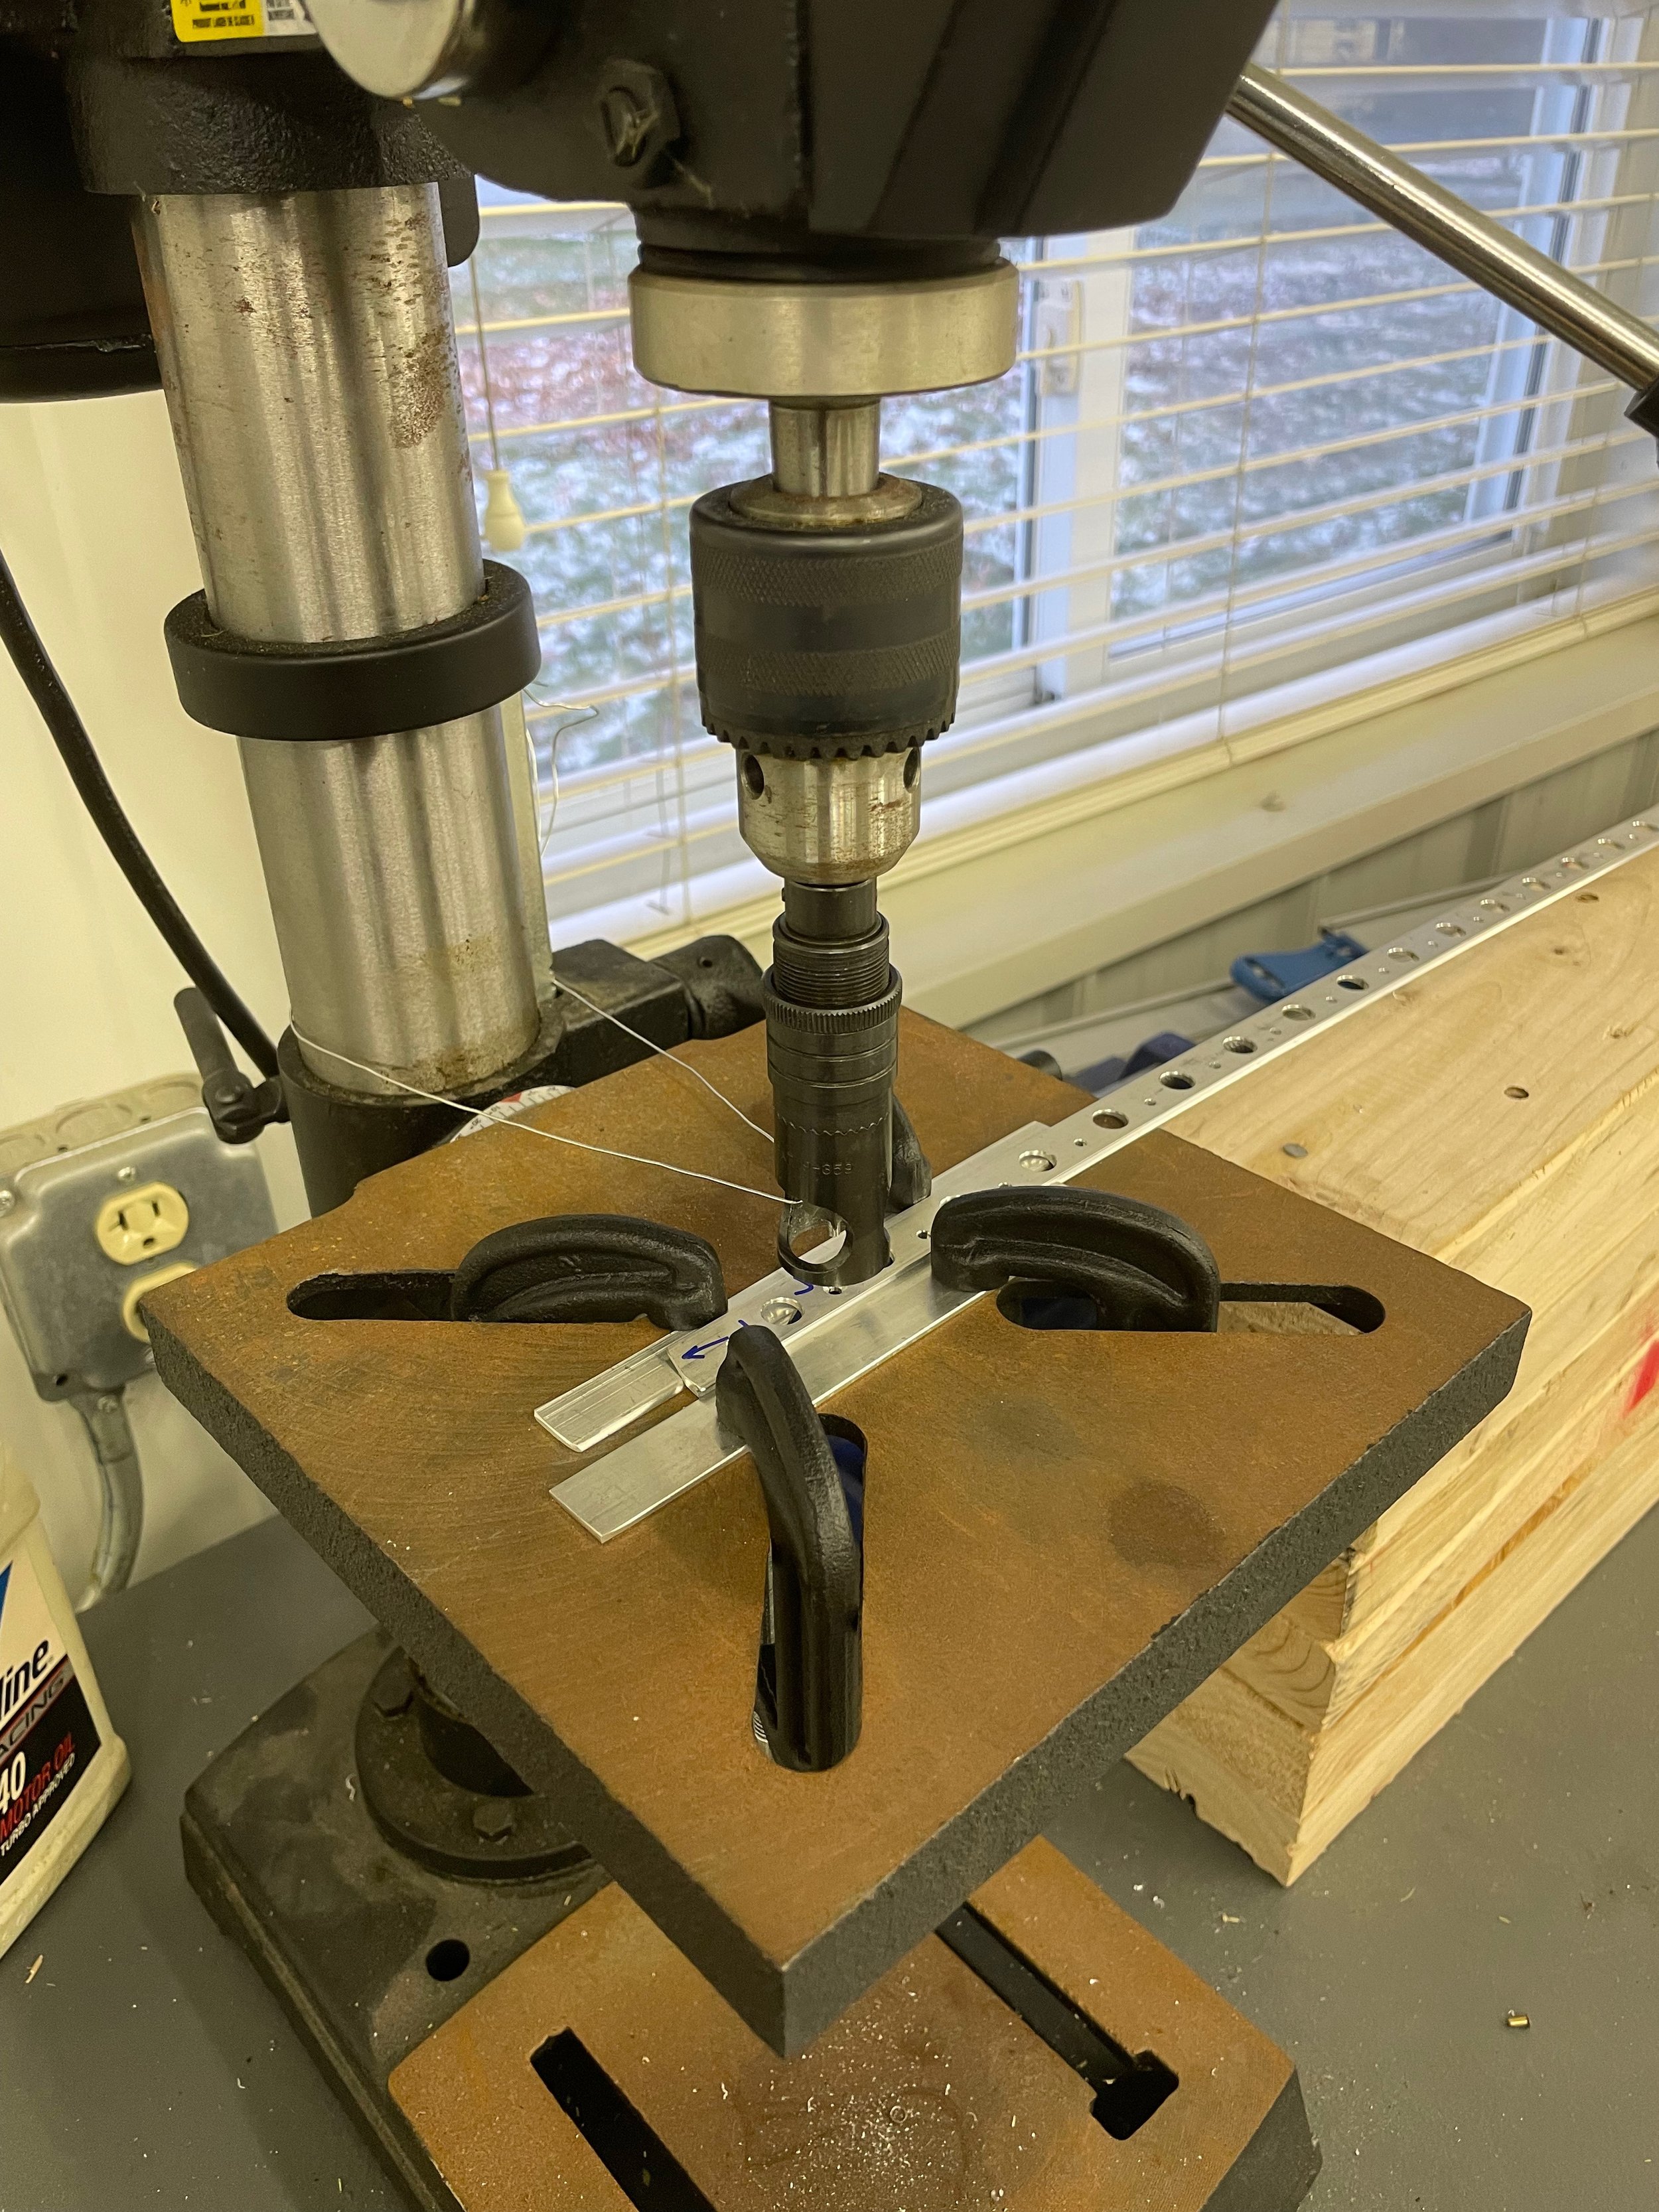
Trailing edge countersink setup as described in the plans. Allows for a repeatable perpendicular countersink along the trailing edge.

Rudder stiffeners back-riveted to the skin.
Everything is ready for the tank sealant to set the trailing edge. Now I’m just waiting on the USPS to get it here. Until then, I’ll start on prepping materials and making the jigs for the horizontal stabilizer.

Rudder halves patiently awaiting tank sealant to get the trailing edge set.