Vertical Stabilizer the Beginning
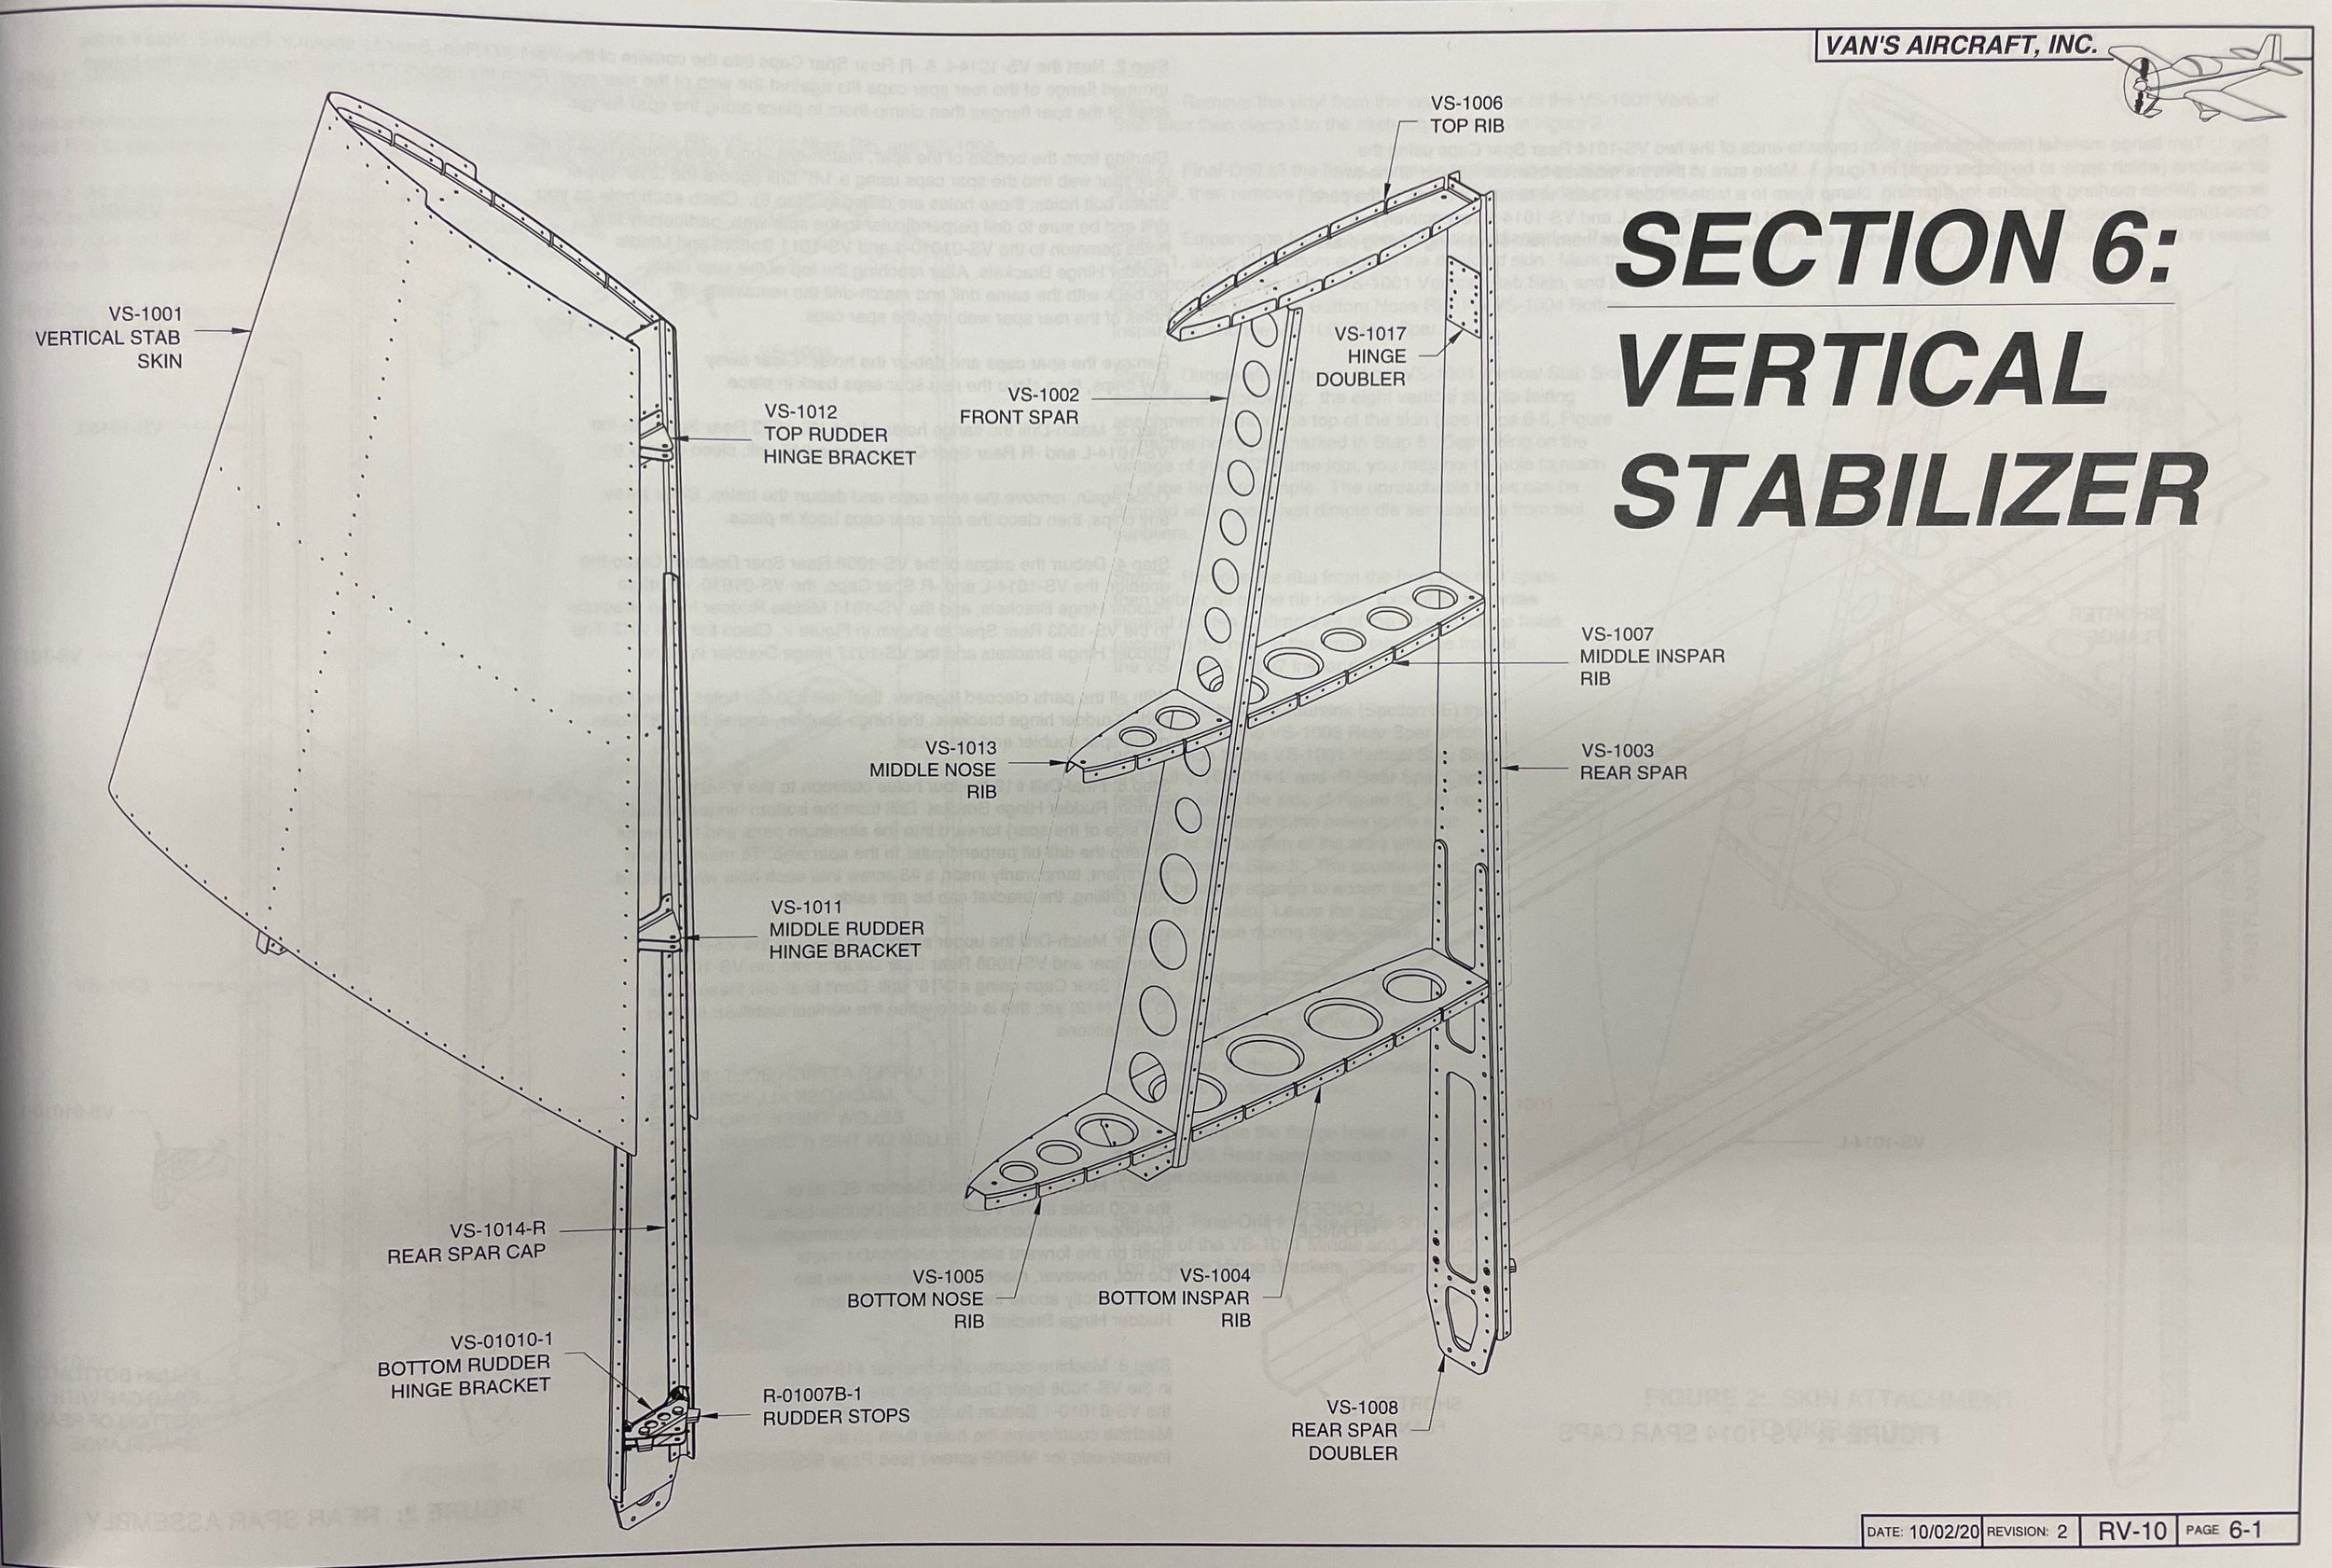
Vertical stabilizer in plan form
With the inventory done, the first “building” of the plane is the vertical stabilizer. Looking at the plan form above, it’s easy to see it’s one of the more simple structures to build. It’s incredibly important to safe flying airplane, yet simple at the same time. This is also a relatively small part when it comes to its final size.
Here is the basics of building an airplane:
Prep the materials. From the factory, there are rough edges from the tooling marks. The edges need to be deburred. Flanges need to be checked for squareness and ribs need to be flattened by fluting the flanges.
Assemble all the parts using temporary fasteners (clecos).
Match drill/ream the pre-punched holes
disassemble the whole thing and deburr all the holes
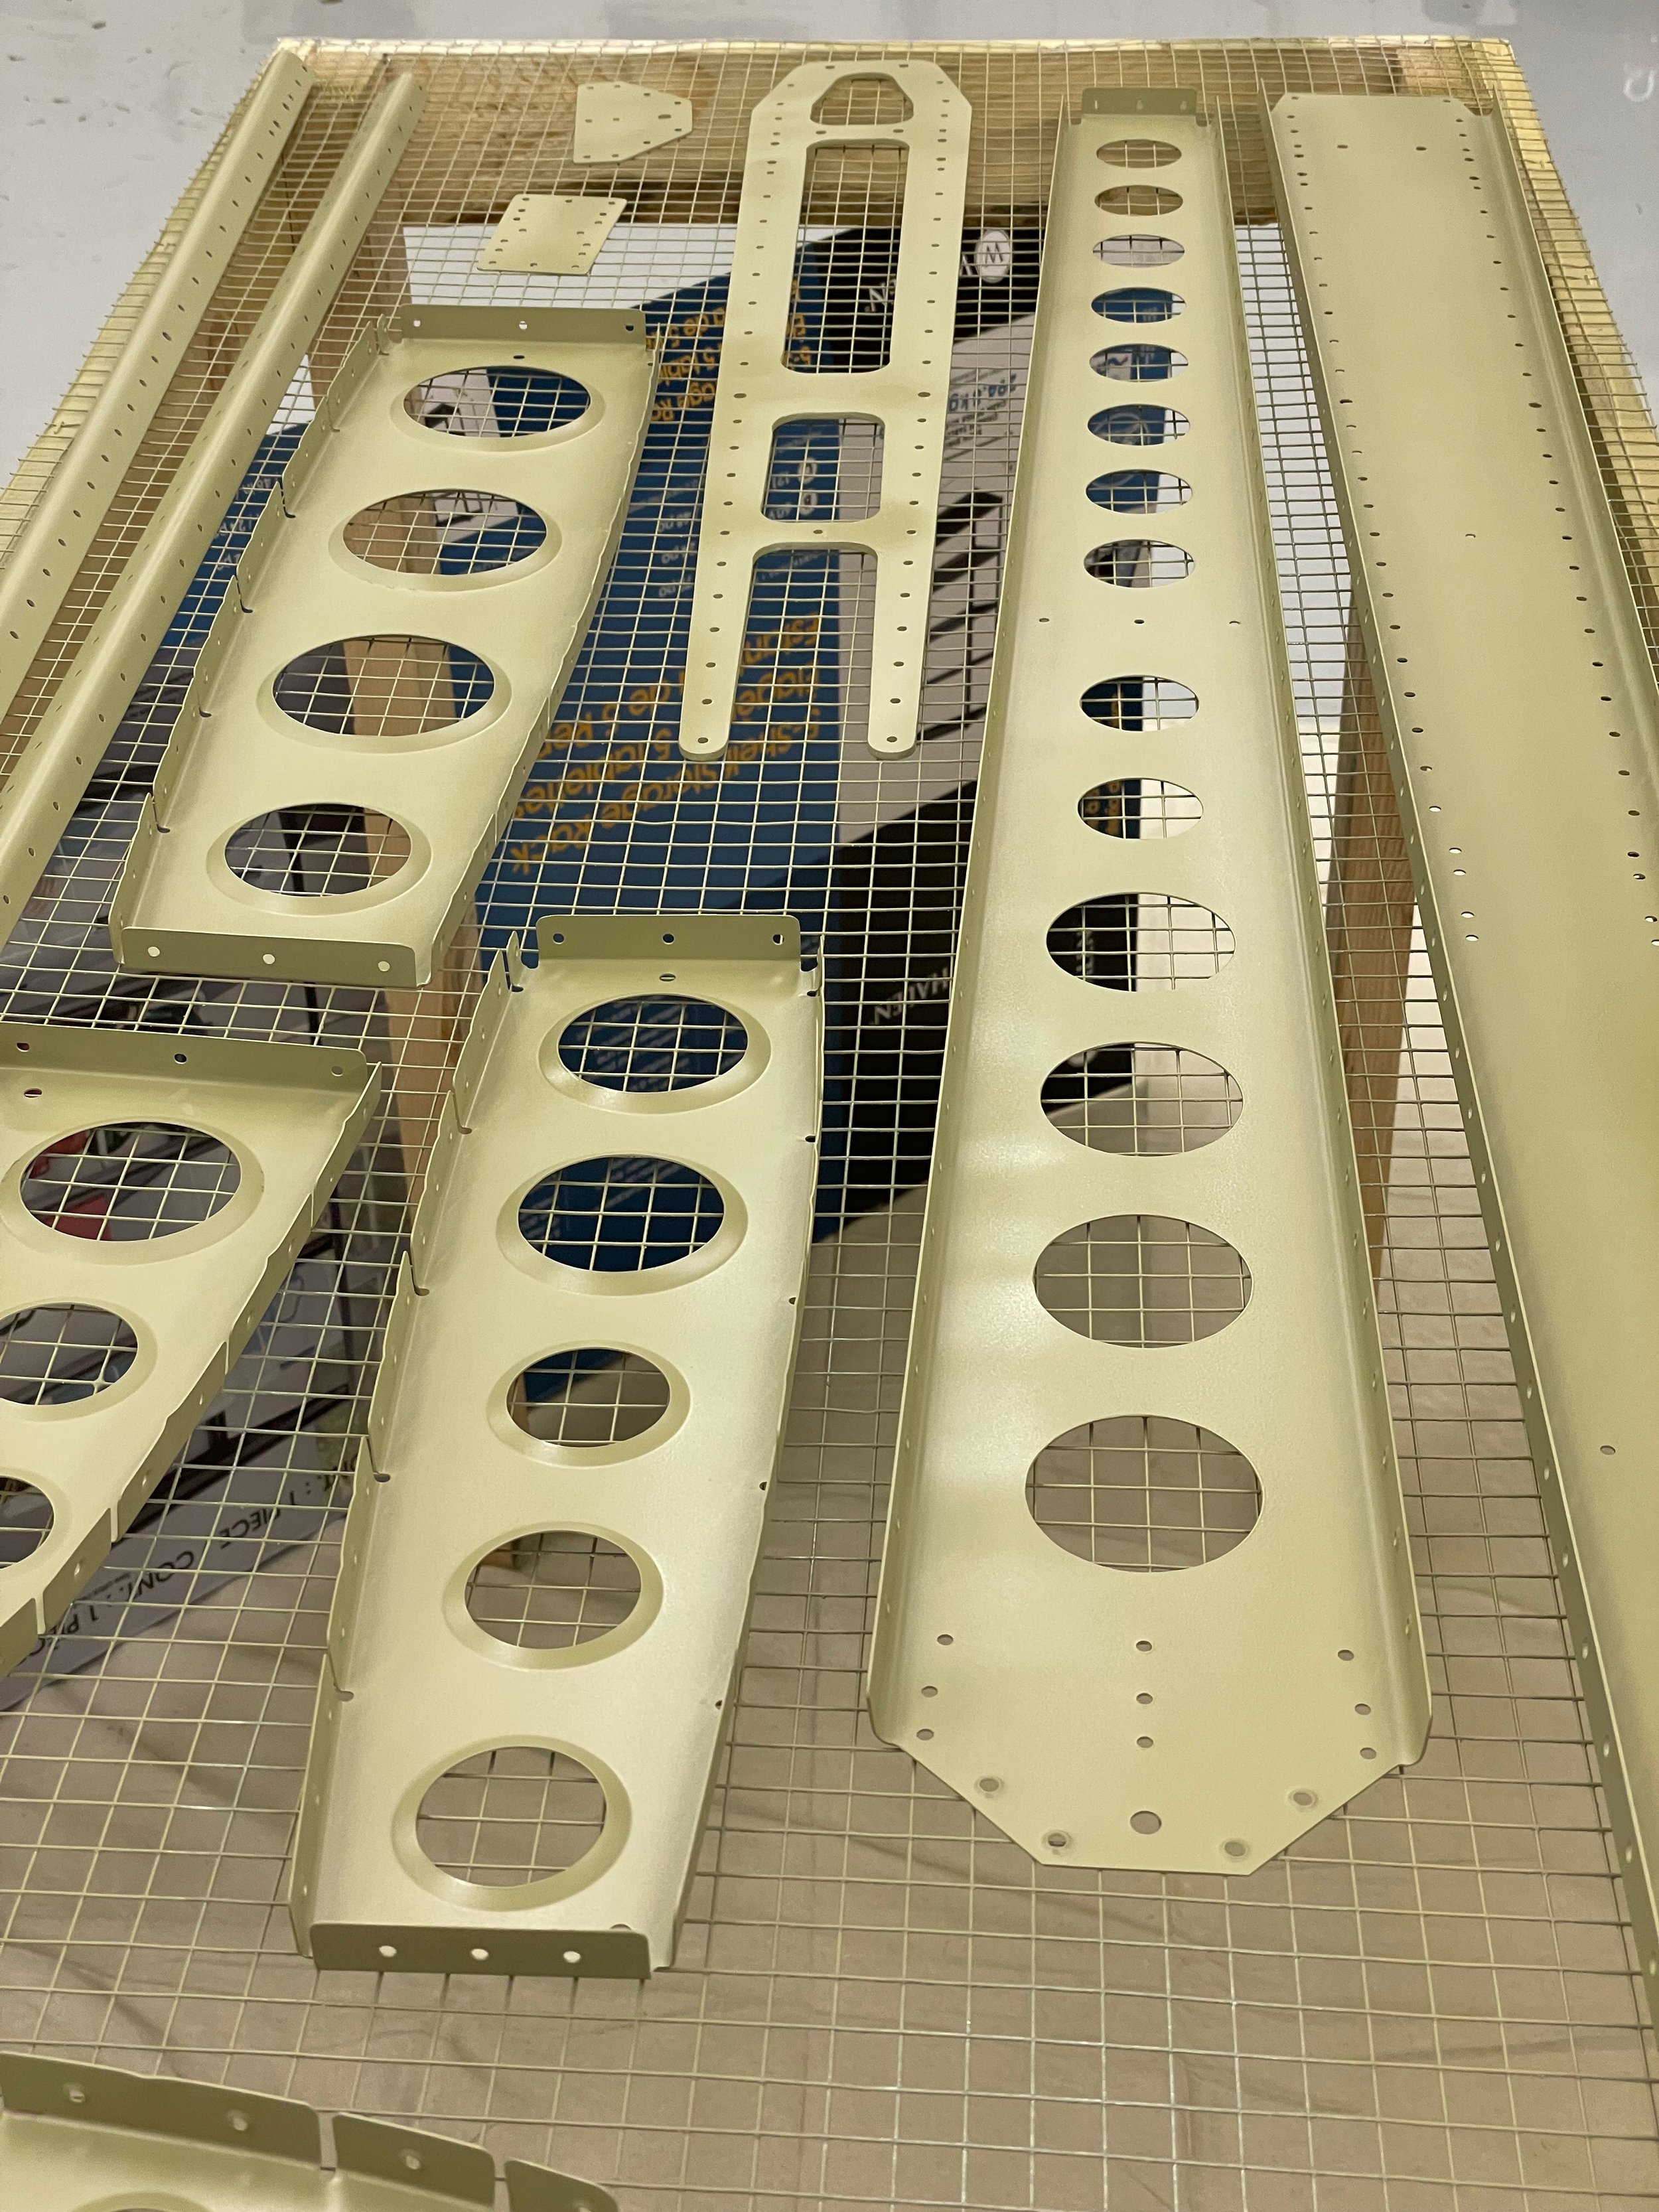
Prime parts
Re-assemble using permanent fasteners (solid rivets, pull rivets, bolts, screws)
Rinse and repeat with all the structures.
That will build and airframe on which a power plant, avionics and seating/interior is added.
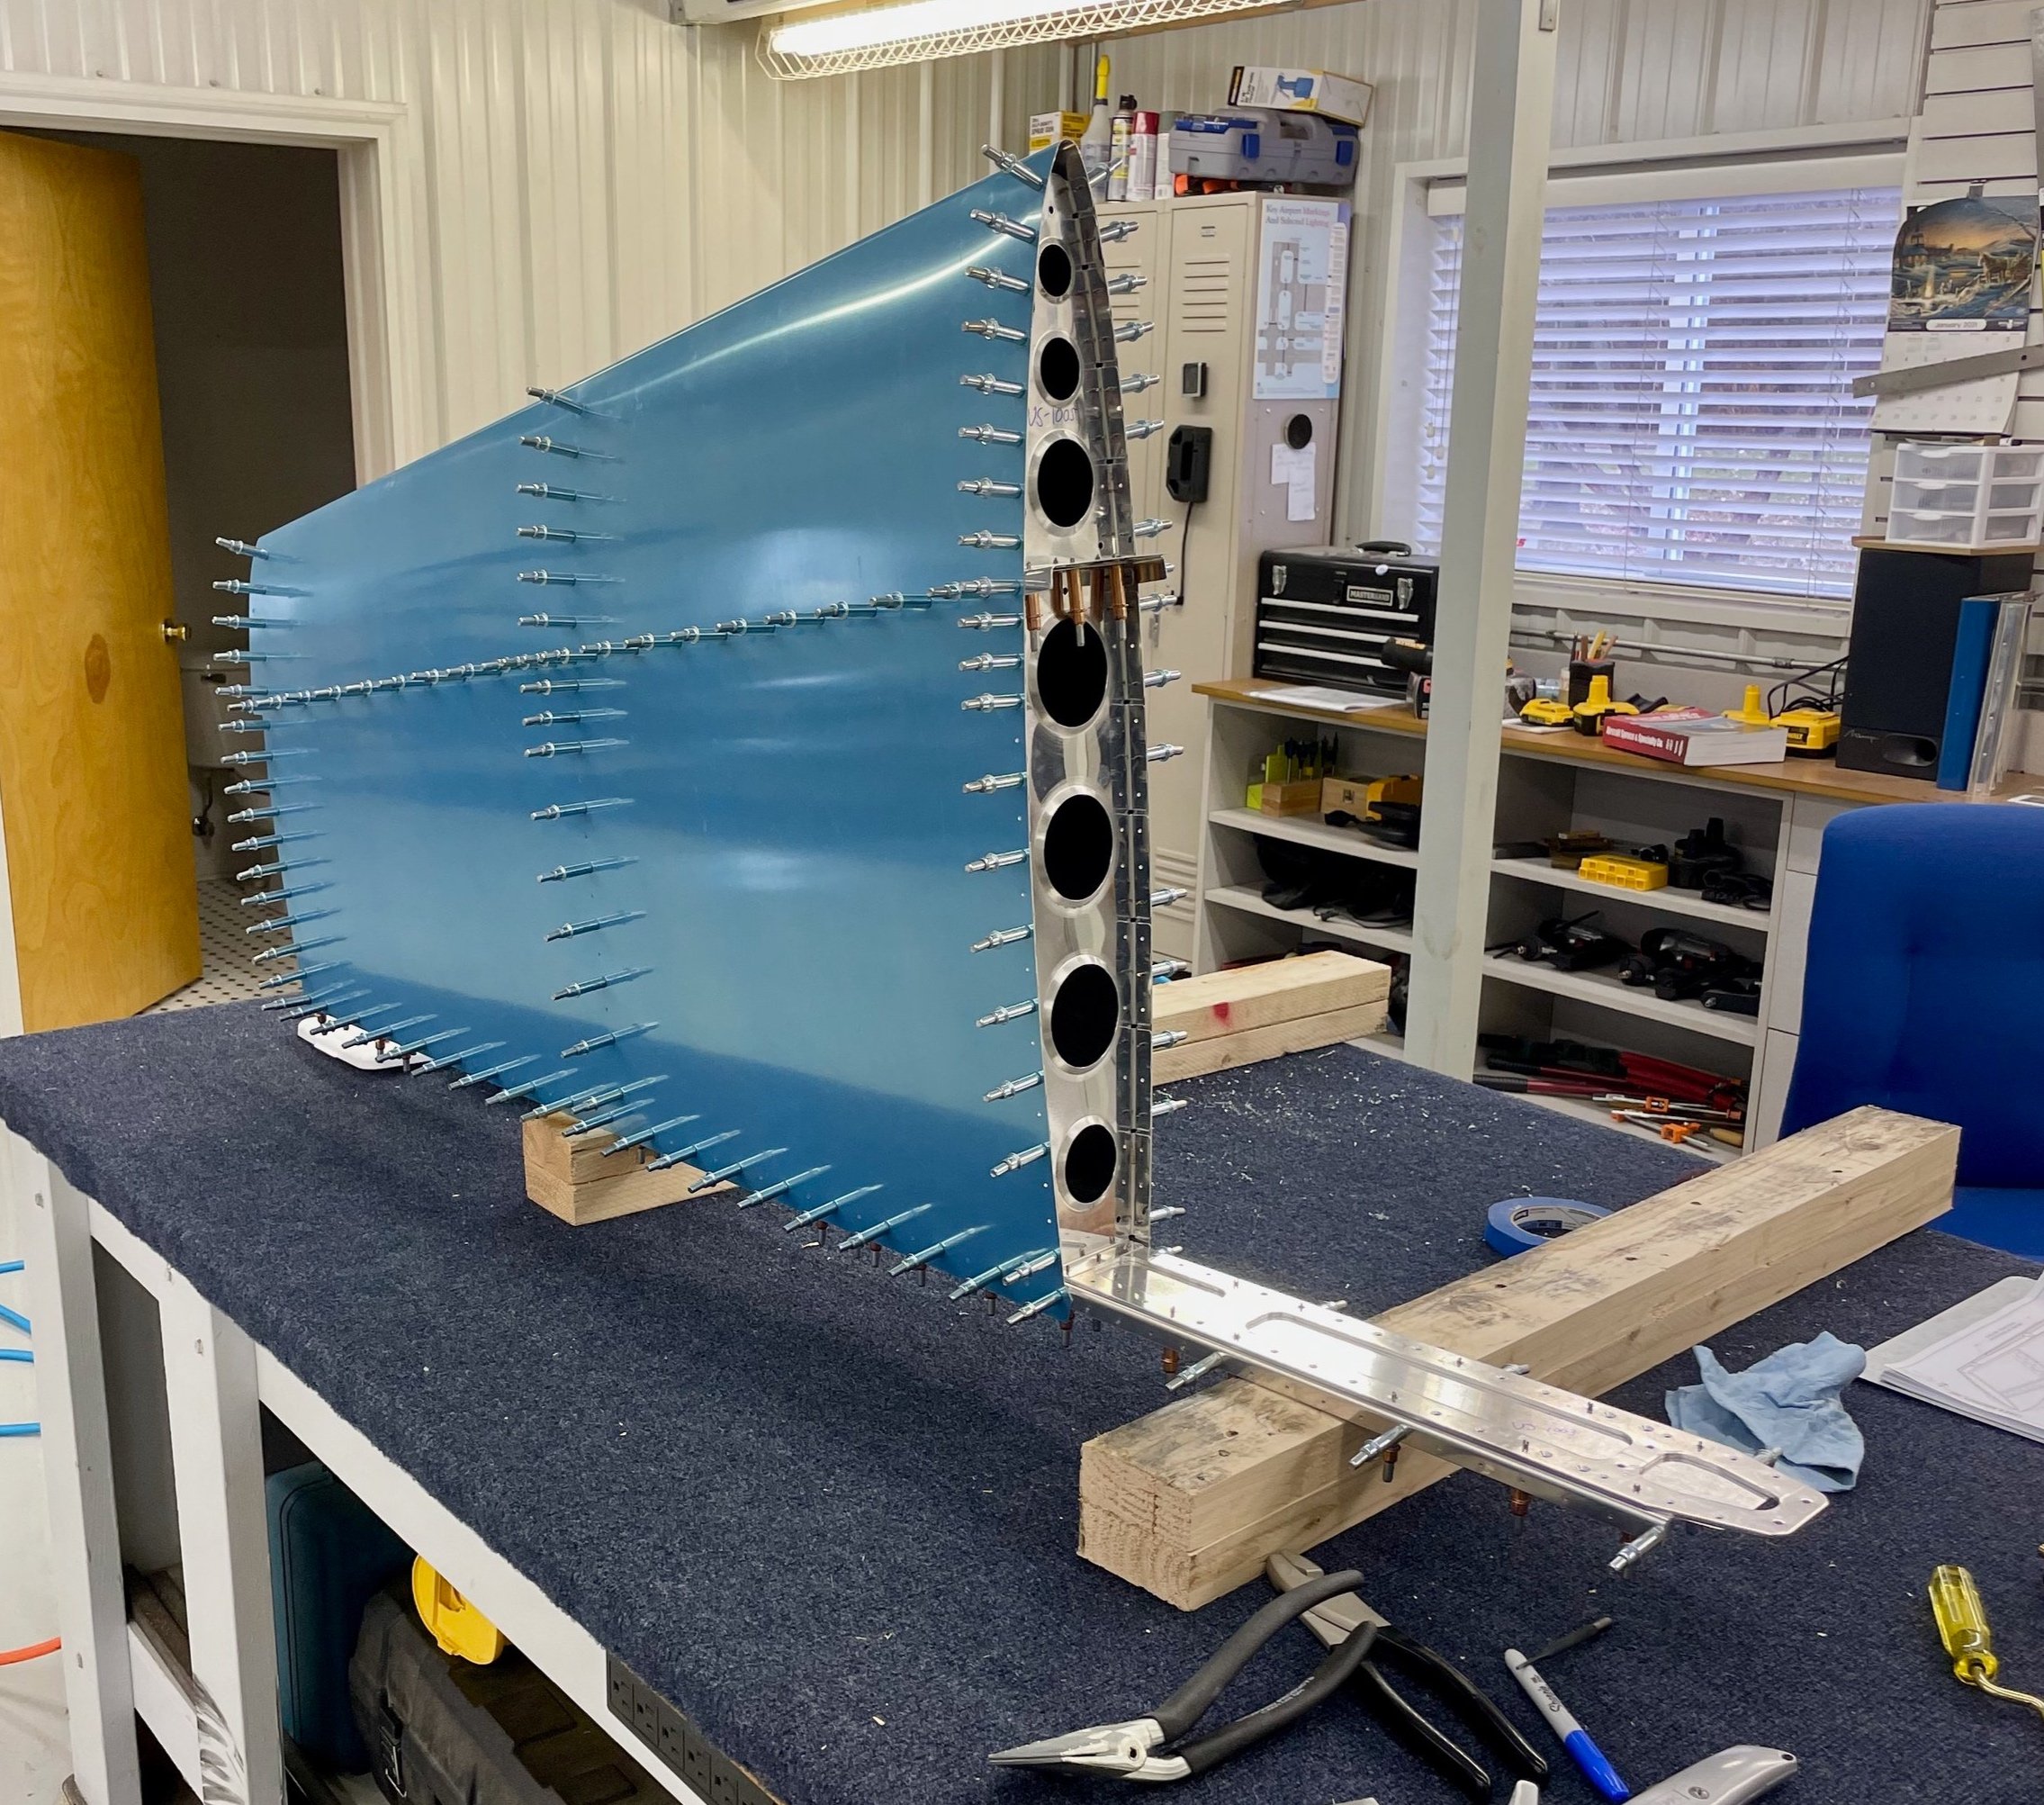
Vertical stabilizer mock up with clecos
Once the vertical stabilizer was mocked up which took some work getting the nose ribs in place without bulging the skins out, it was time to match drill all the skins.

Nose ribs have longer leading edges at the top of the flange. The best way to describe it is visualizing the flat sheet before bending. These curved pieces have a slightly different diameter at the base of the flange than the tip. When it’s bent up, the tip of the flange now protrudes forward of the leading edge of the rib. The tighter the radius, the more pronounced the effect. The leading edge of the vertical stabilizer is one of the tightest radii of the whole plane and therefore the most affected by this. It doesn’t help these are the first nose ribs to work with in the entire project.

Example of trimmed and fluted nose rib prior to riveting.
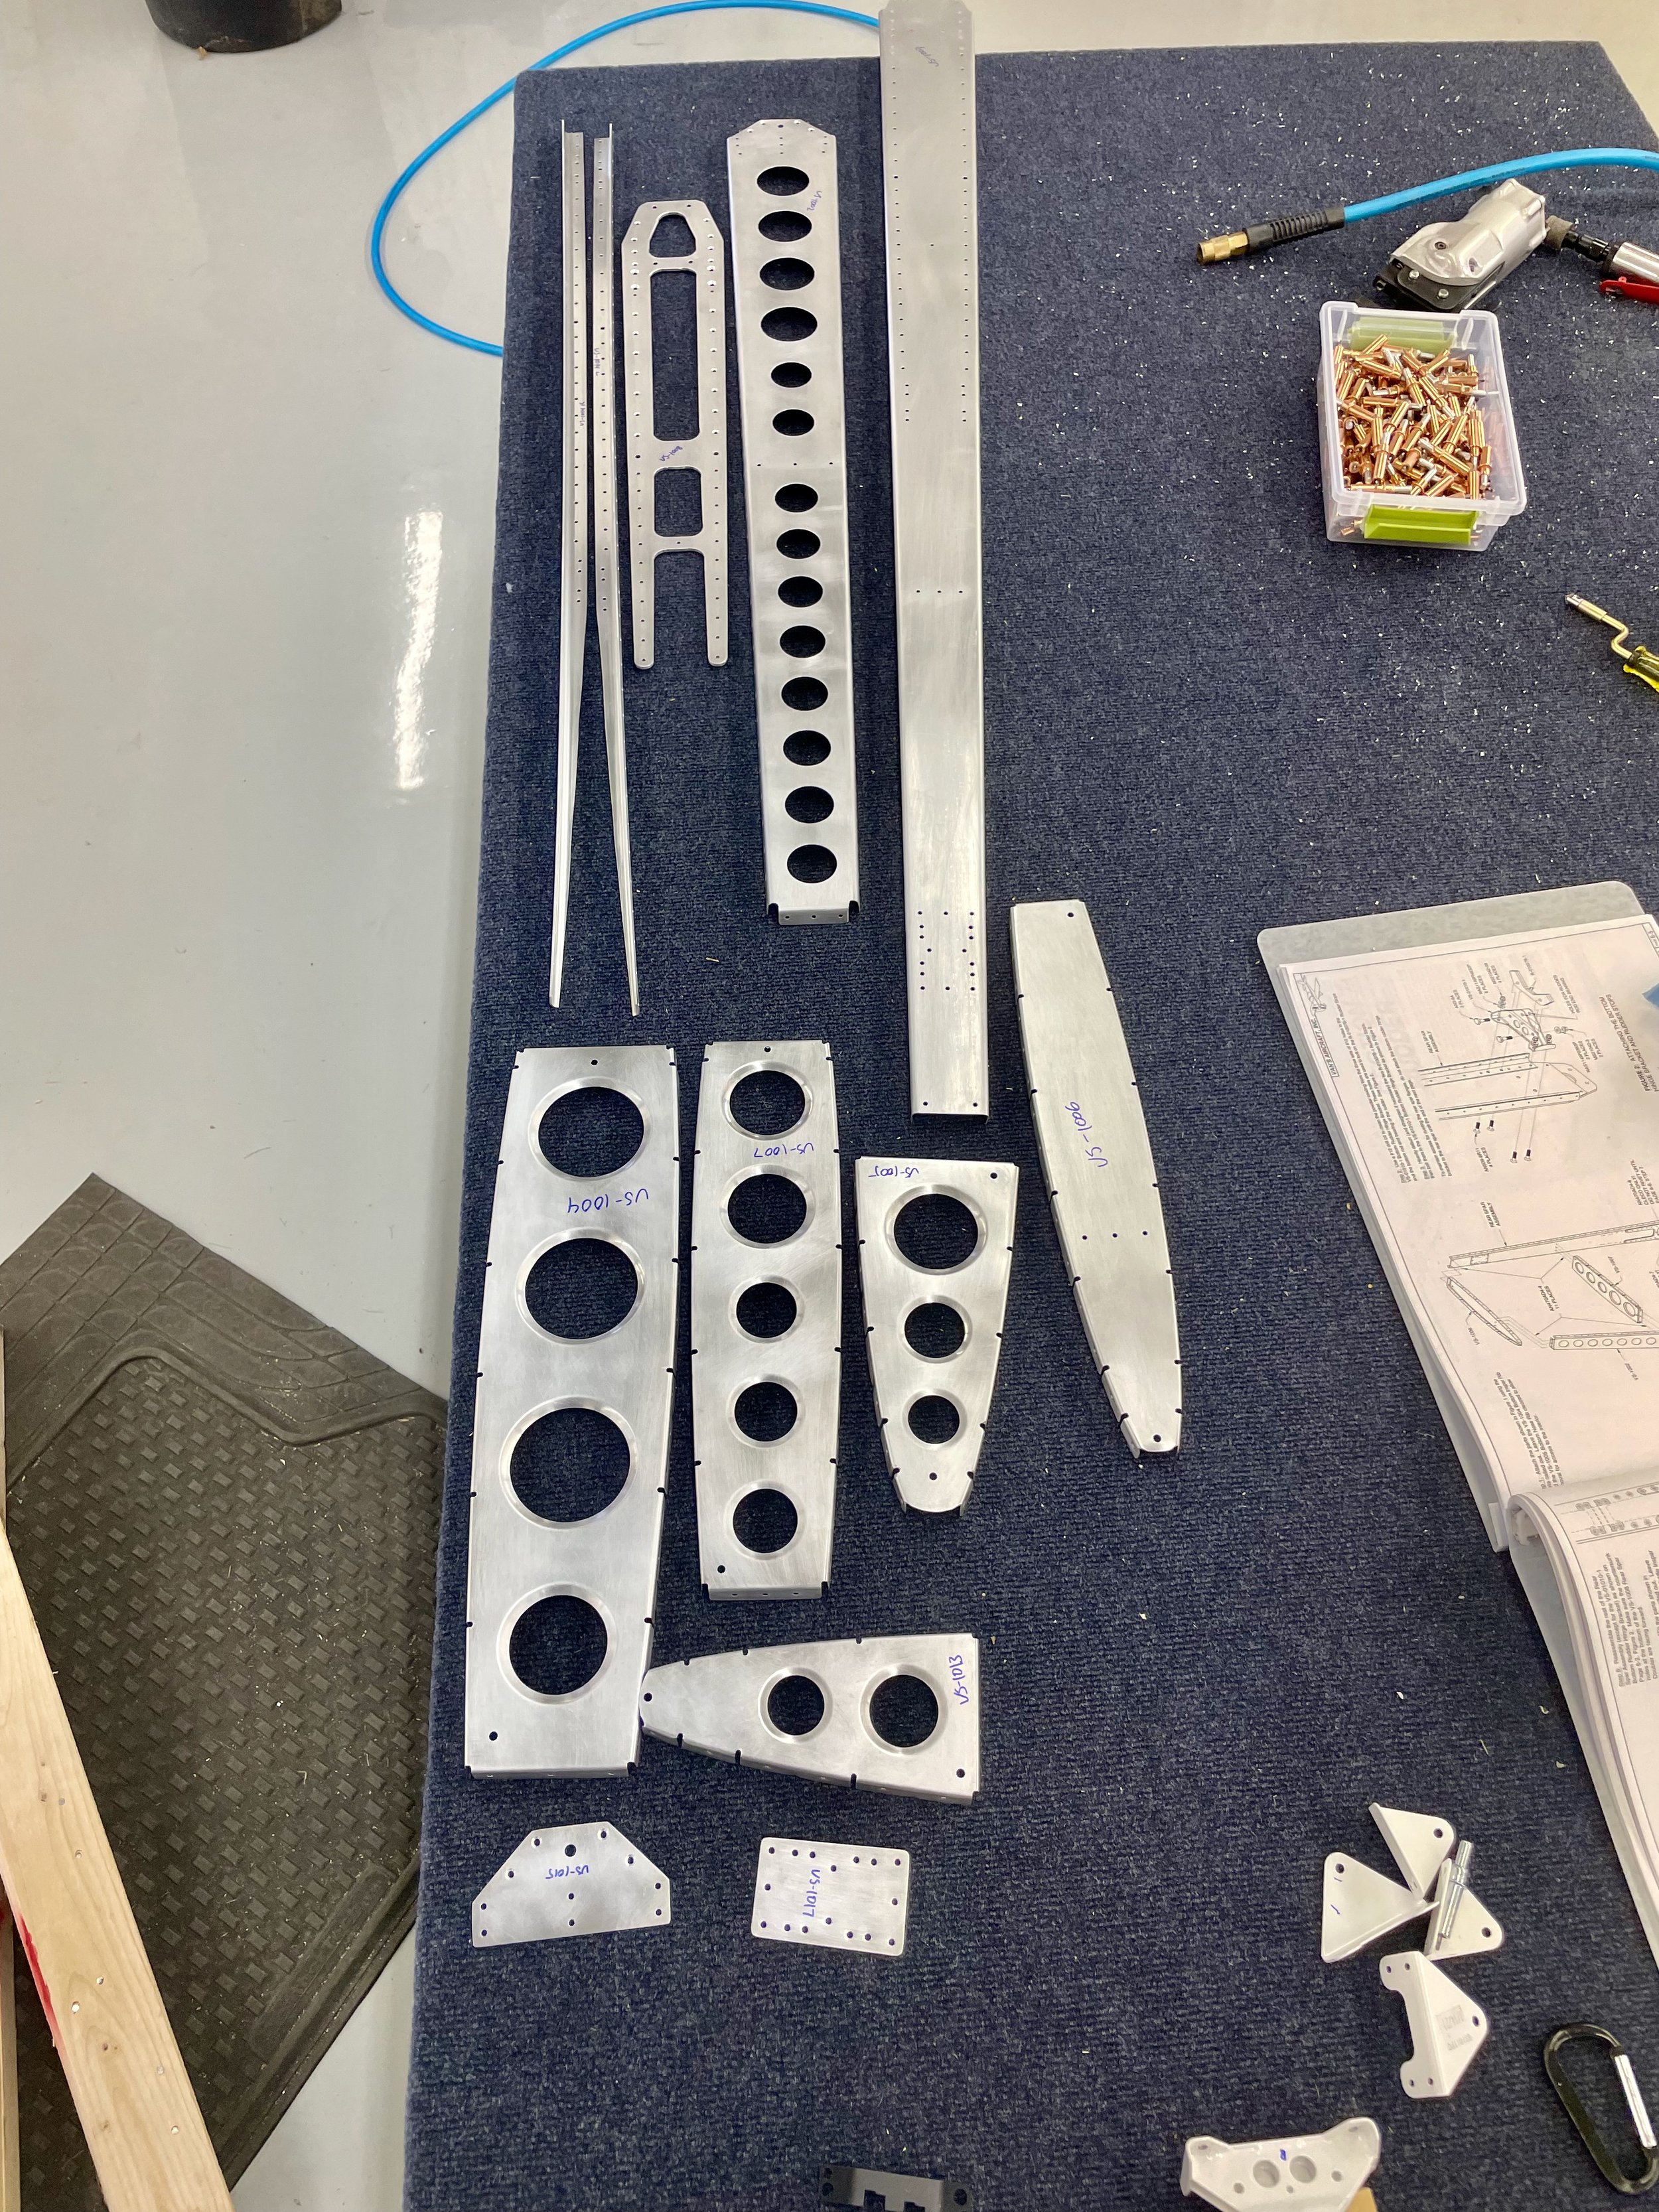
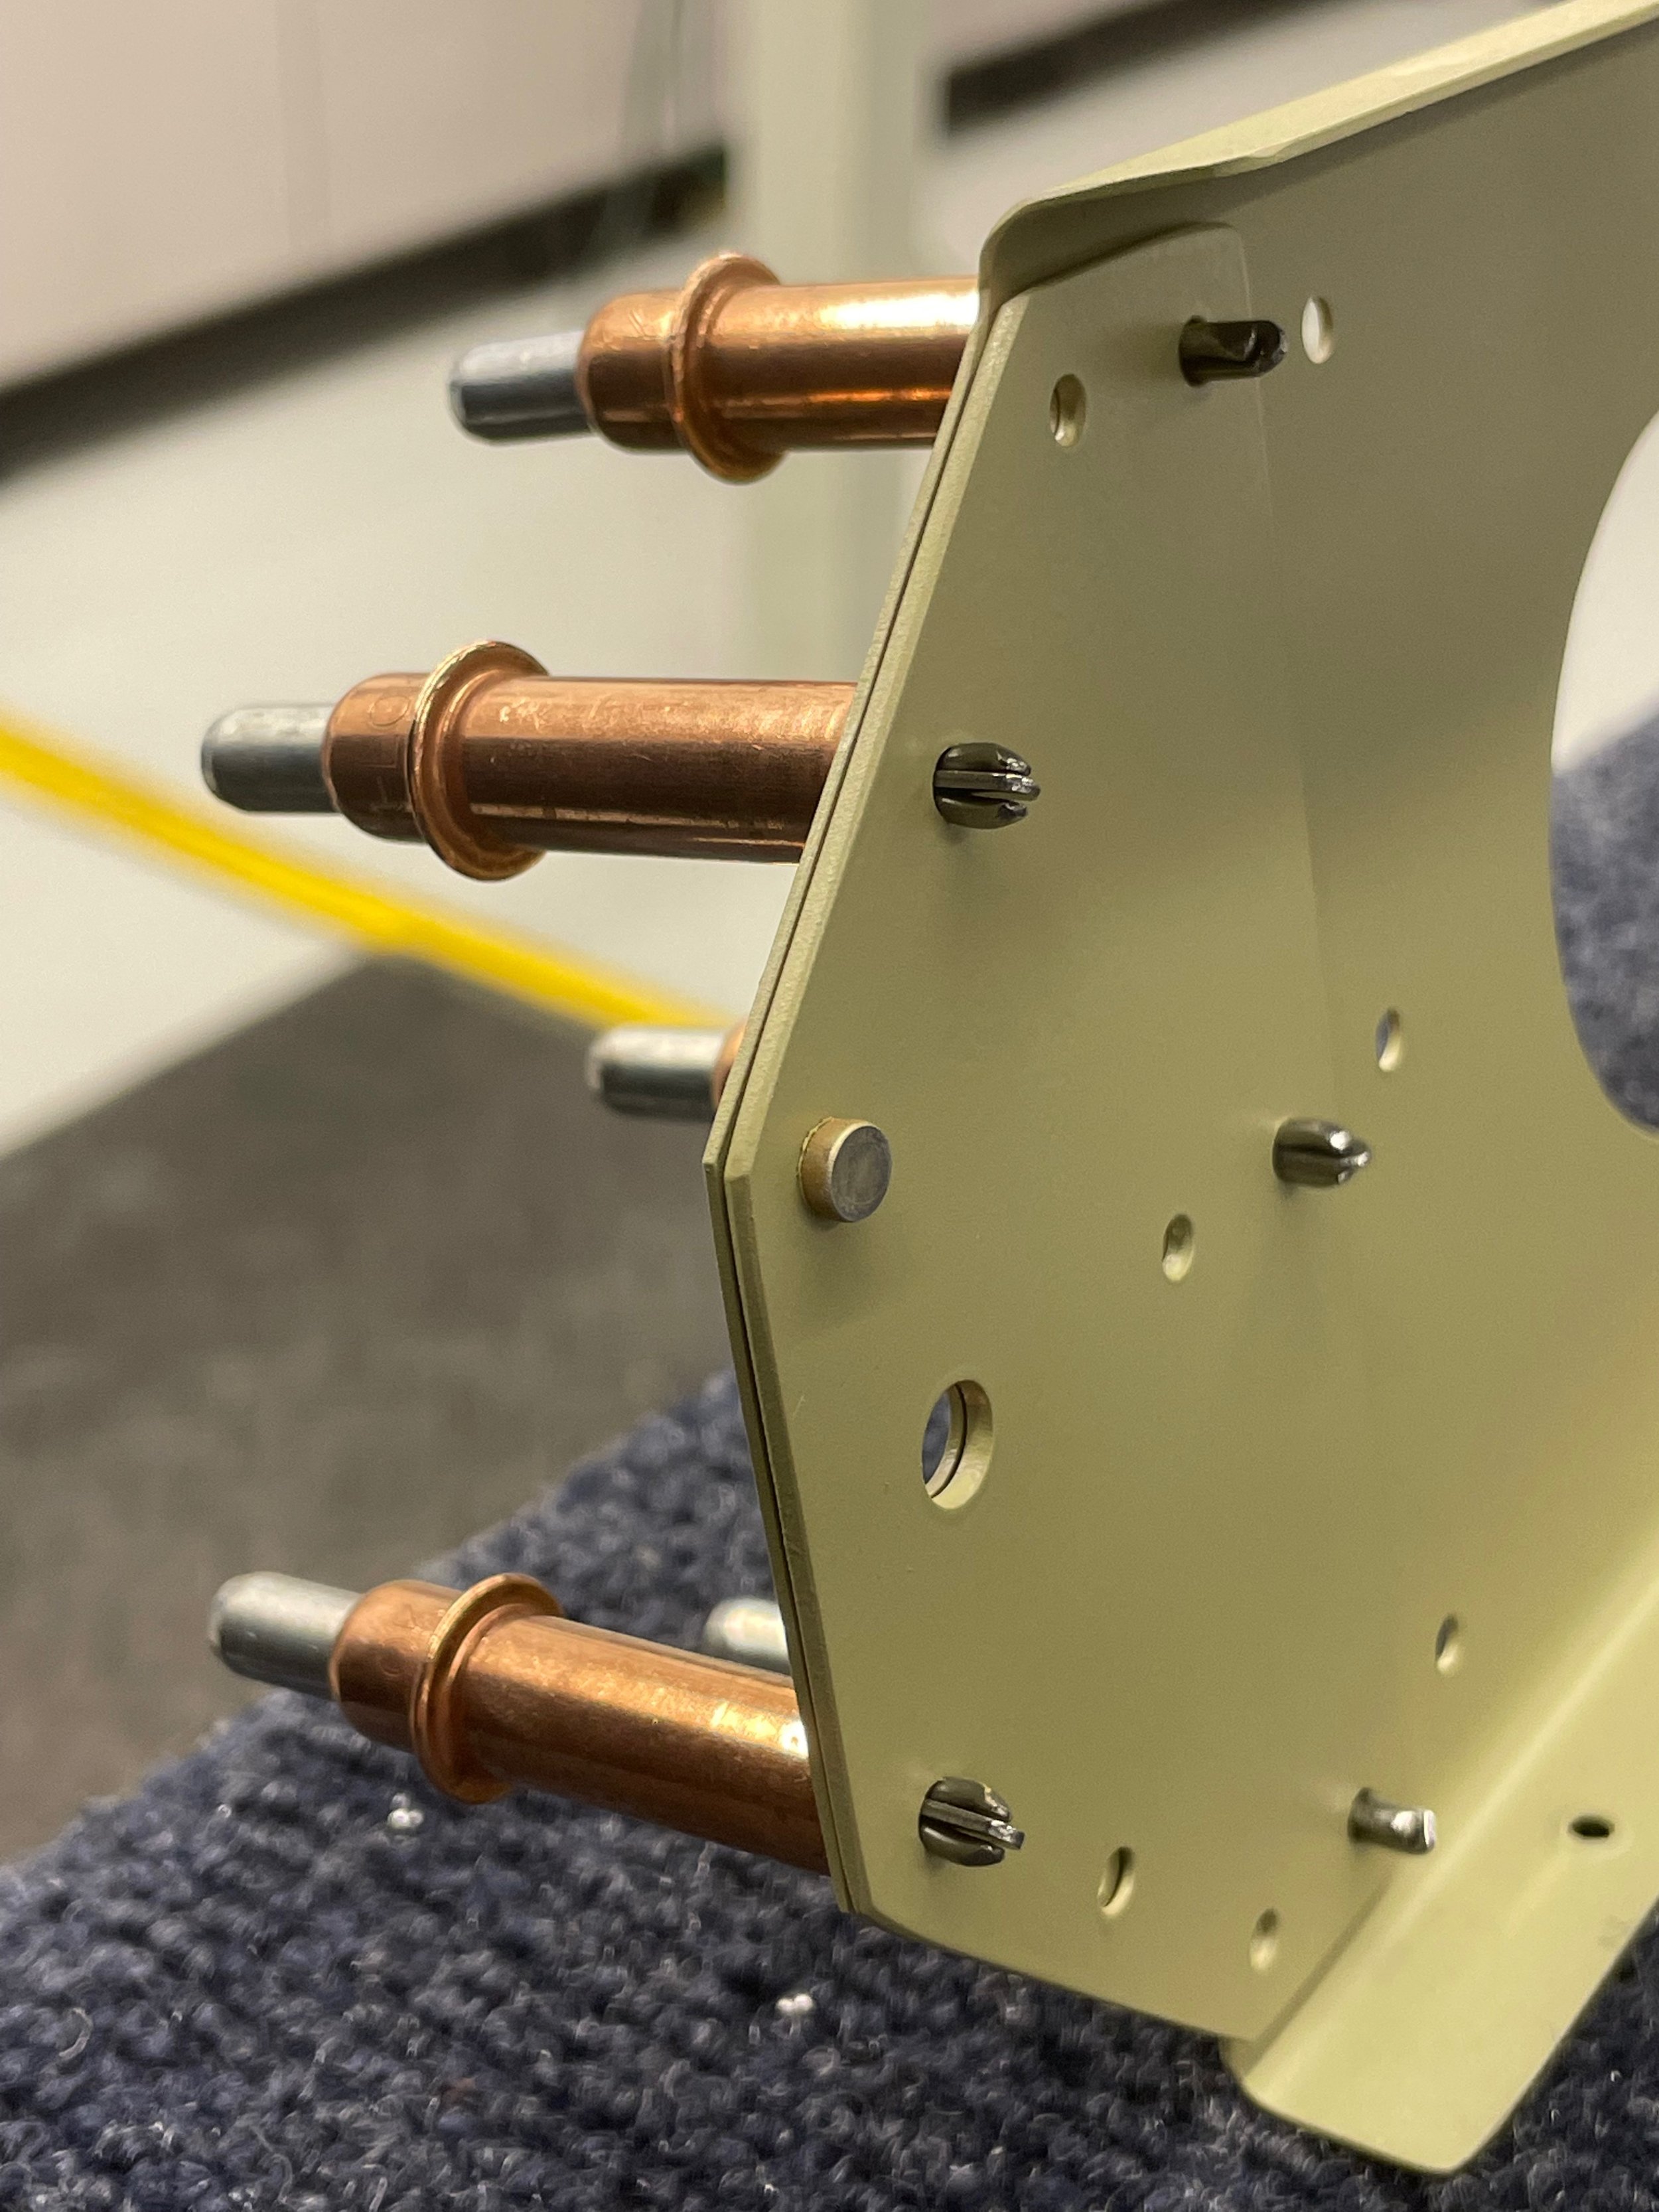
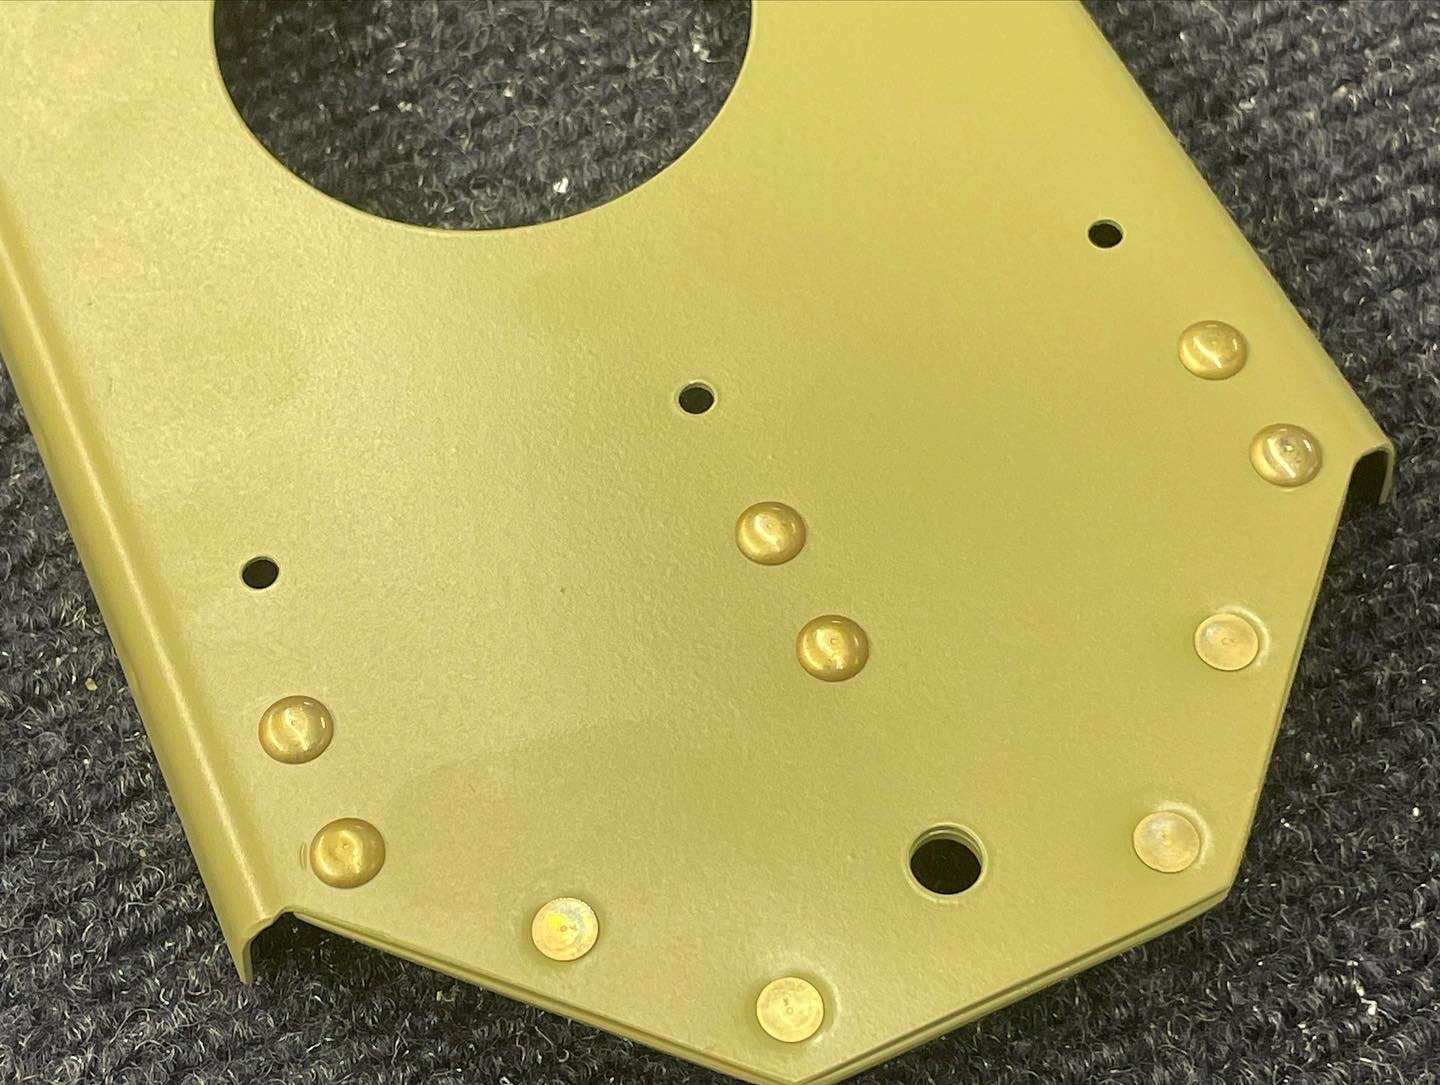
Everything was matched and disassembled so they could be primed and ready for assembly.
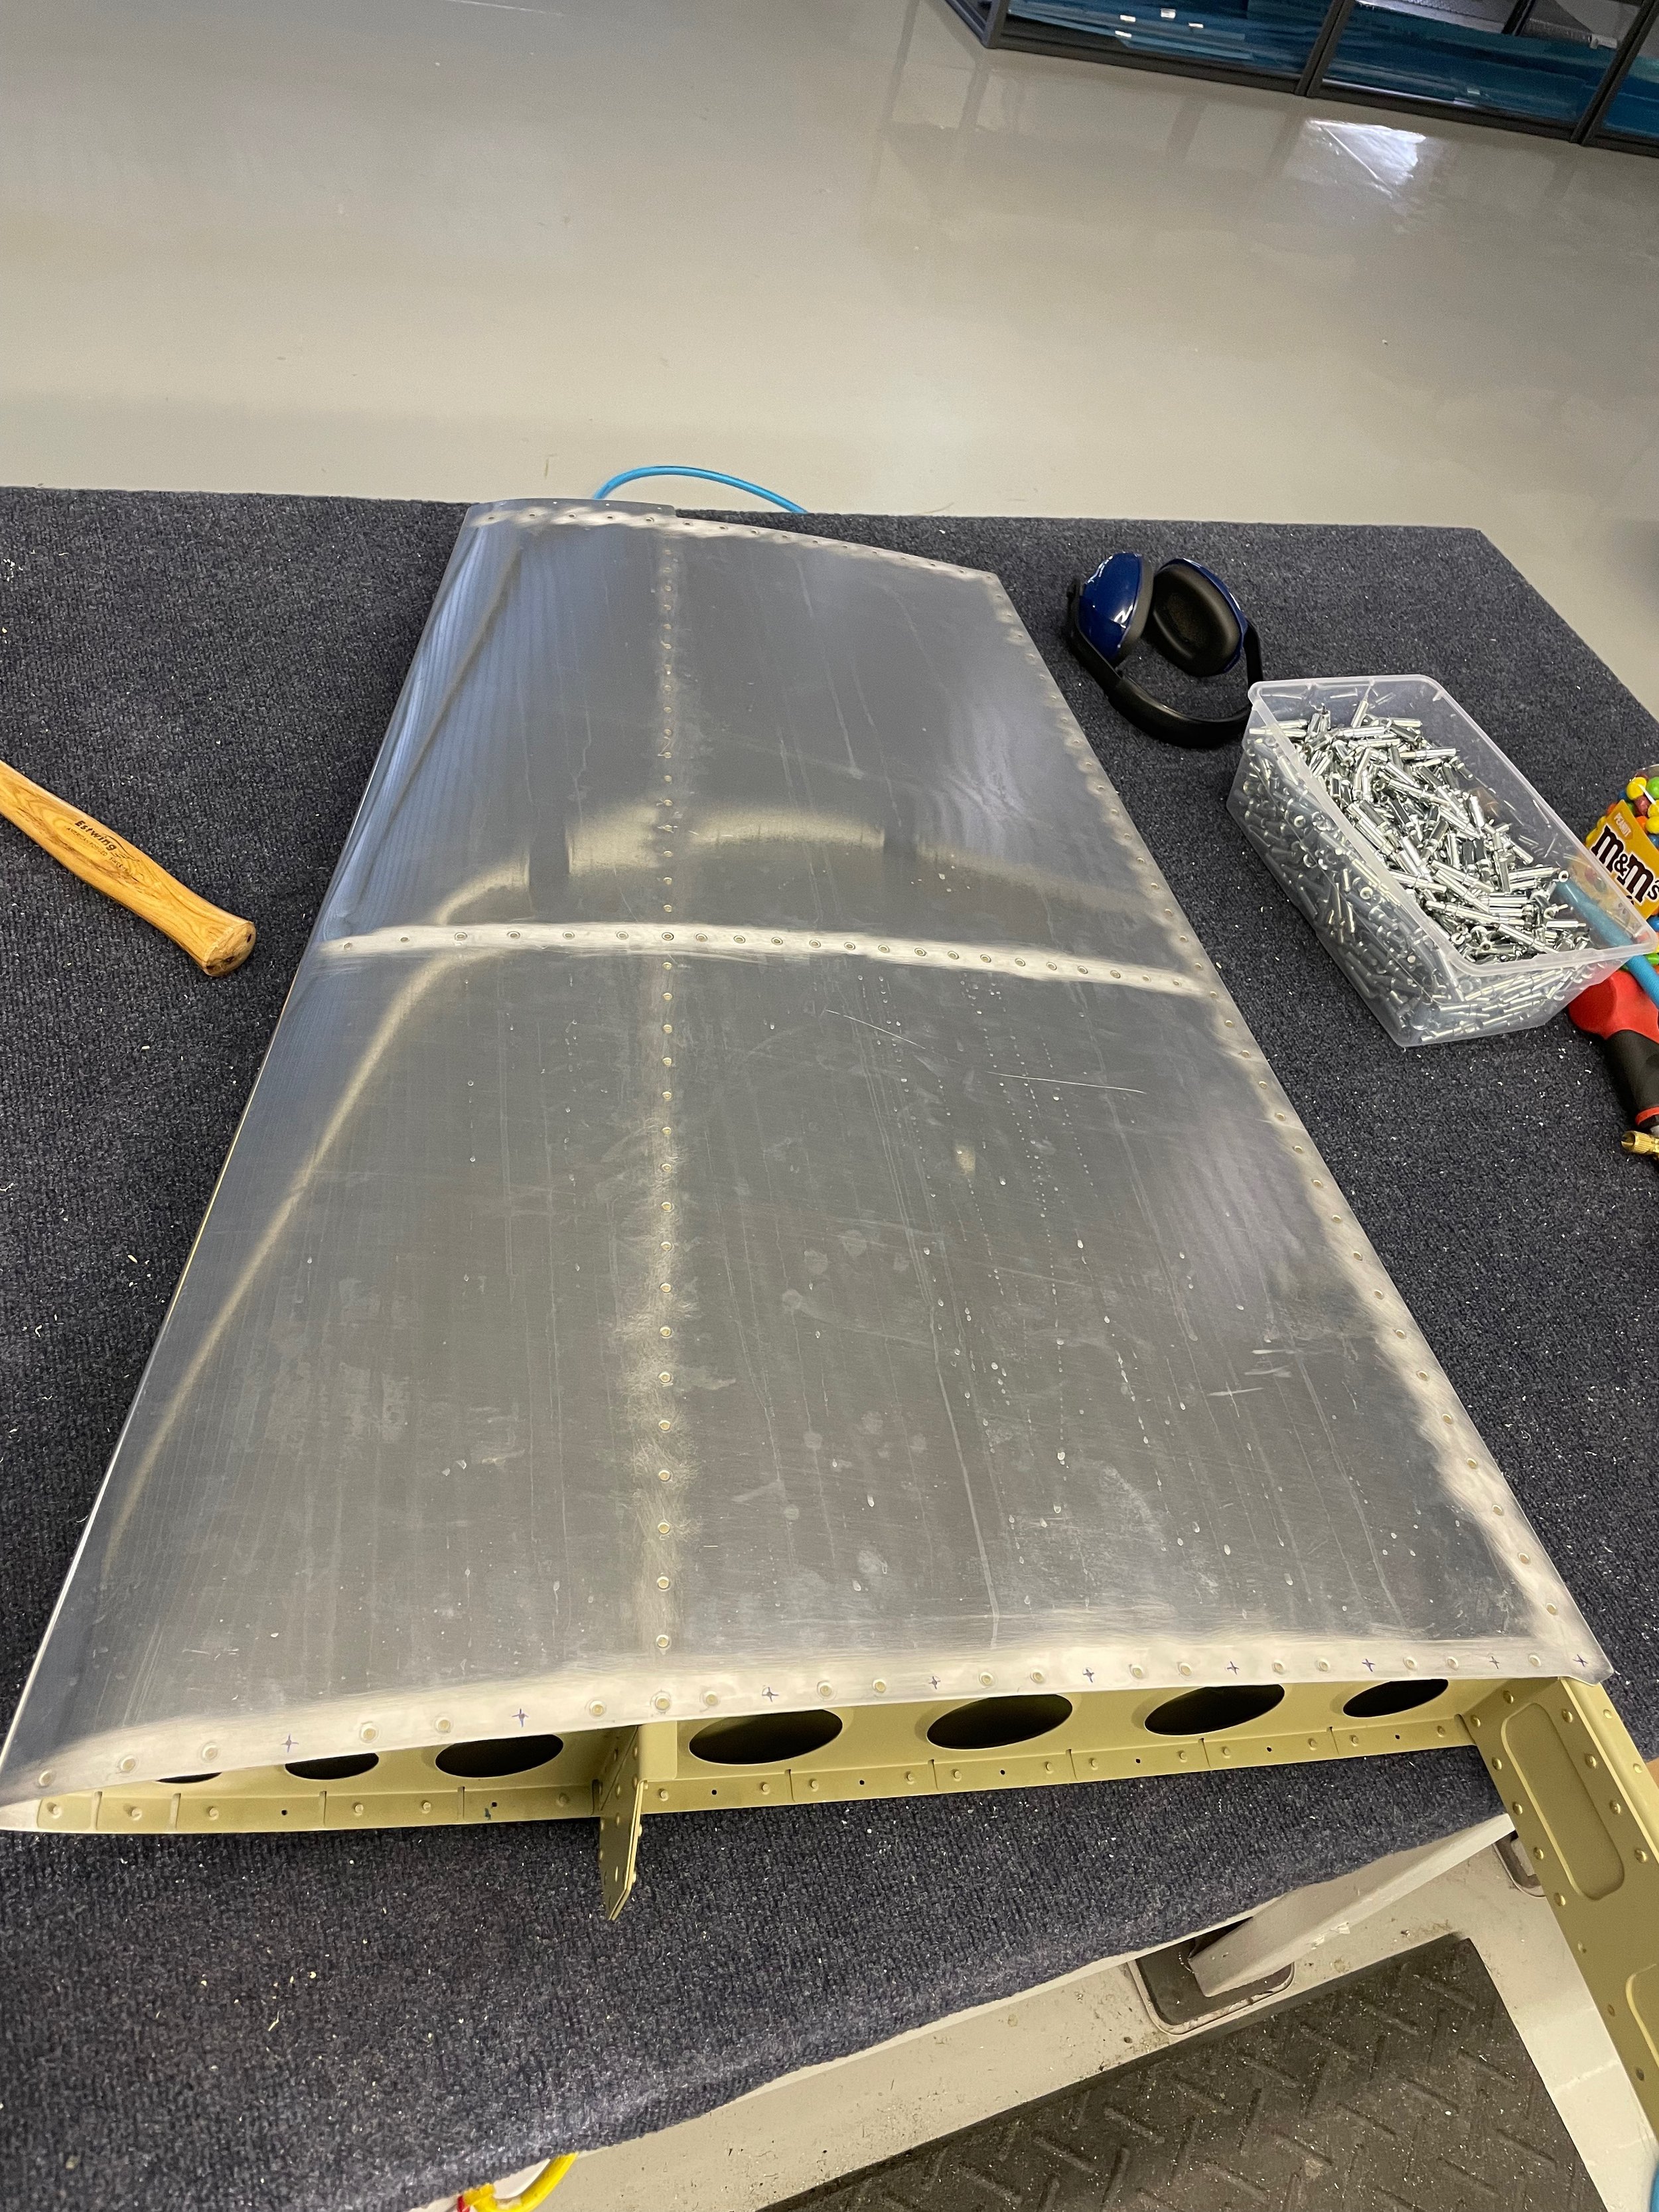
Once mocked up, the first few rivets were squeezed. After several hours of squeezing and bucking rivets in a very particular order as to not close out a cavity you need access to in order to get certain rivets in place, the vertical stabilizer was done.